

Dismantling the BMW E46 turbine replacement
Replacing the BMW E46 320d turbine from Garrett GT1749 to Garrett GTB1752V – Stage 2. Step-by-step guide.
Preparation – tools
The turbine replacement operation is not one of the most difficult, but requires a lot of precision and patience. Especially when we're faced with baked old screws.
In addition to the new turbine, we need:
- set of caps and rattles ,
- Extensions
- eye wrench 15 (flatter as possible),
- new washer for exhaust manifold,
- new copper washers and nuts (you can buy a ready-made erling kit)
We pull off the covers of the BMW E46
Replacing the turbine requires access to the car from below, it can not be pulled out by the top, unless after disassemble the head somehow would have pressed. The easiest way to do it anyway is to do it with a do. Indicated channel or hoist, but persevering can do it also on the hoist and kobylikach.
Let's start by dismantling the plastic covers. Depends on who has what, but for me to disassemble is this cover:
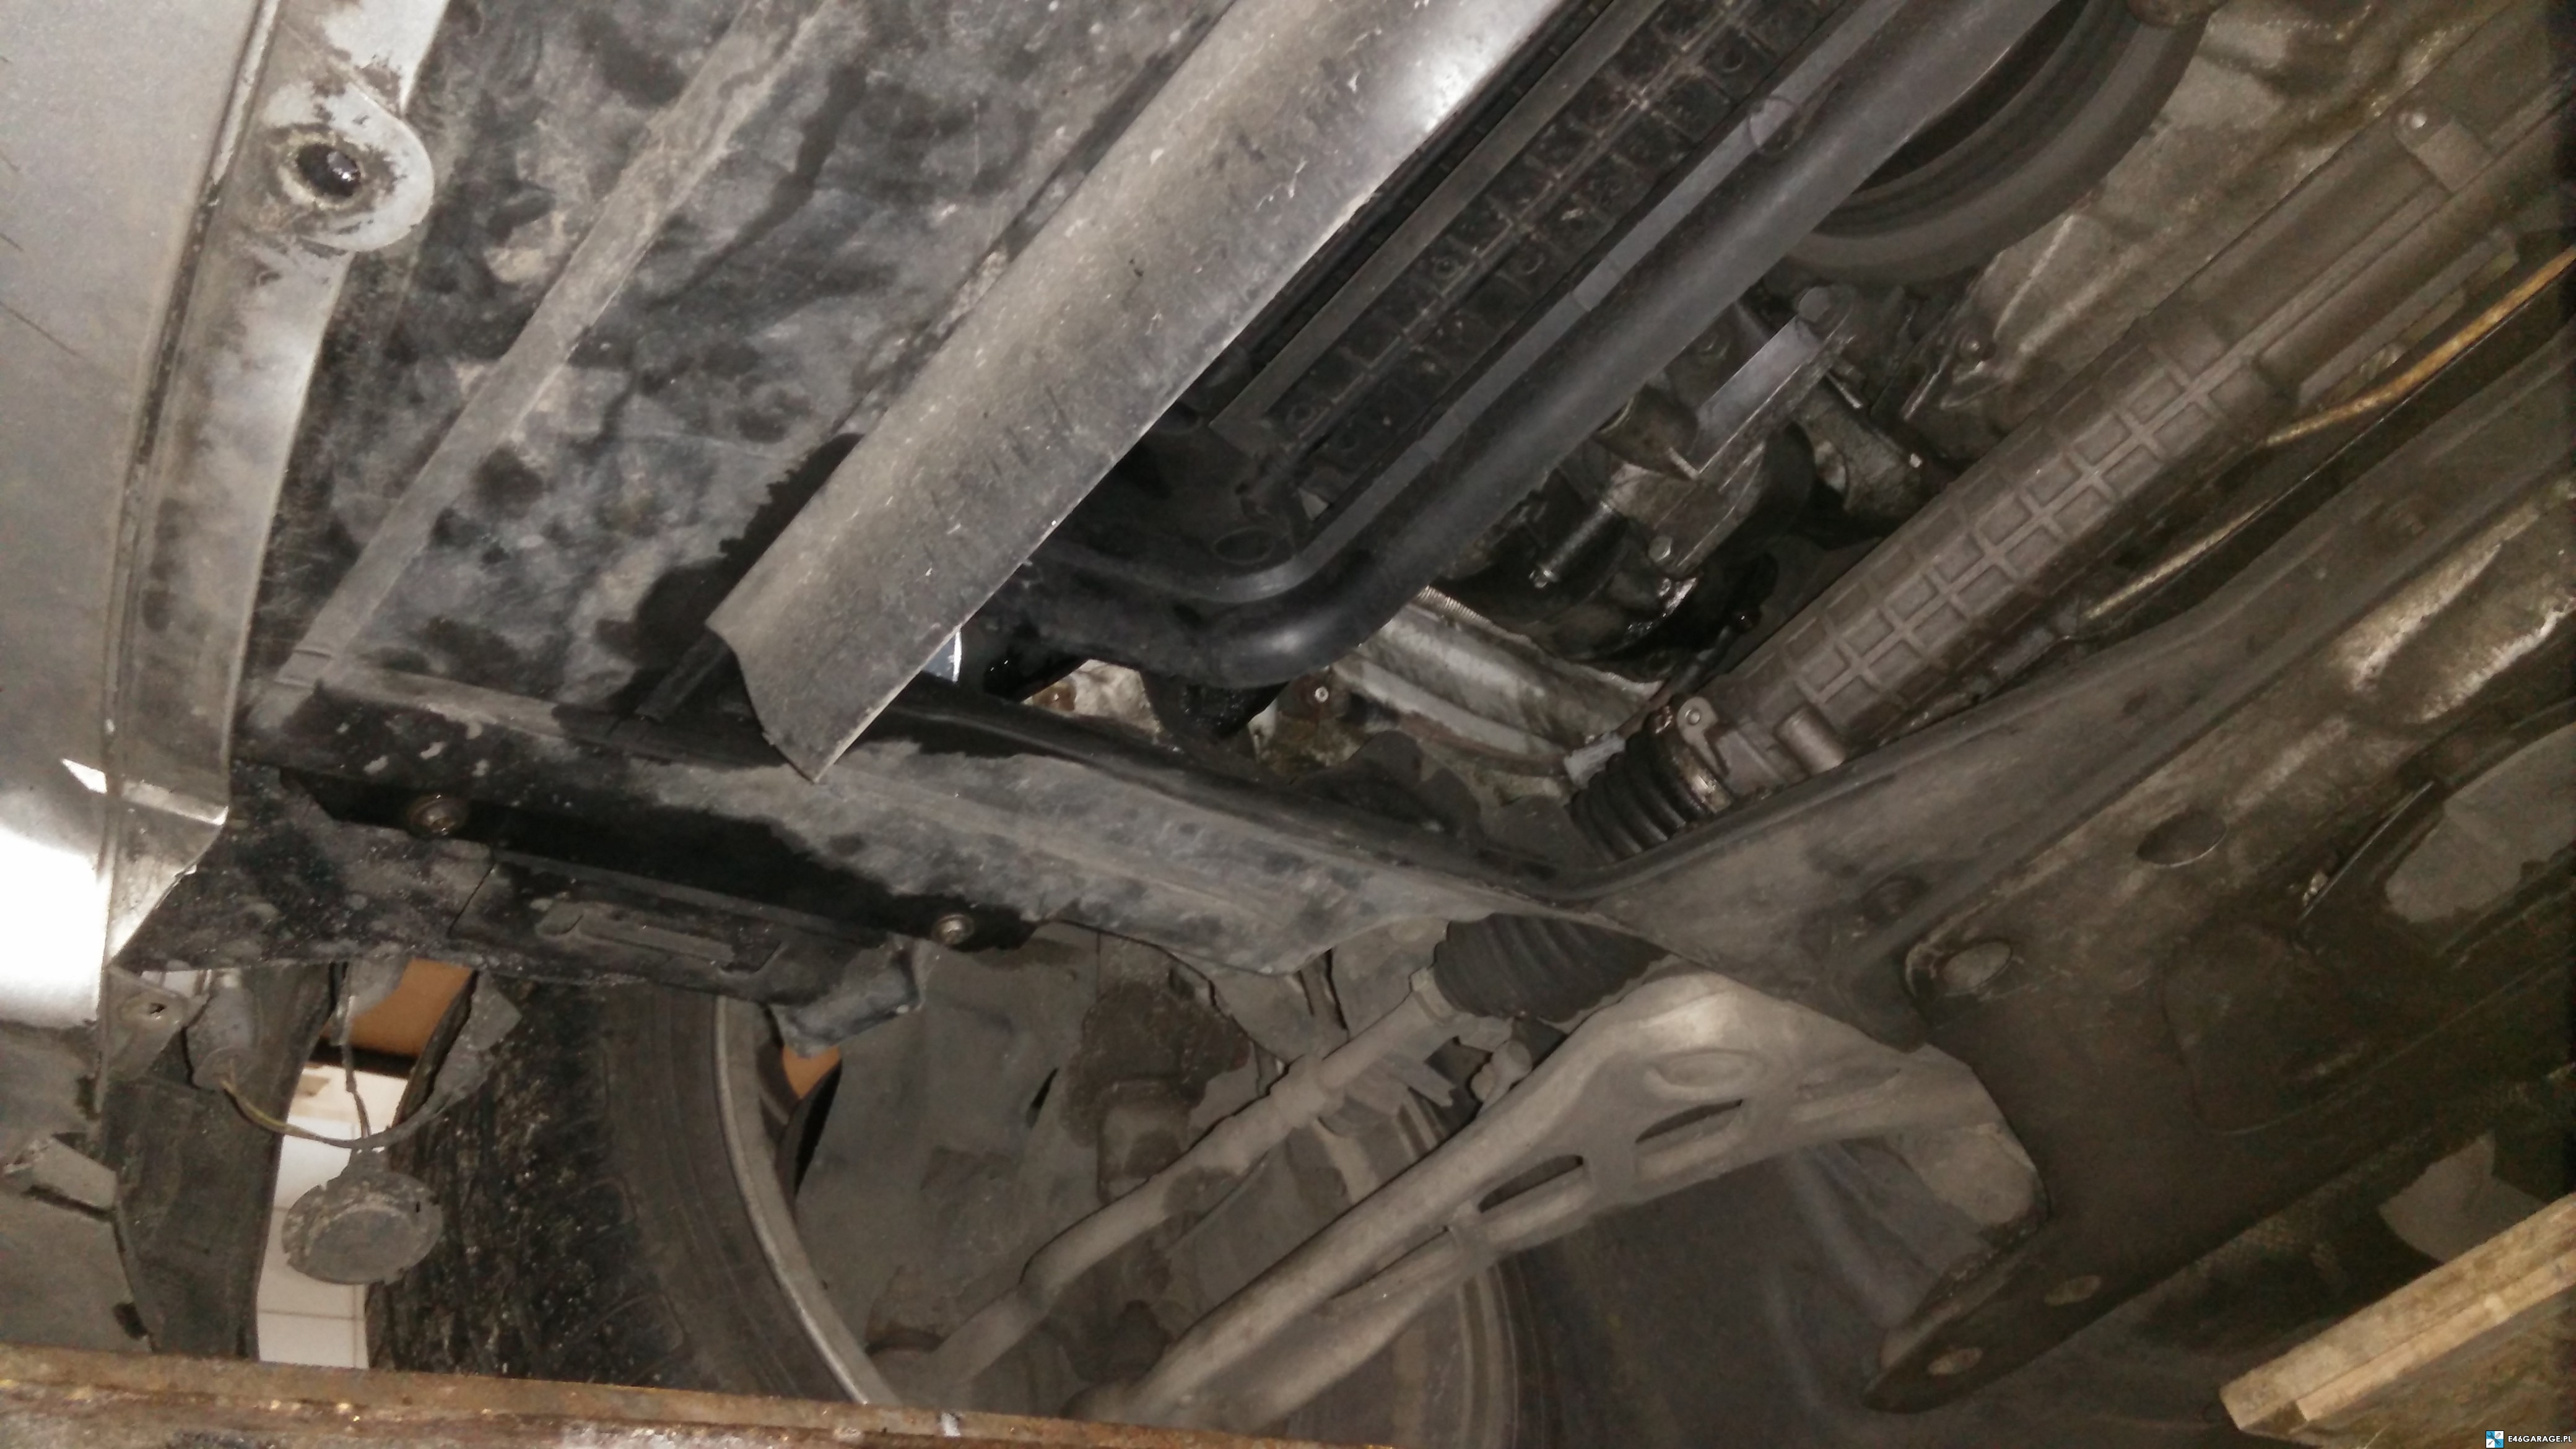
 This plastic mounting cover is a phillips screw or whatever it is called. Unscrew the air ducts (inlets), stoppers on the bumper (if any) and from the metal cover.
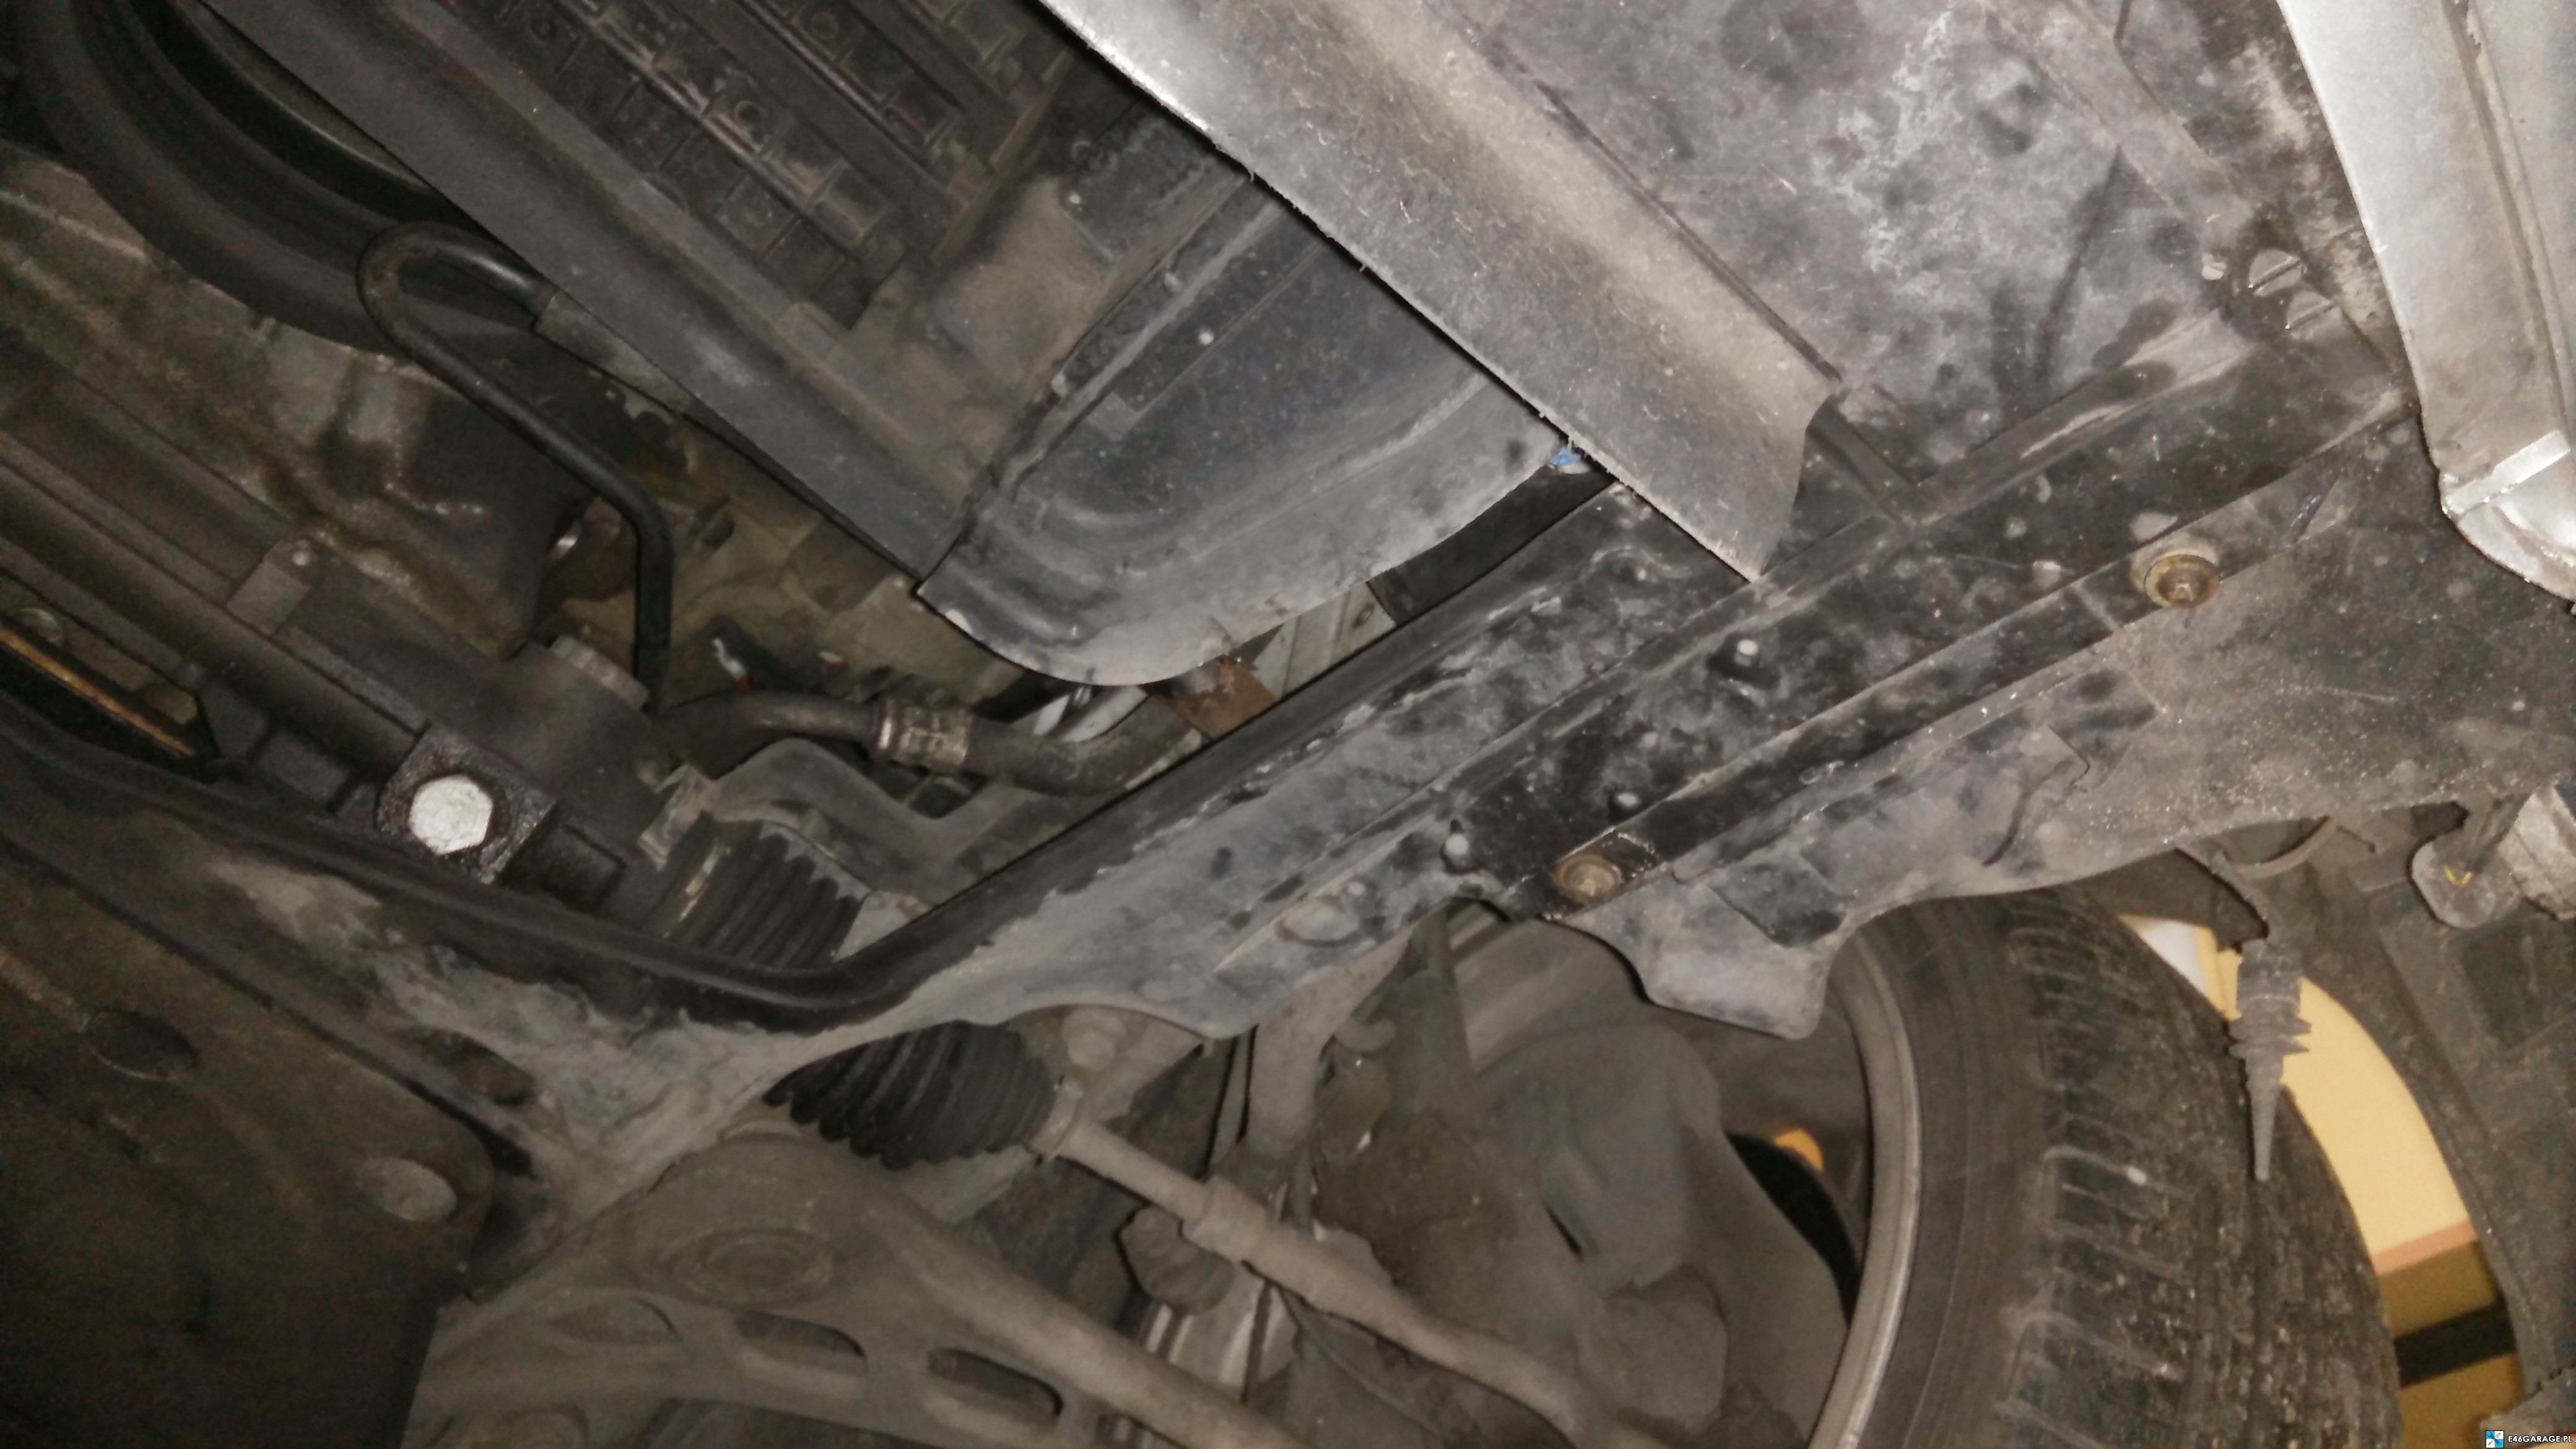
 This large metal sheet is really a stabilizer. It keeps the entire structure of the car in check so that the shack does not sway like Christopher Columbus's ship in a storm. In total, we have 8 screws to unscrew, which are deep lying in the holes and for this at an angle.
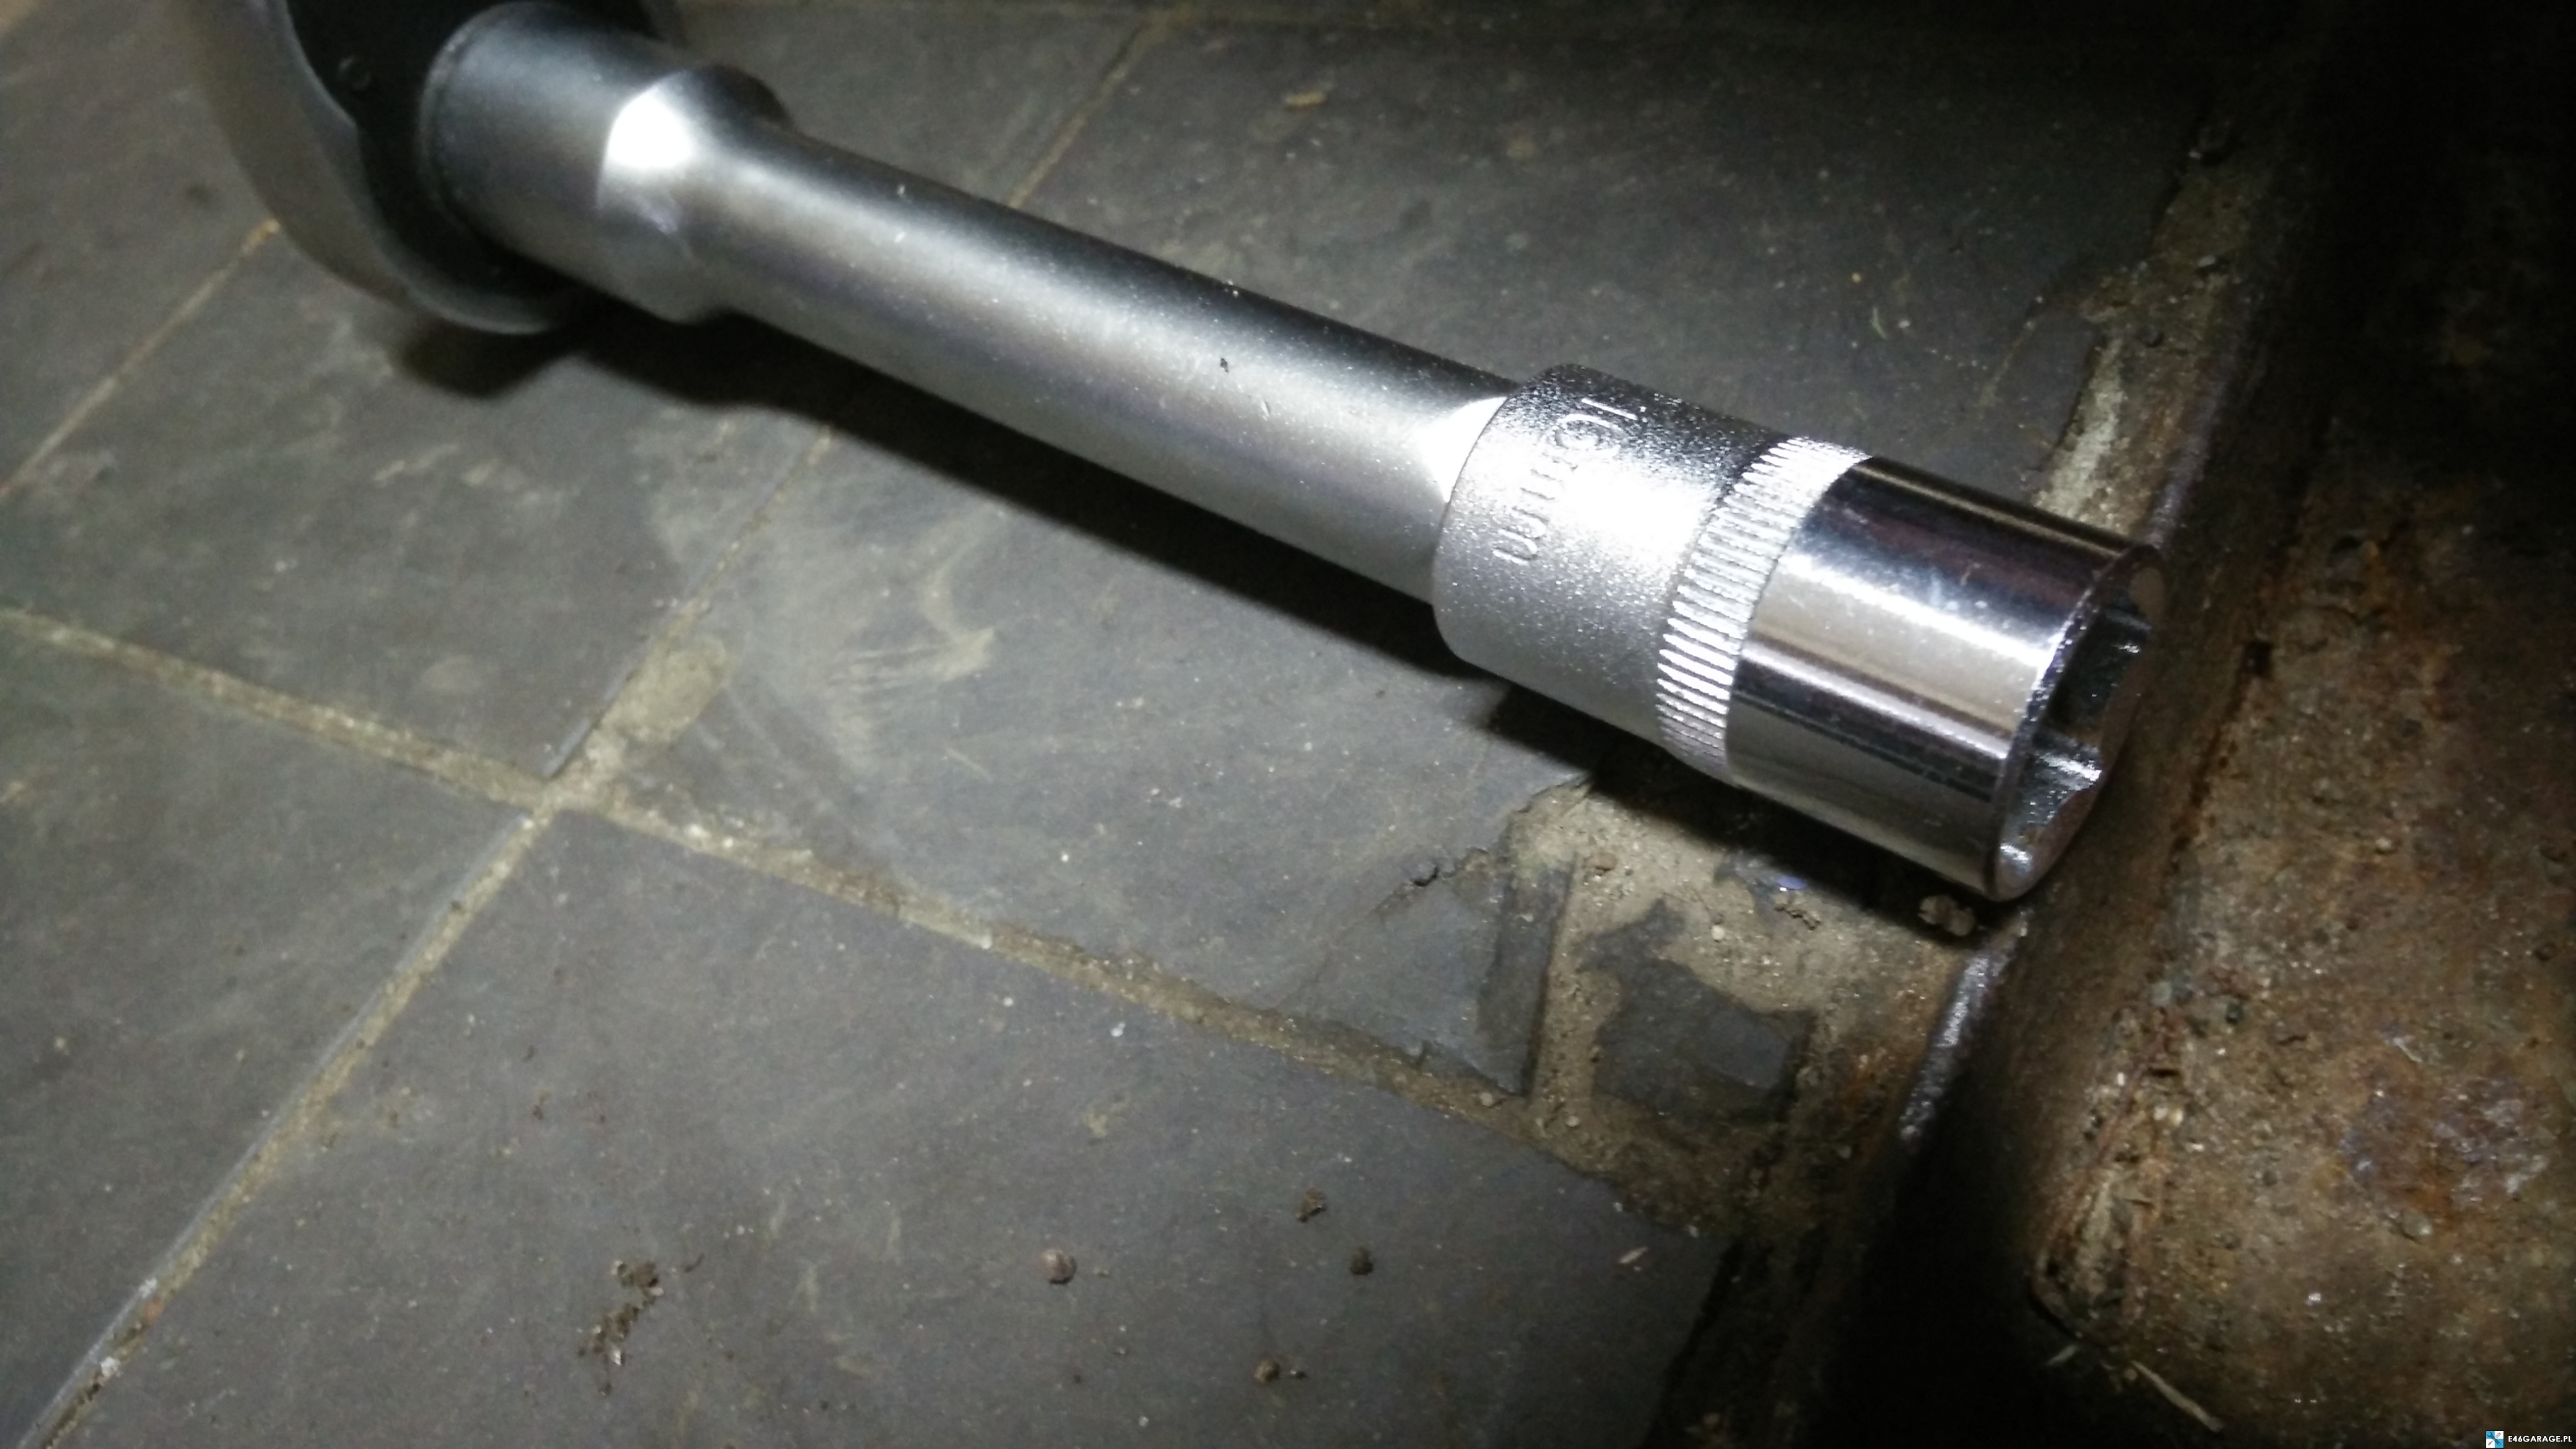 Short extension for ratchet and cap 16 – this will be needed for us at the moment
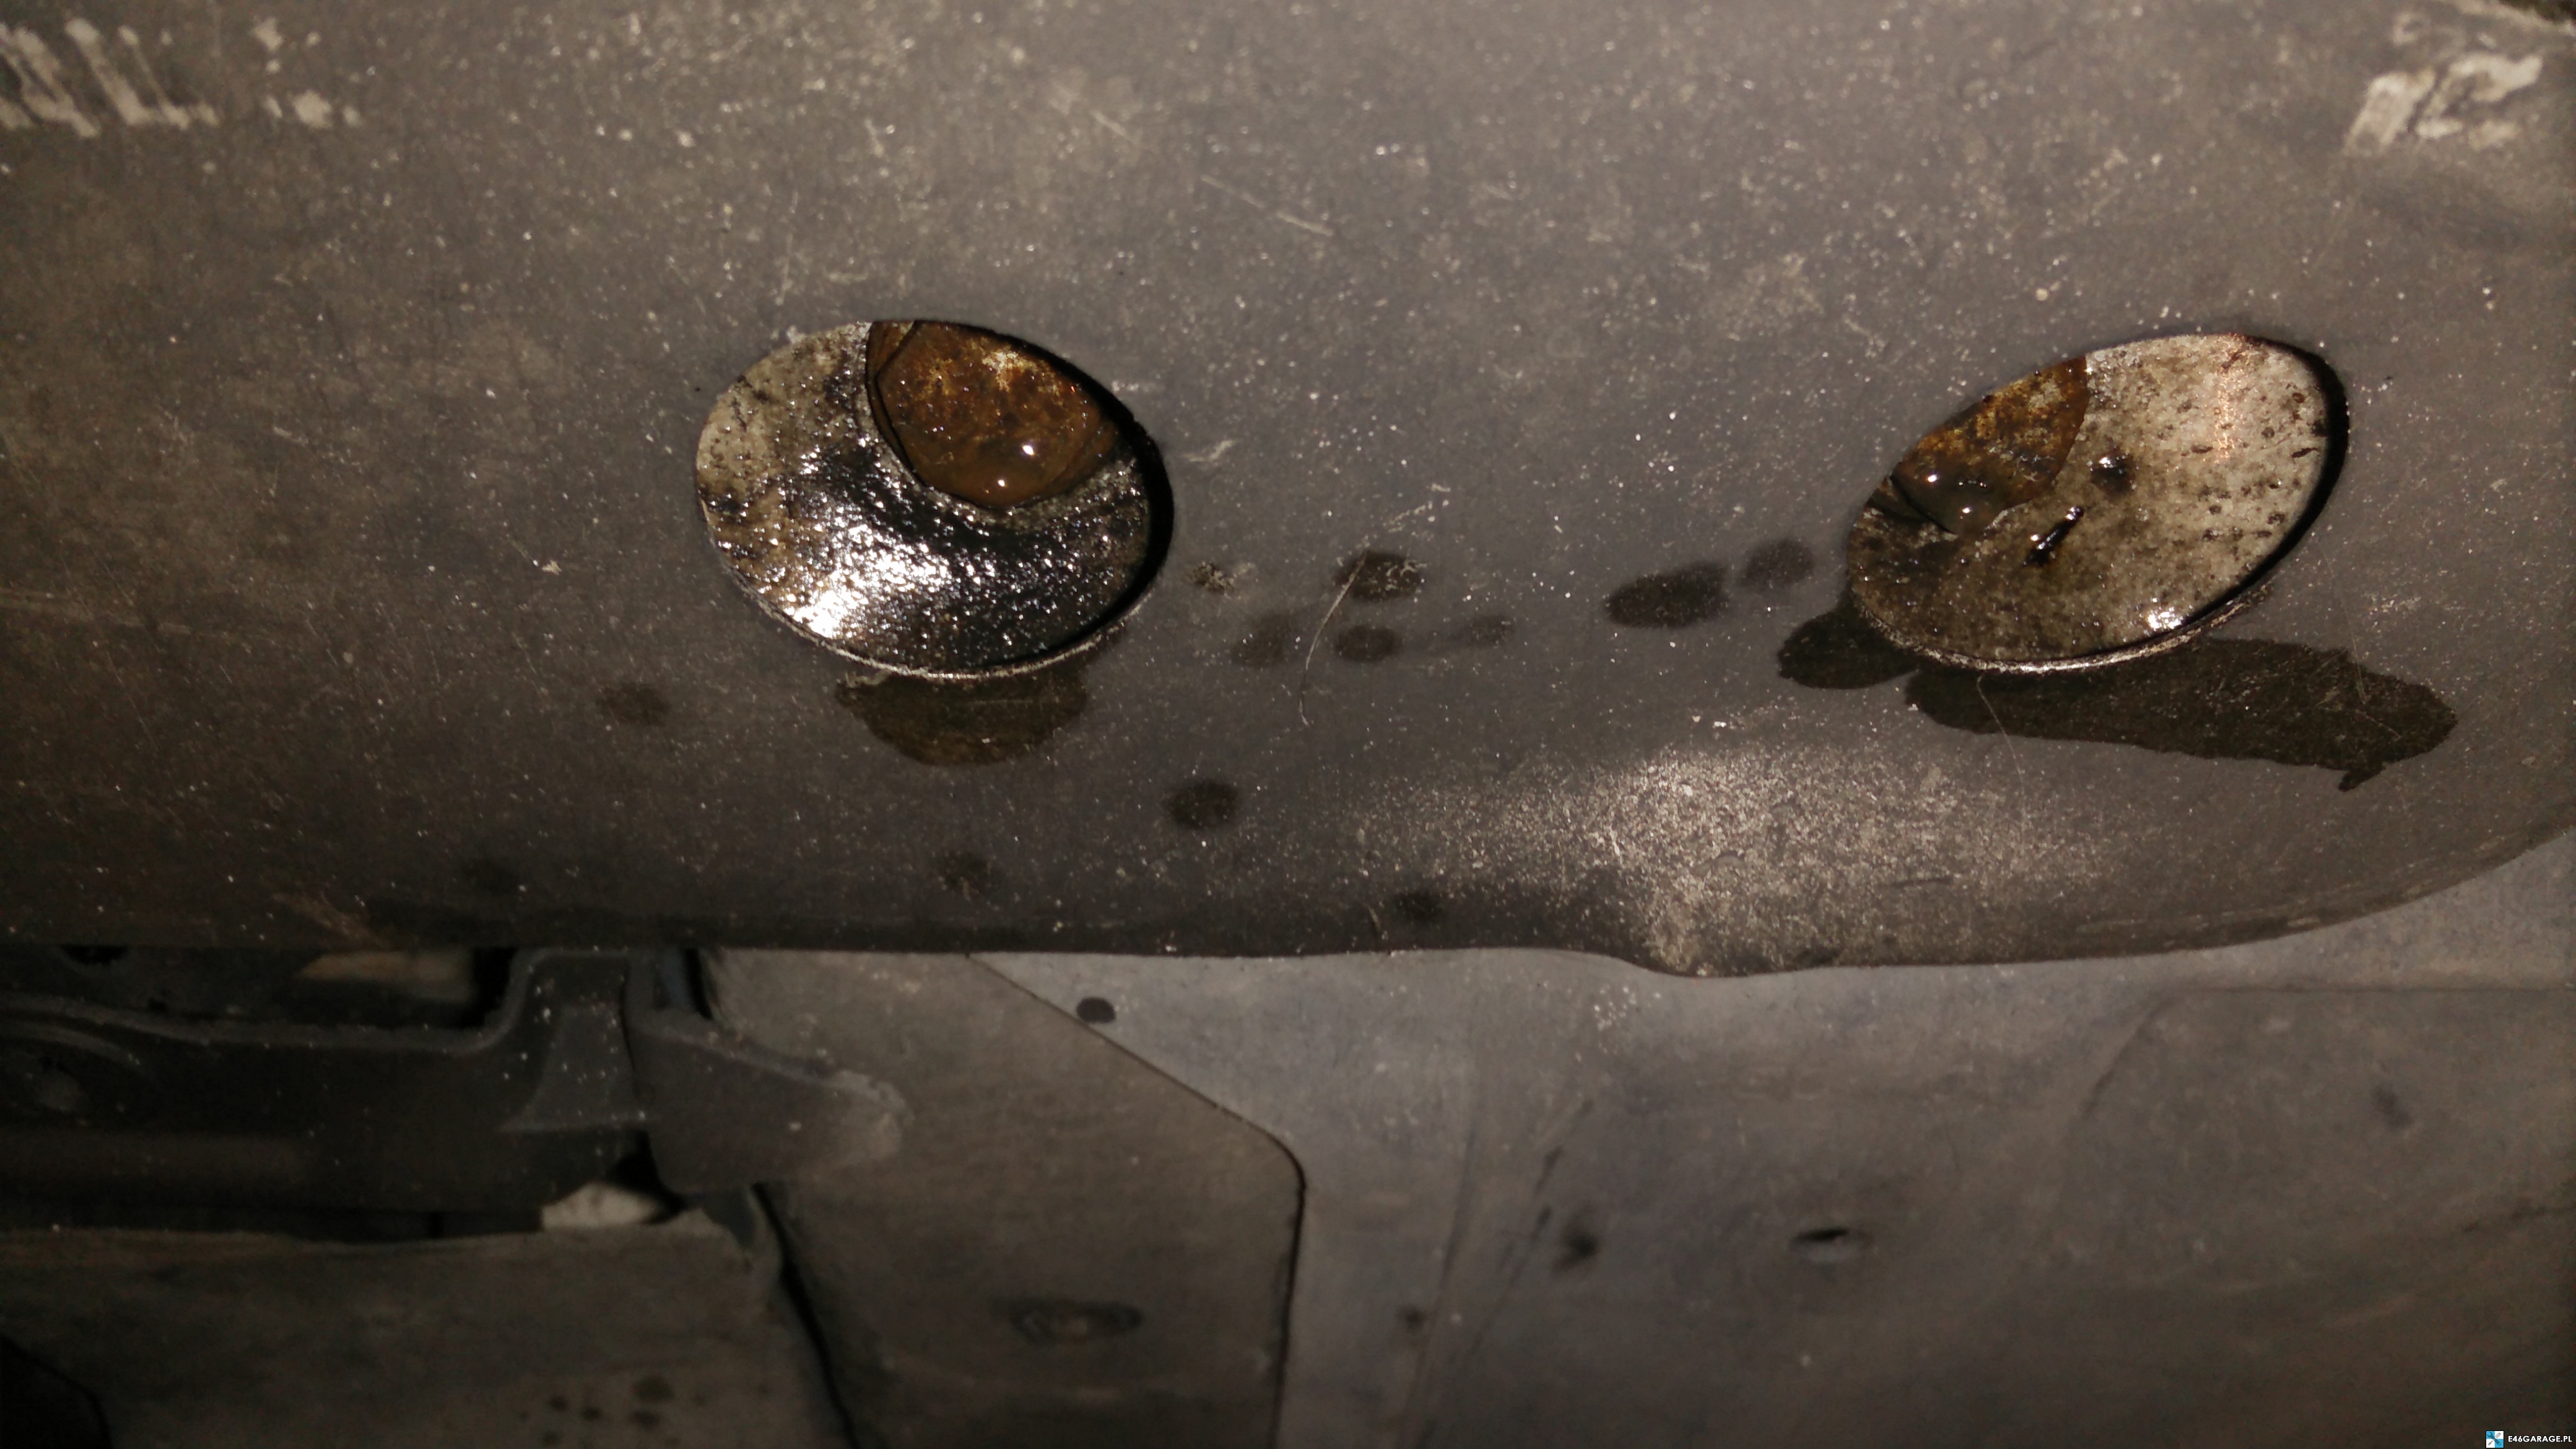 I recommend not to regret the ruster and pee specifically WD 40 in the most accurate way under the head of the screw.
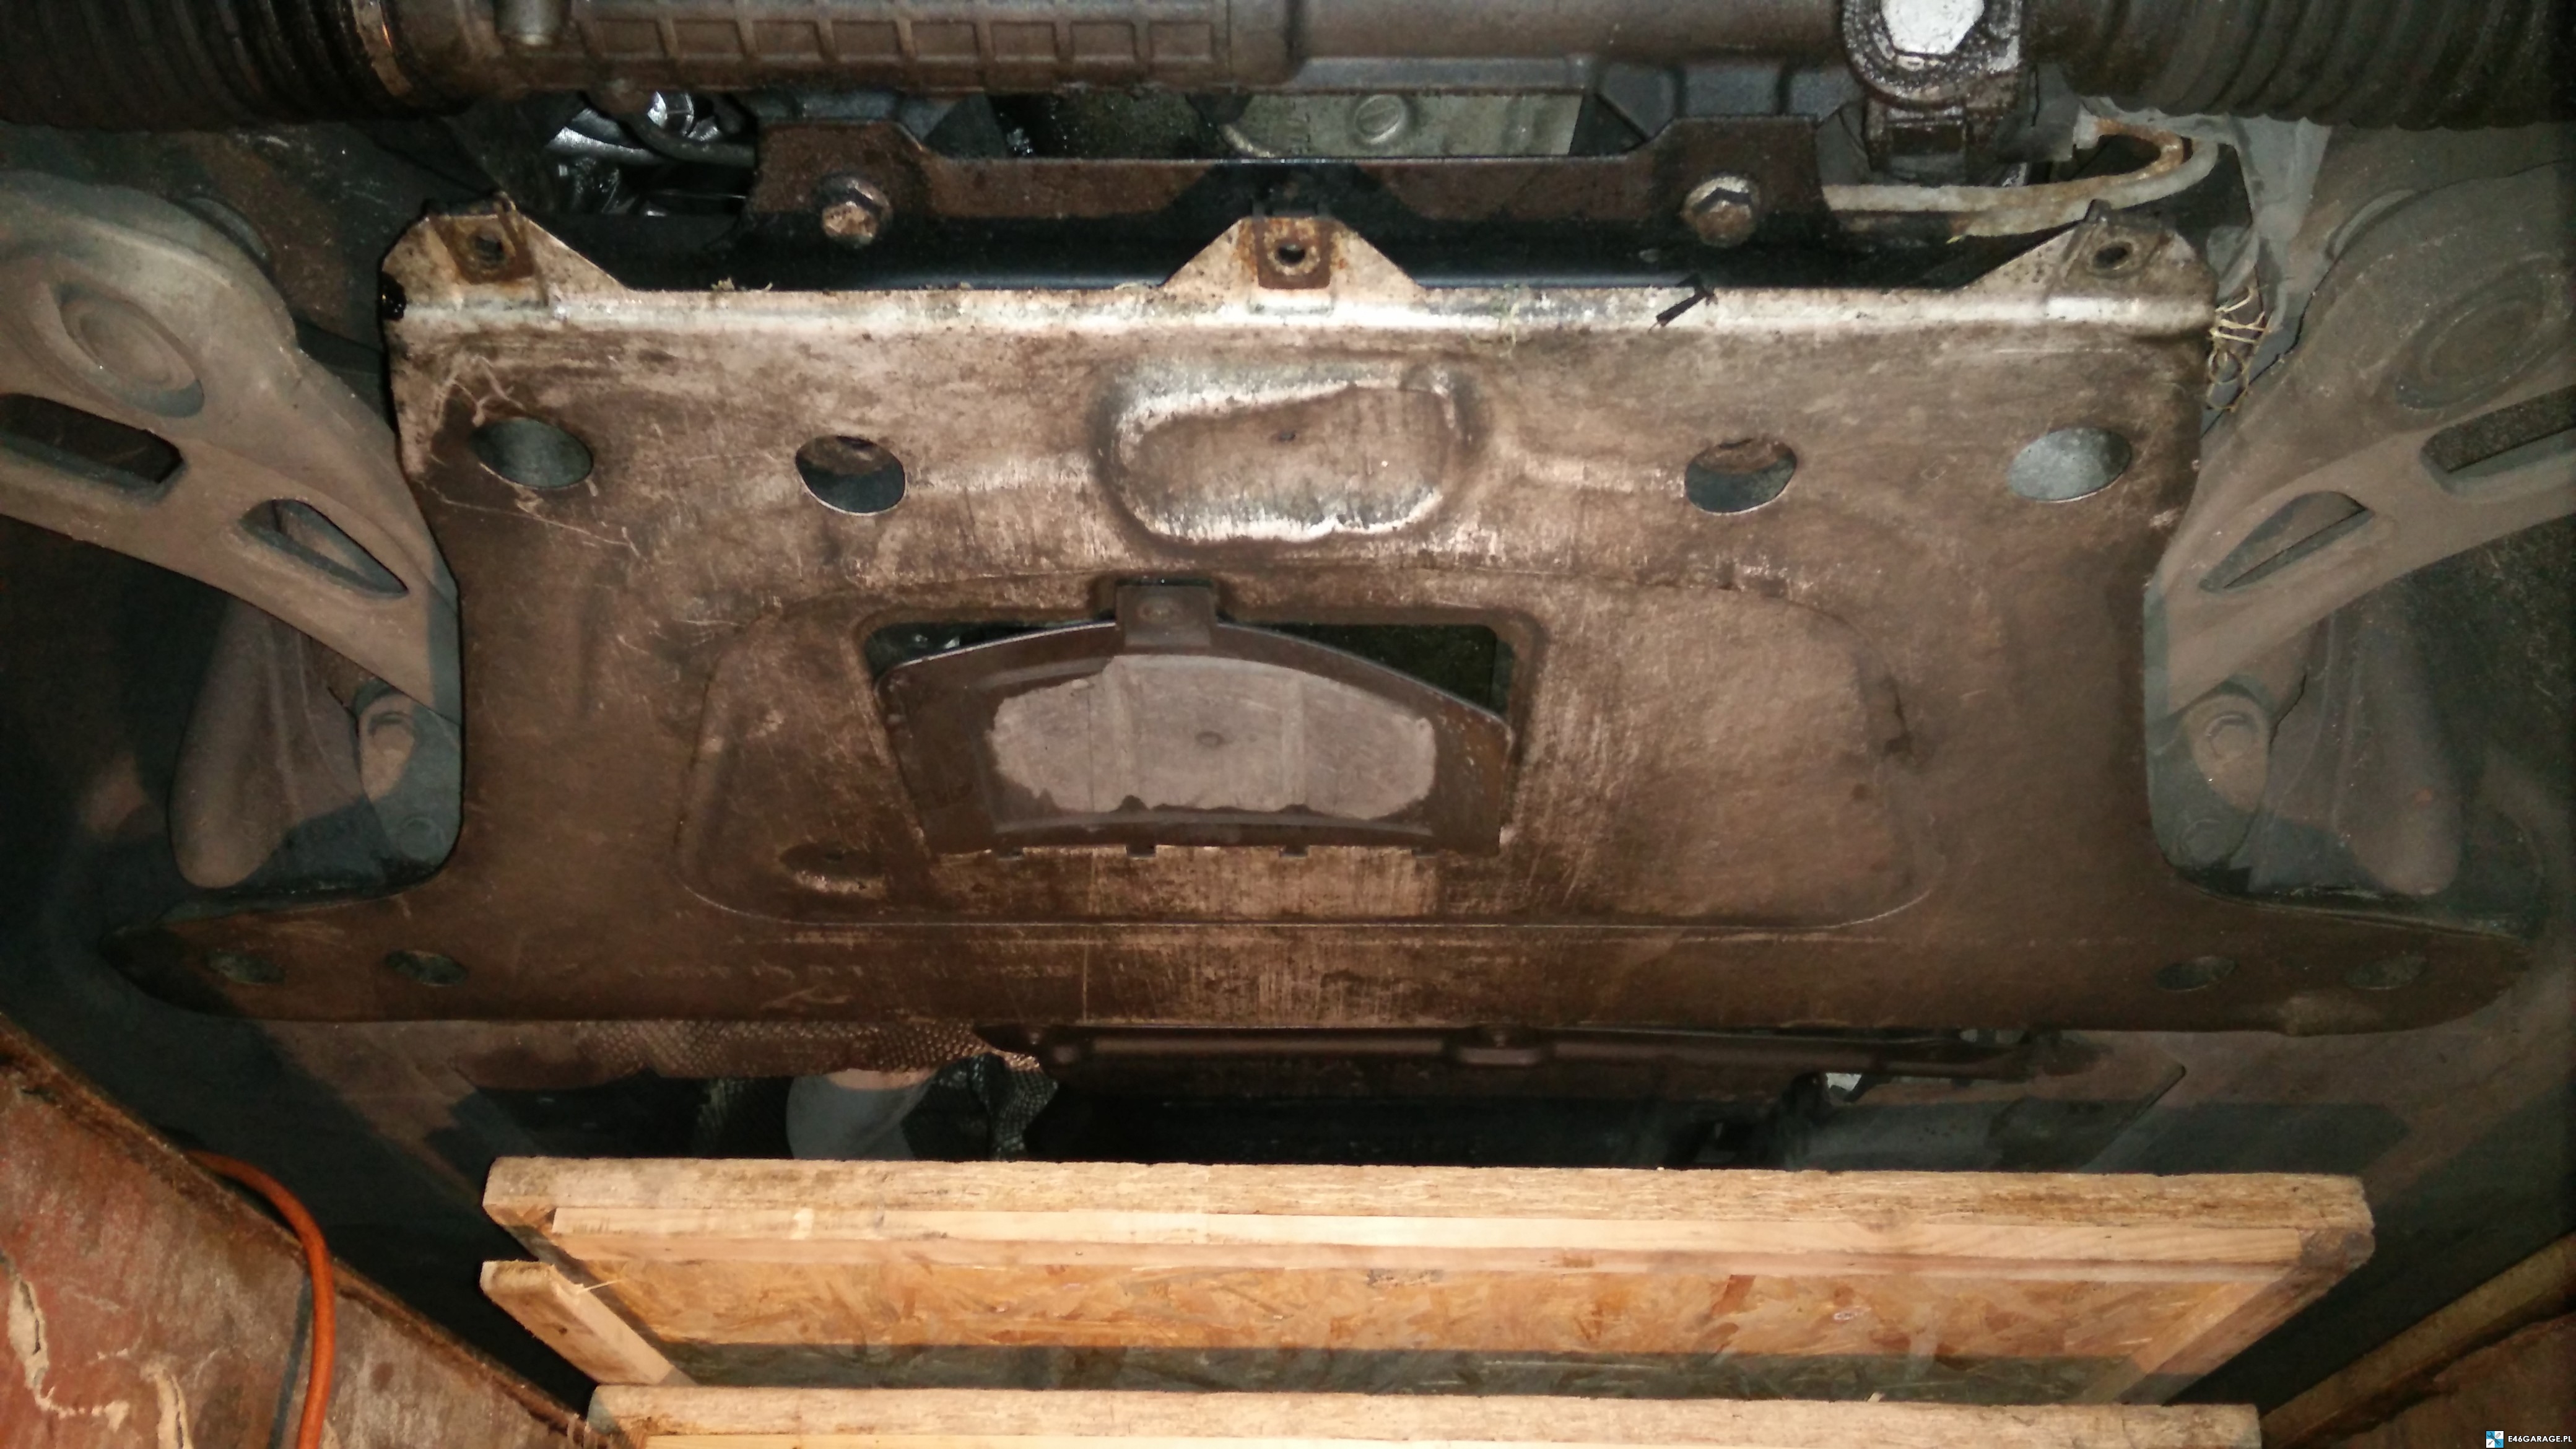
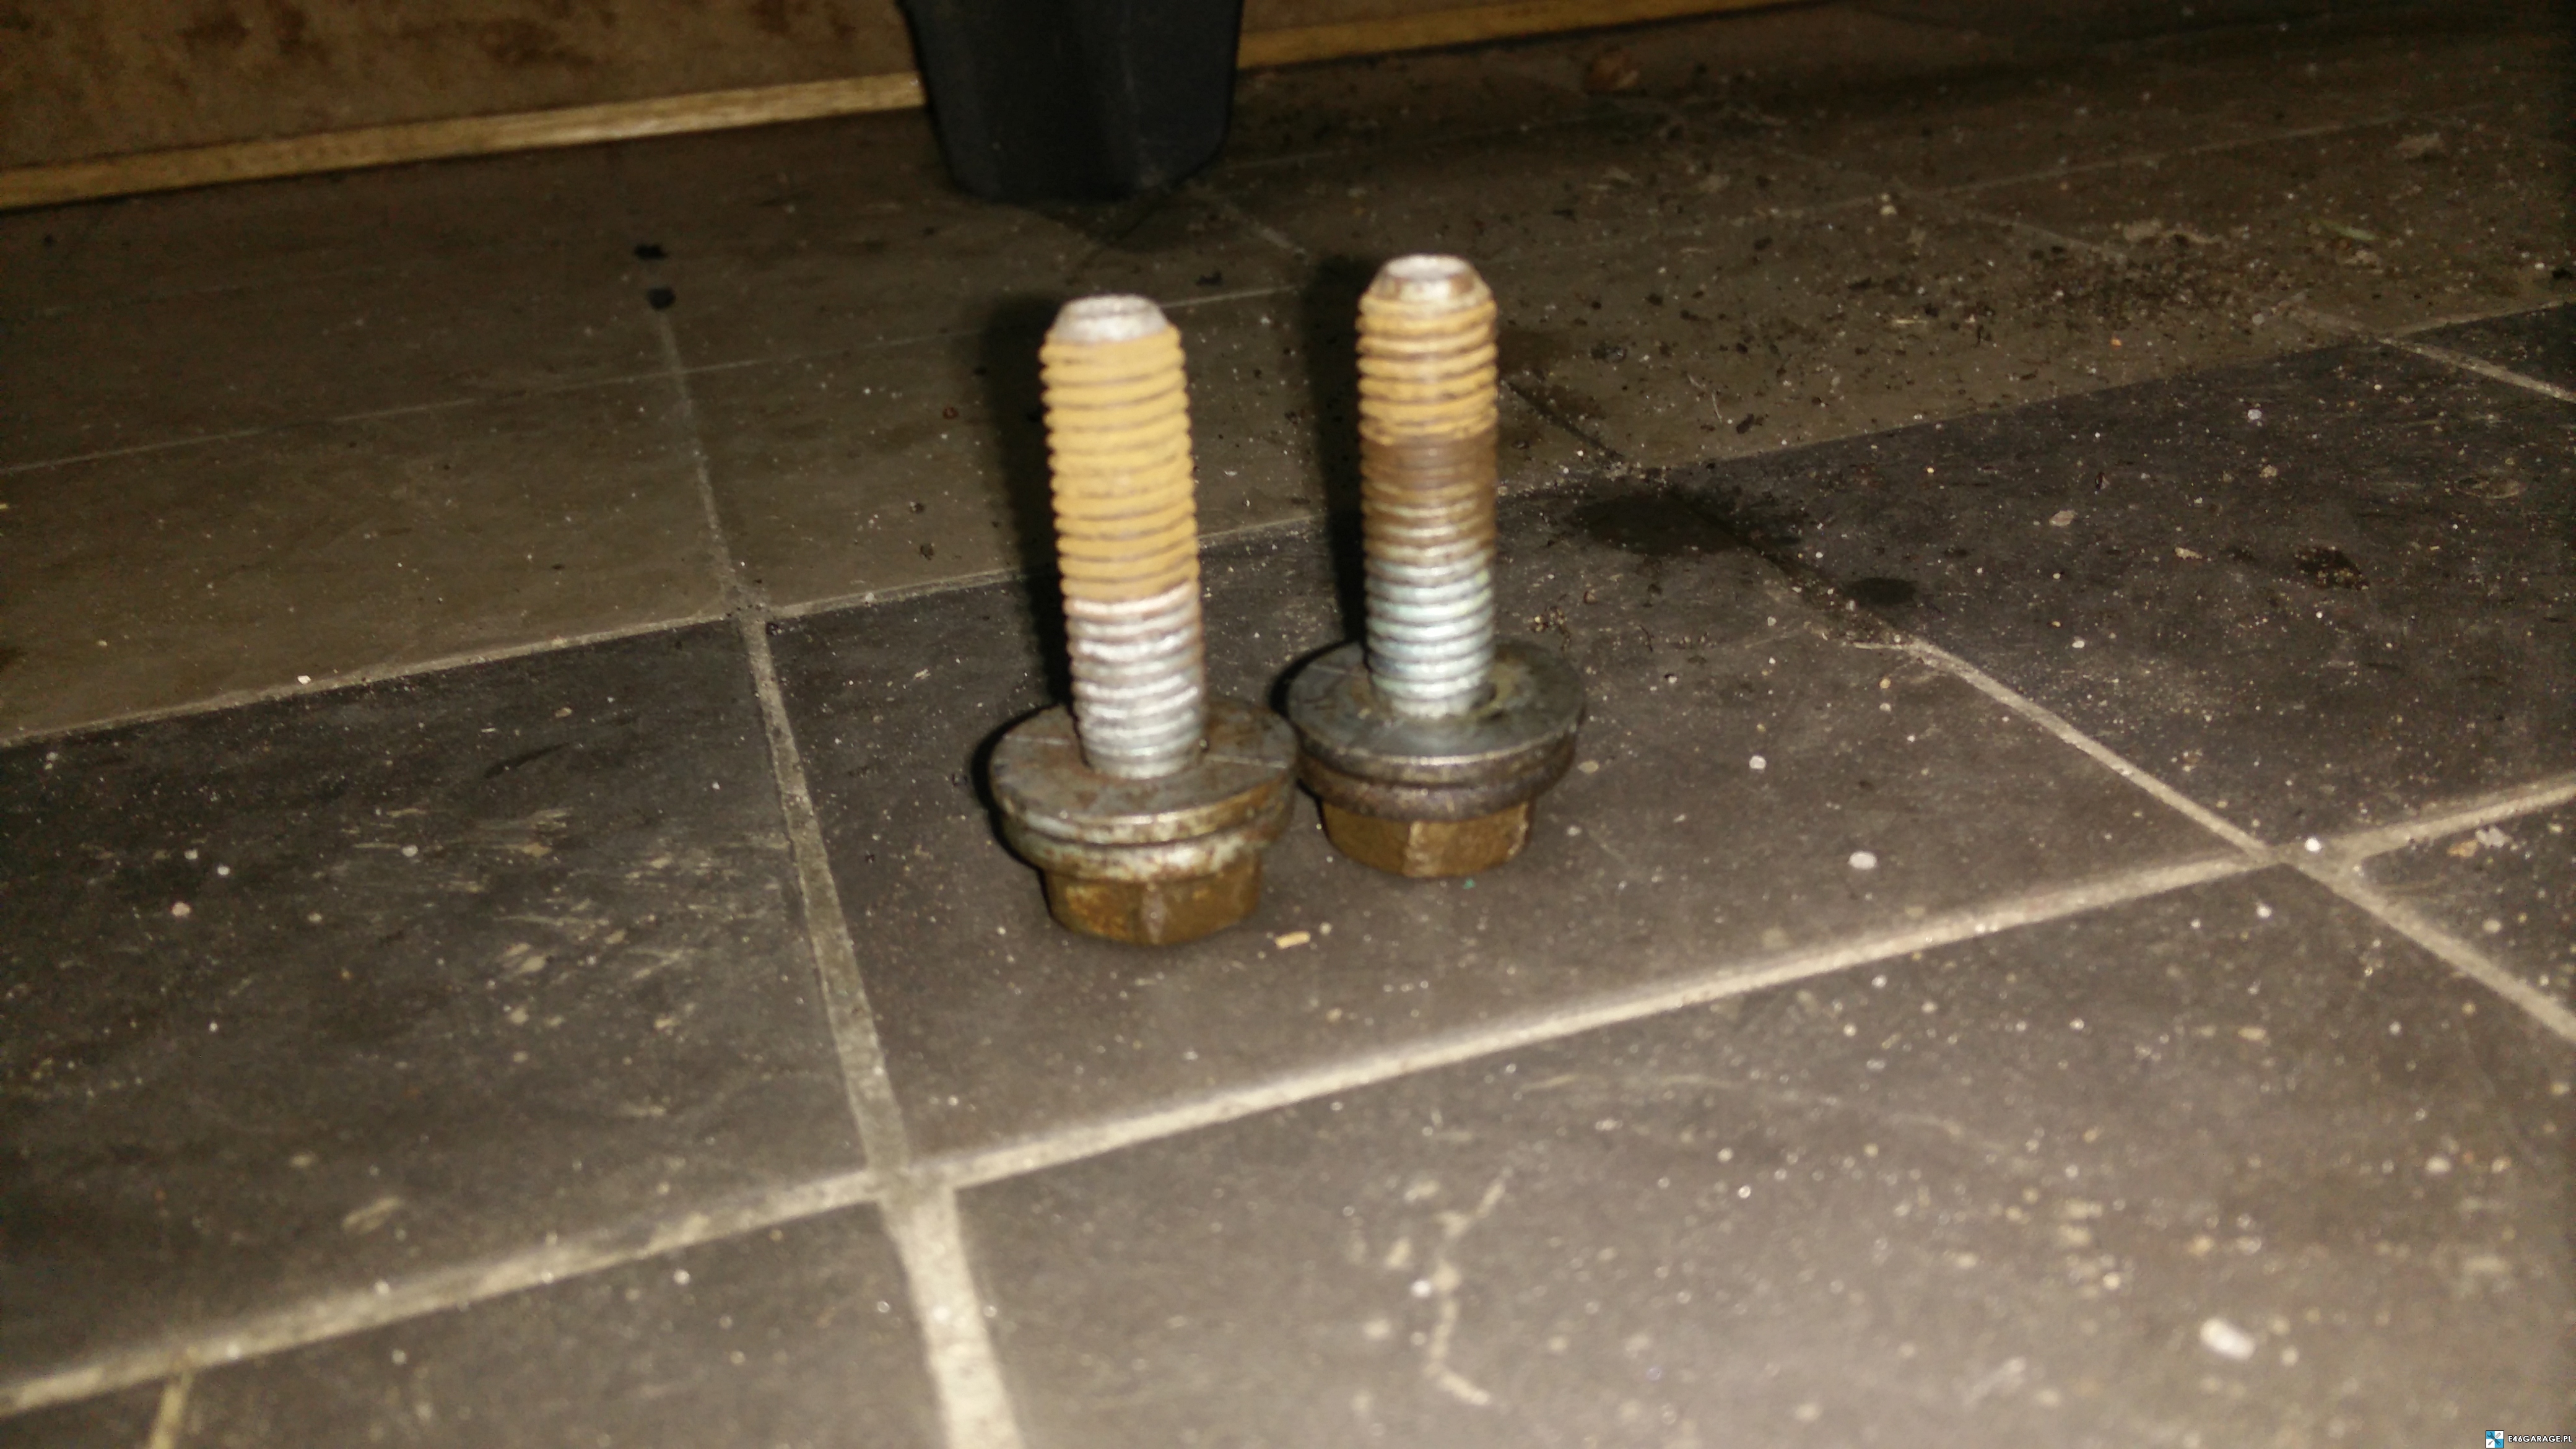 This is what the culprits of our first nerves look like when working 🙂
The next step is to remove the thermal shield above/below the catalyst.
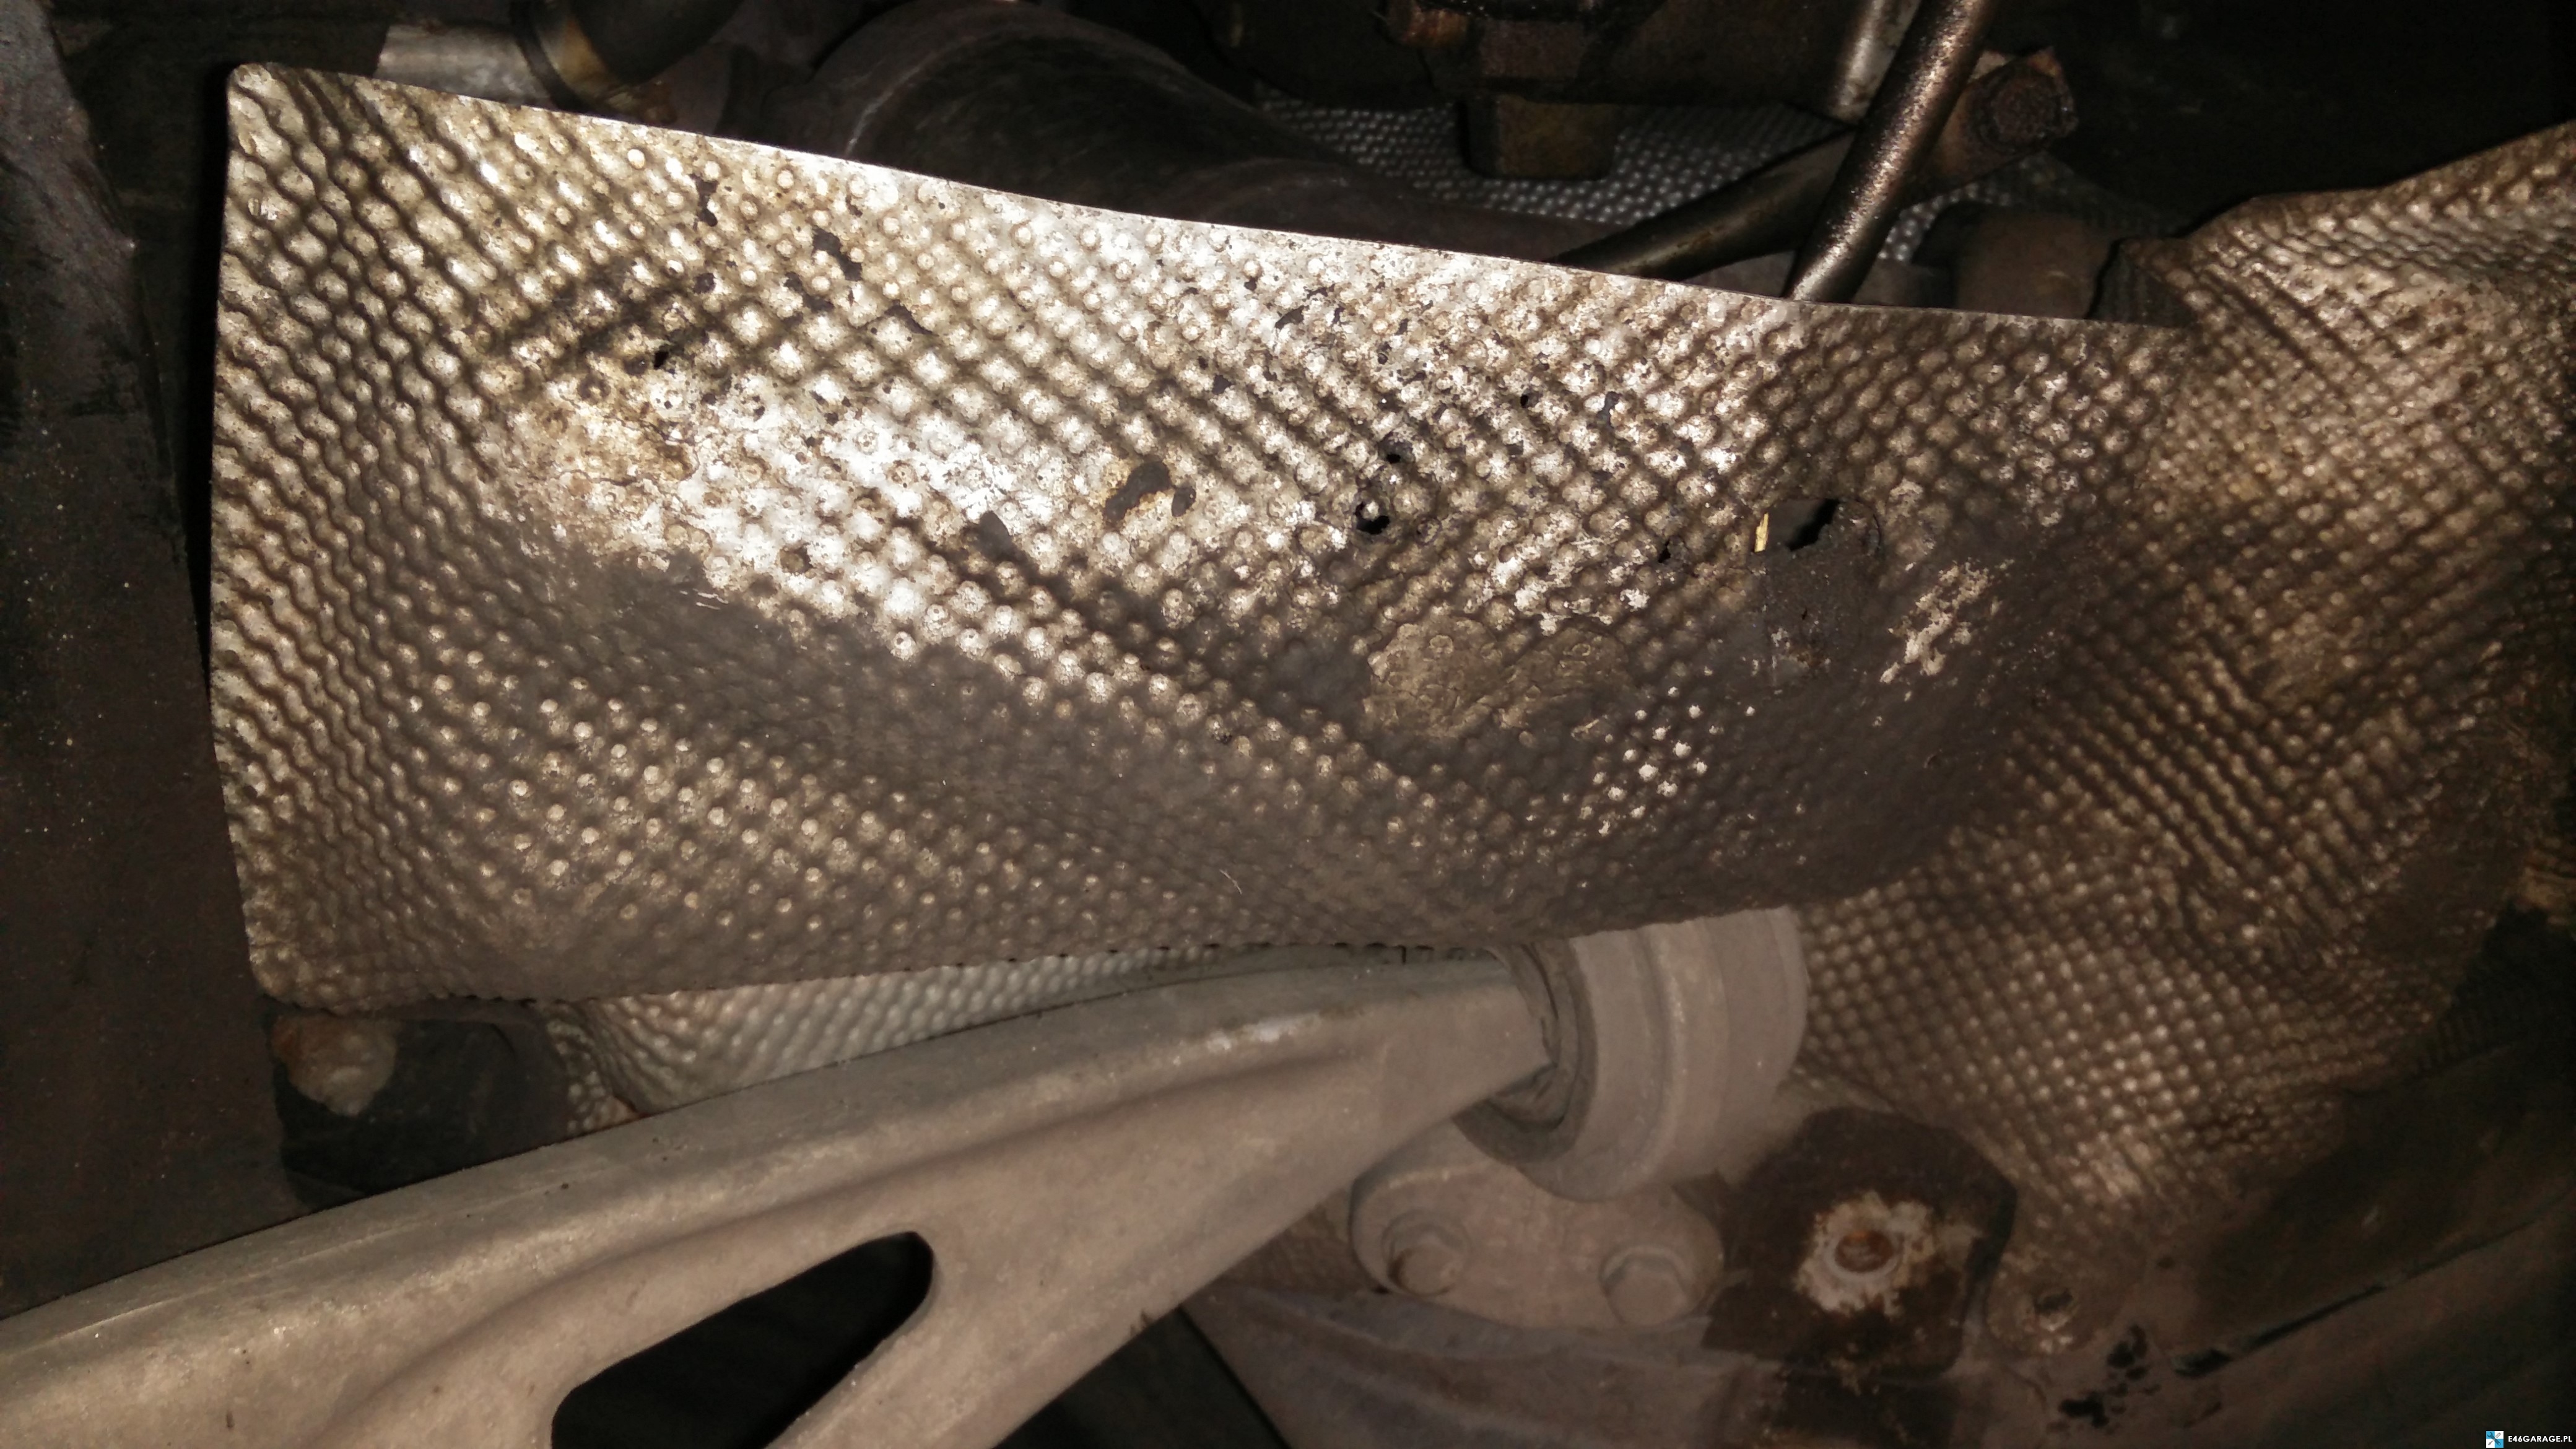 Phillips screws or cap 8. It depends on who and when he was chosen for them. In total they should be 4, but no… may be less or from old age, the cover may have crumbled and not even been kept. You have to locate them yourself. I know that one is right in the eye of the rocker, so just a long extension and unscrew.
We dismantle the turbine oil pipe and the catalytic converter
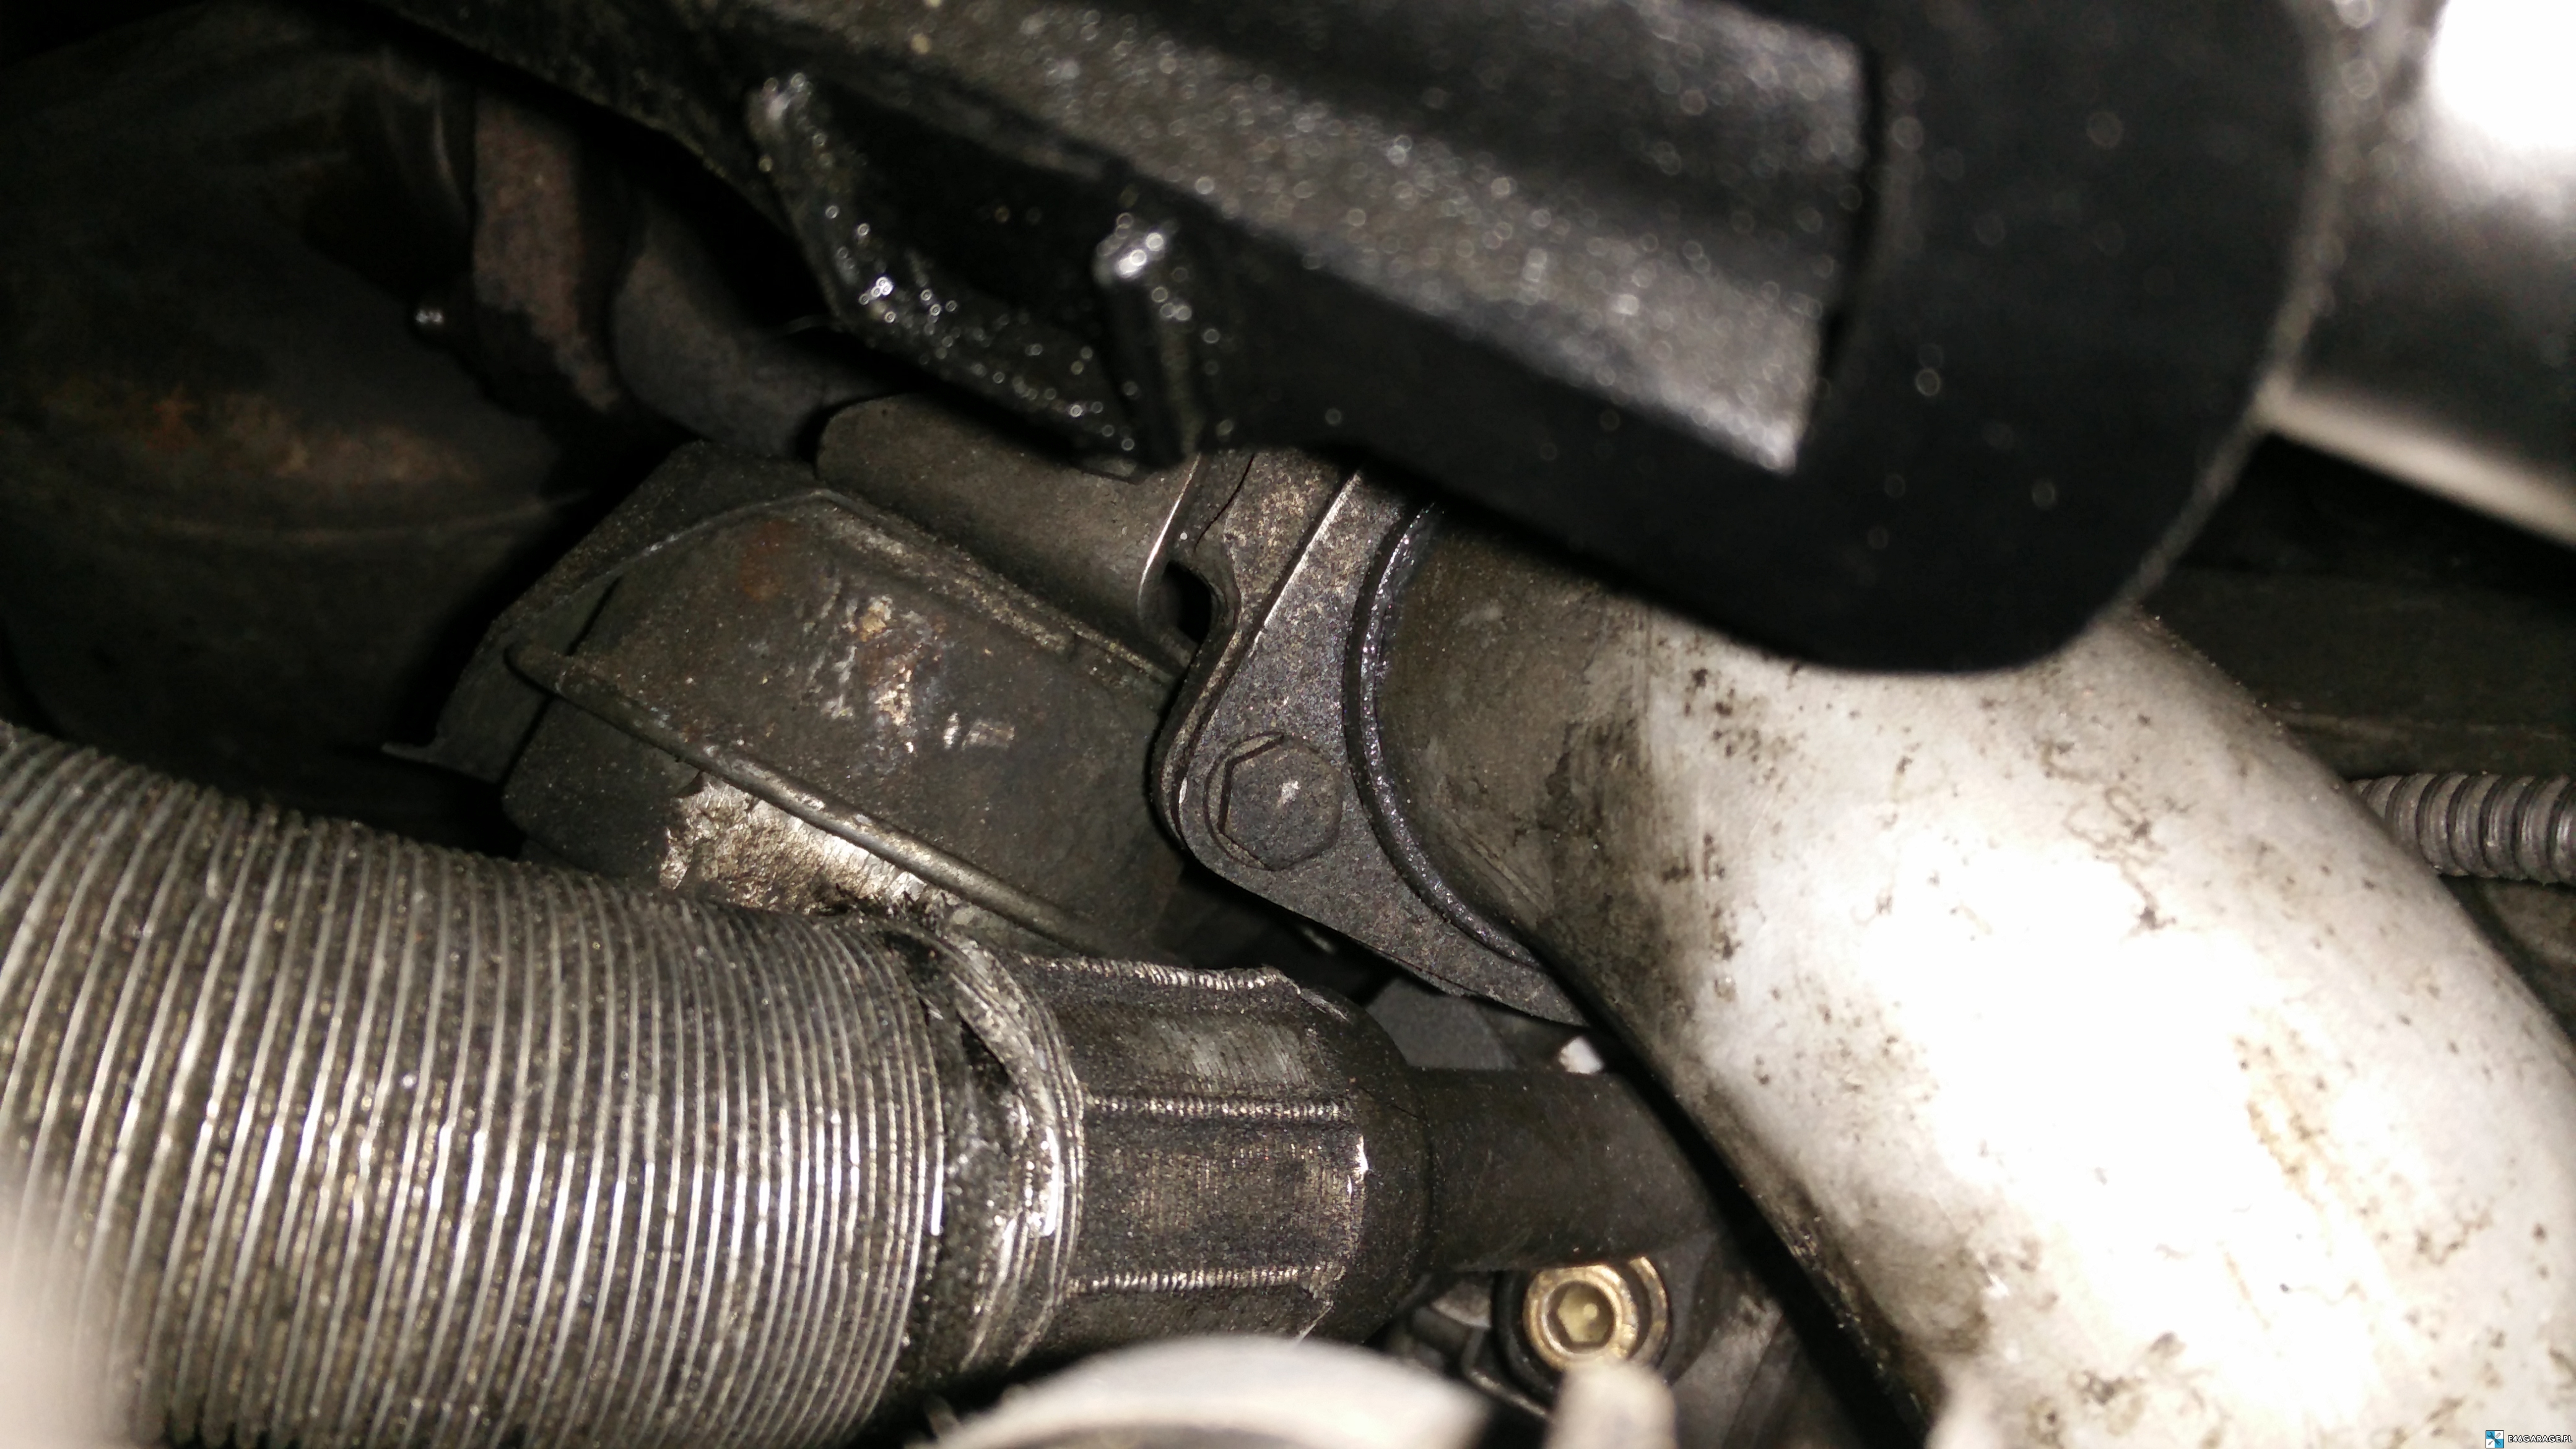
To get to the exhaust (catalyst) we need to unscrew the two nuts with a 15-eye wrench. There's nothing complicated about it. In theory… In practice, the nuts will be nasty baked and it may happen that we twist the pin. I recommend you spoil the WD40 or other specifics to help unscrew it. However, in order to have a full access, we need to get rid of this small rubber turbine oil pipe.
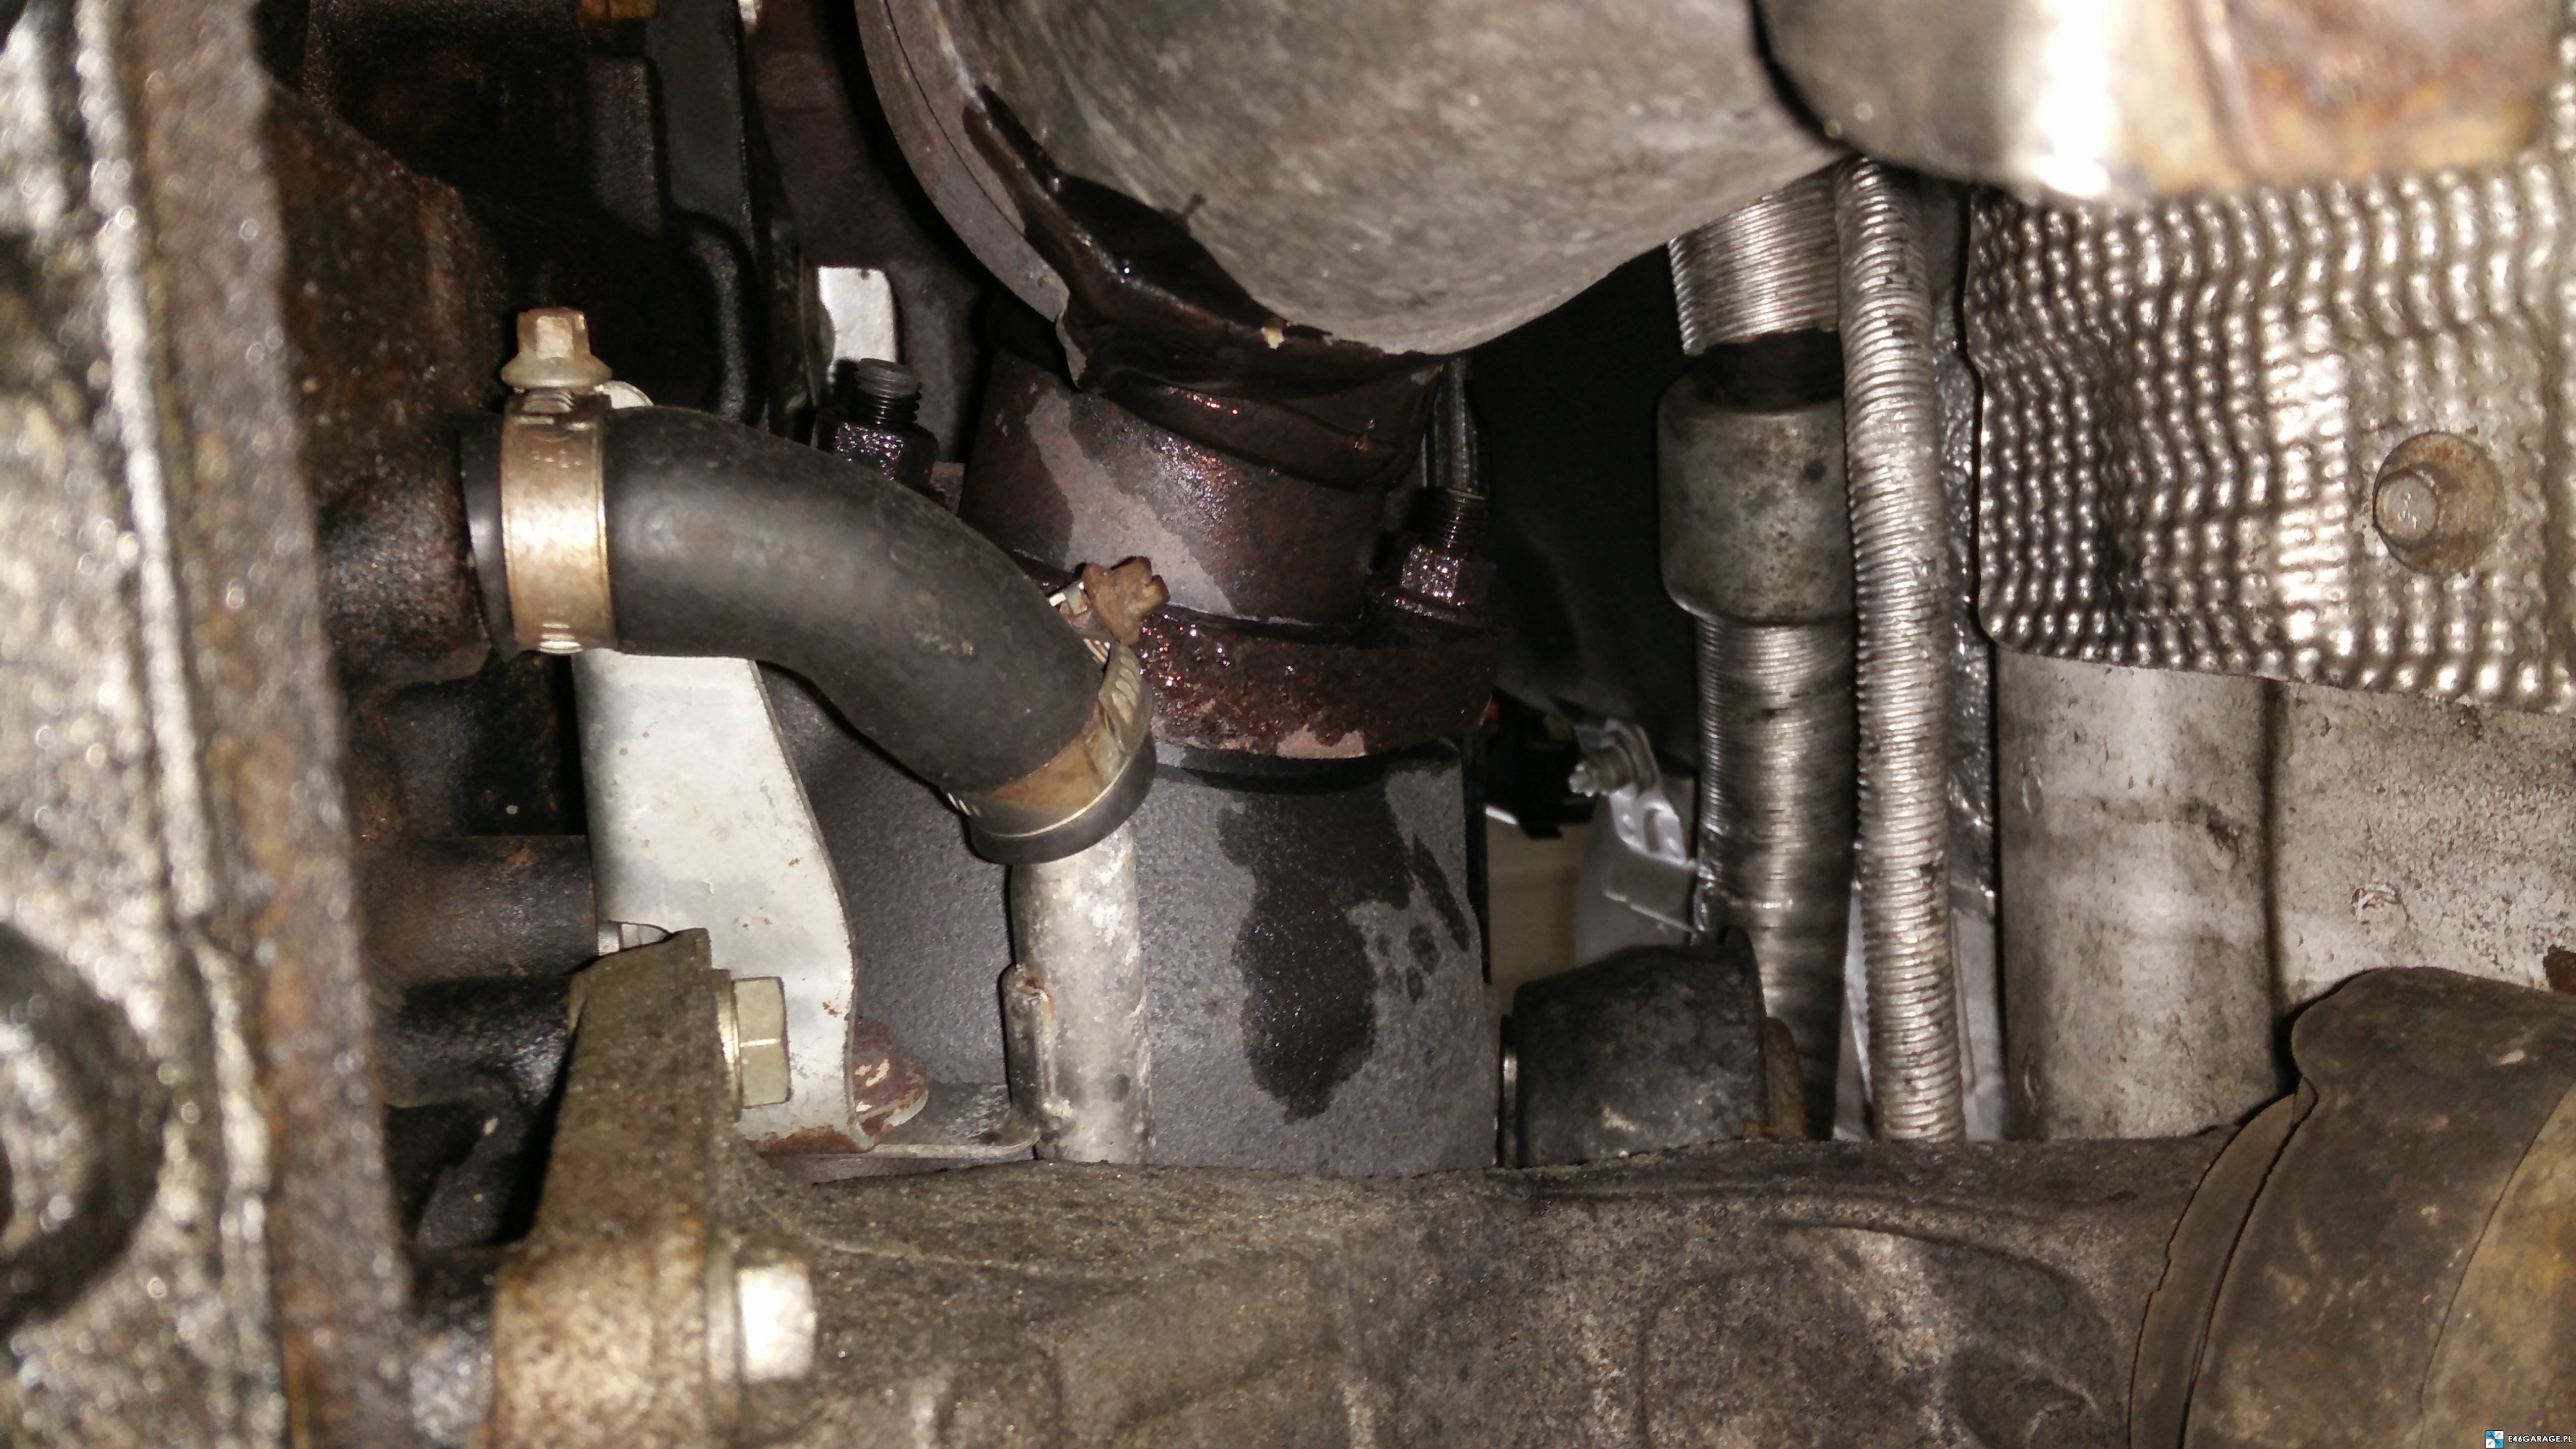 We unscrew the two bands visible at each end of the rubber oil hose. Then drag the band from left to right (stretch it) and when it is available on the left side, we pull it pulling to each other. Attention, it can drip, and even will, oil!
After downloading it, we can take for unscrewing the catalyst from the turbine outlet. This is, in my opinion, the worst moment. The movement is very limited, the nut often rotates in place and the pin is twisted. Putting the eye wrench on the nut is also very stubborn. I will comfort you – as I did, it's you too! 🙂
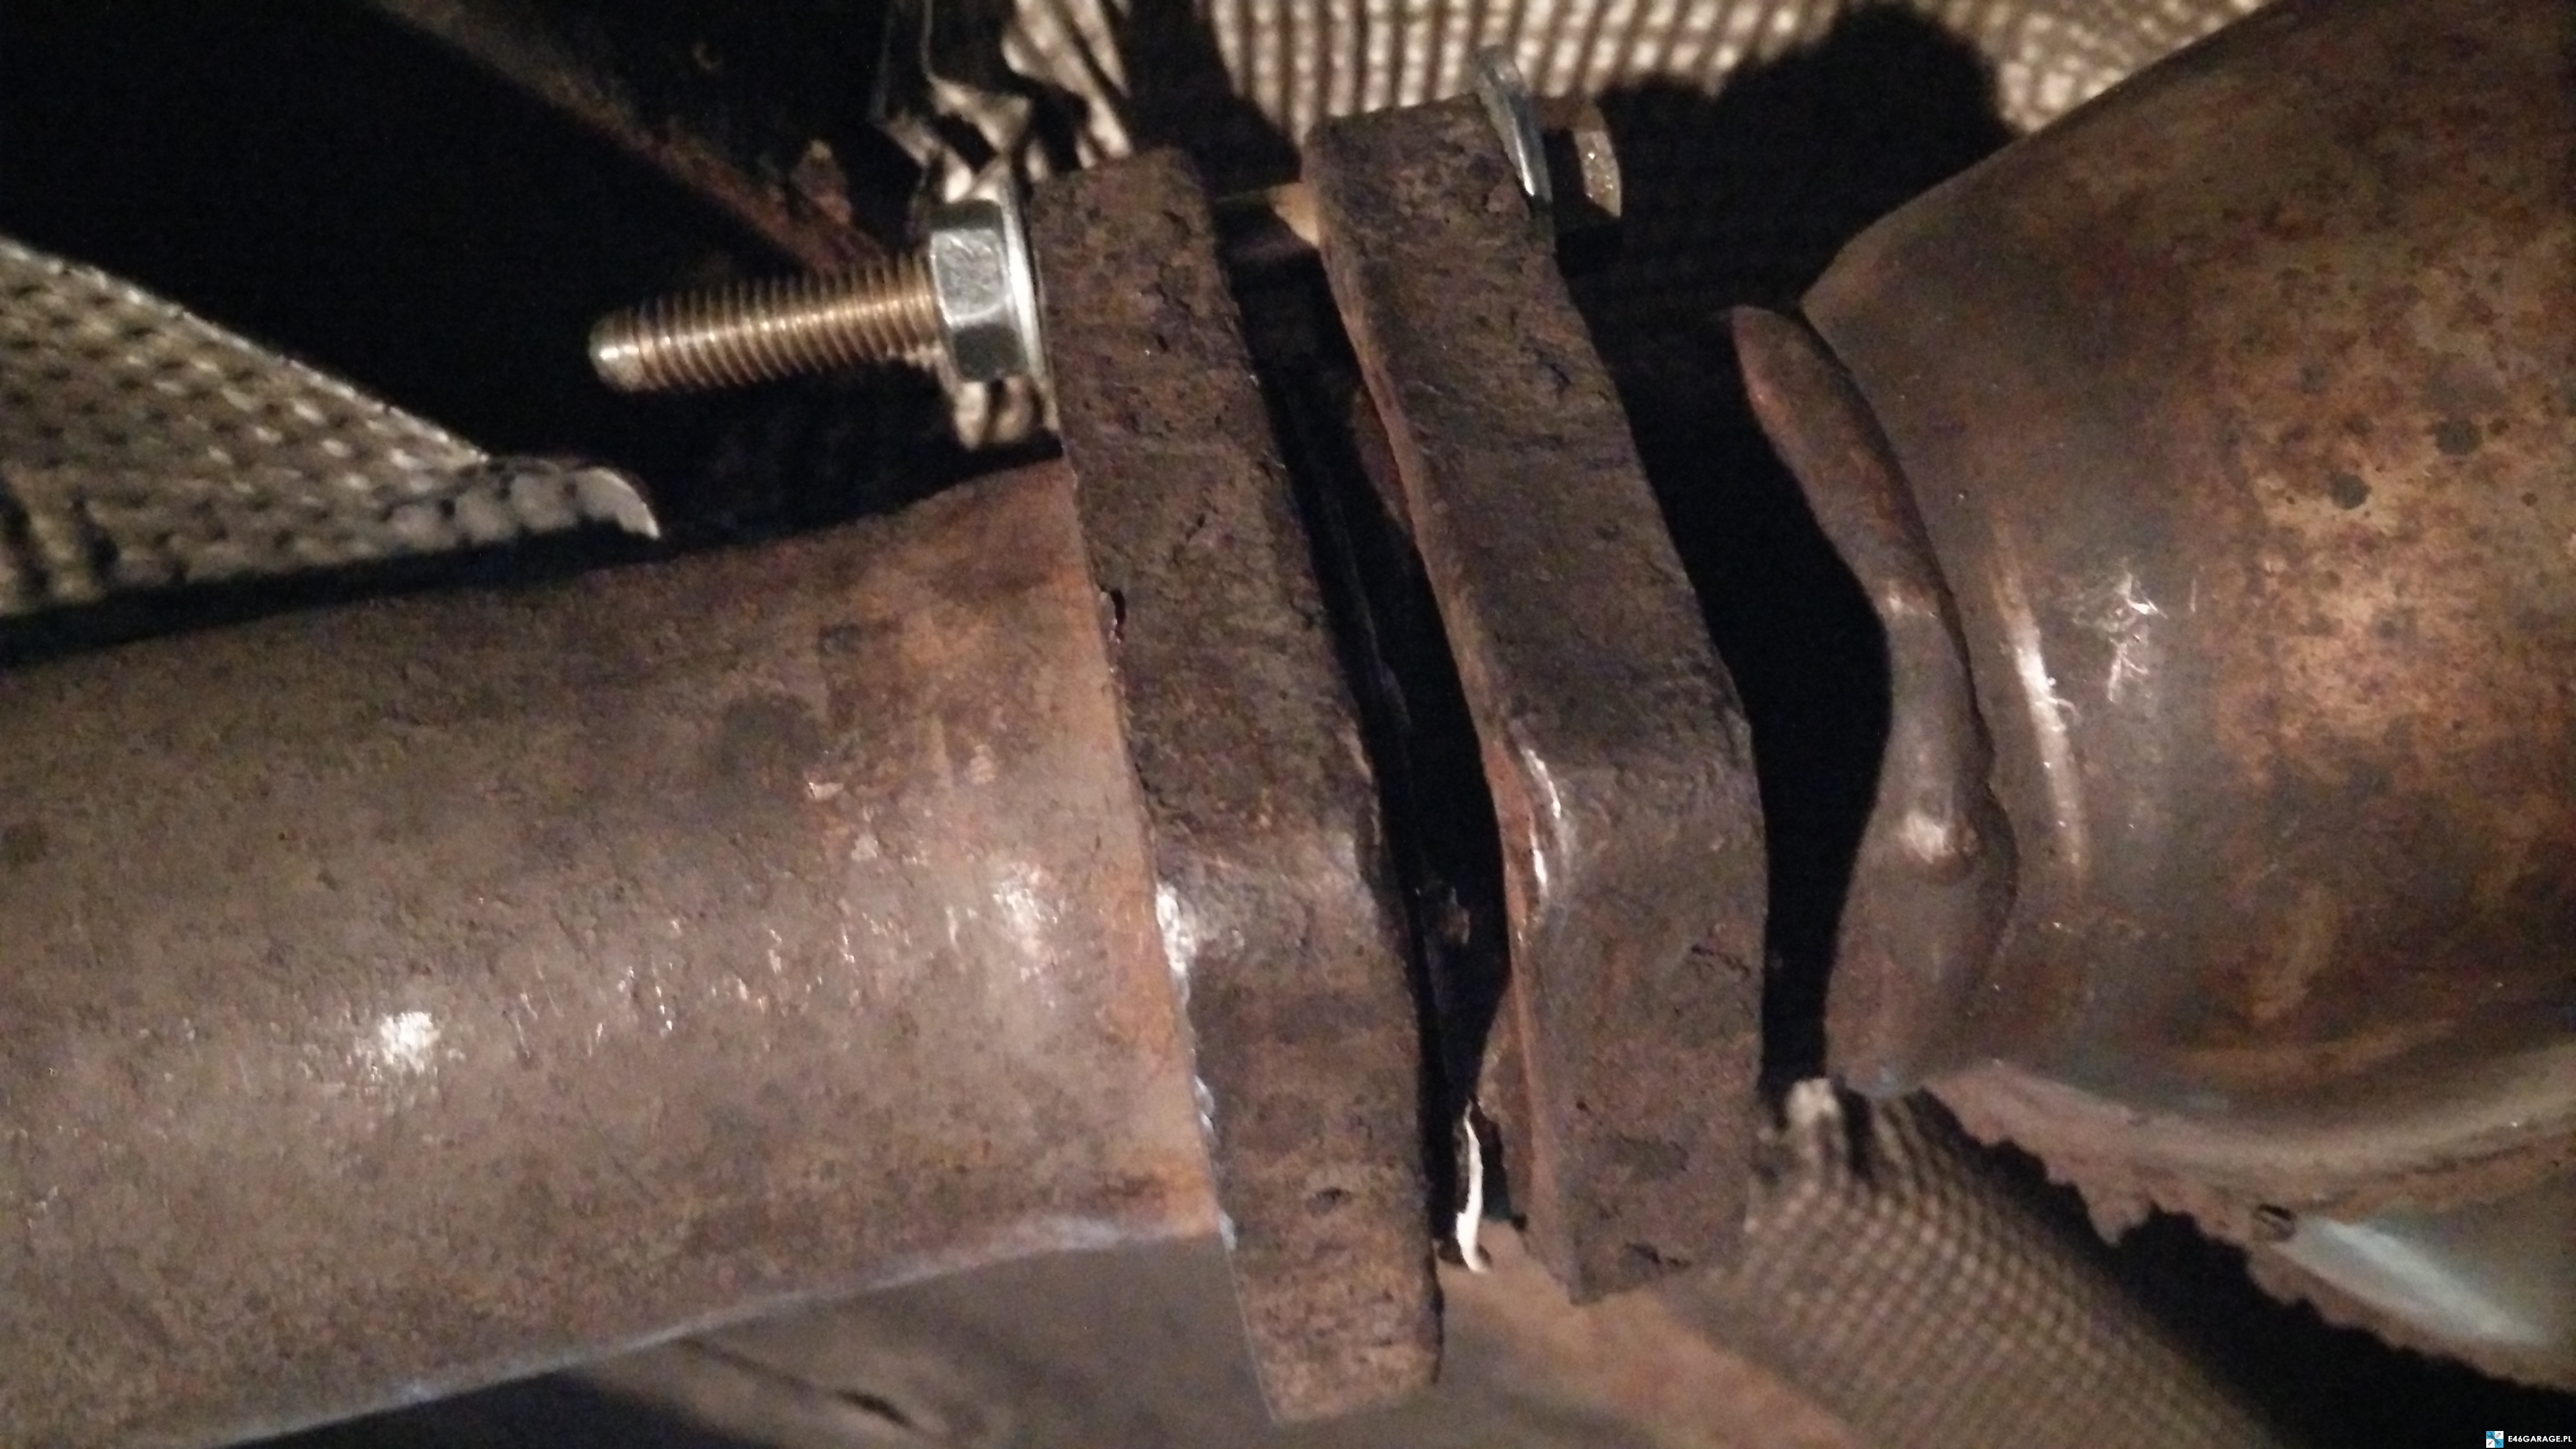
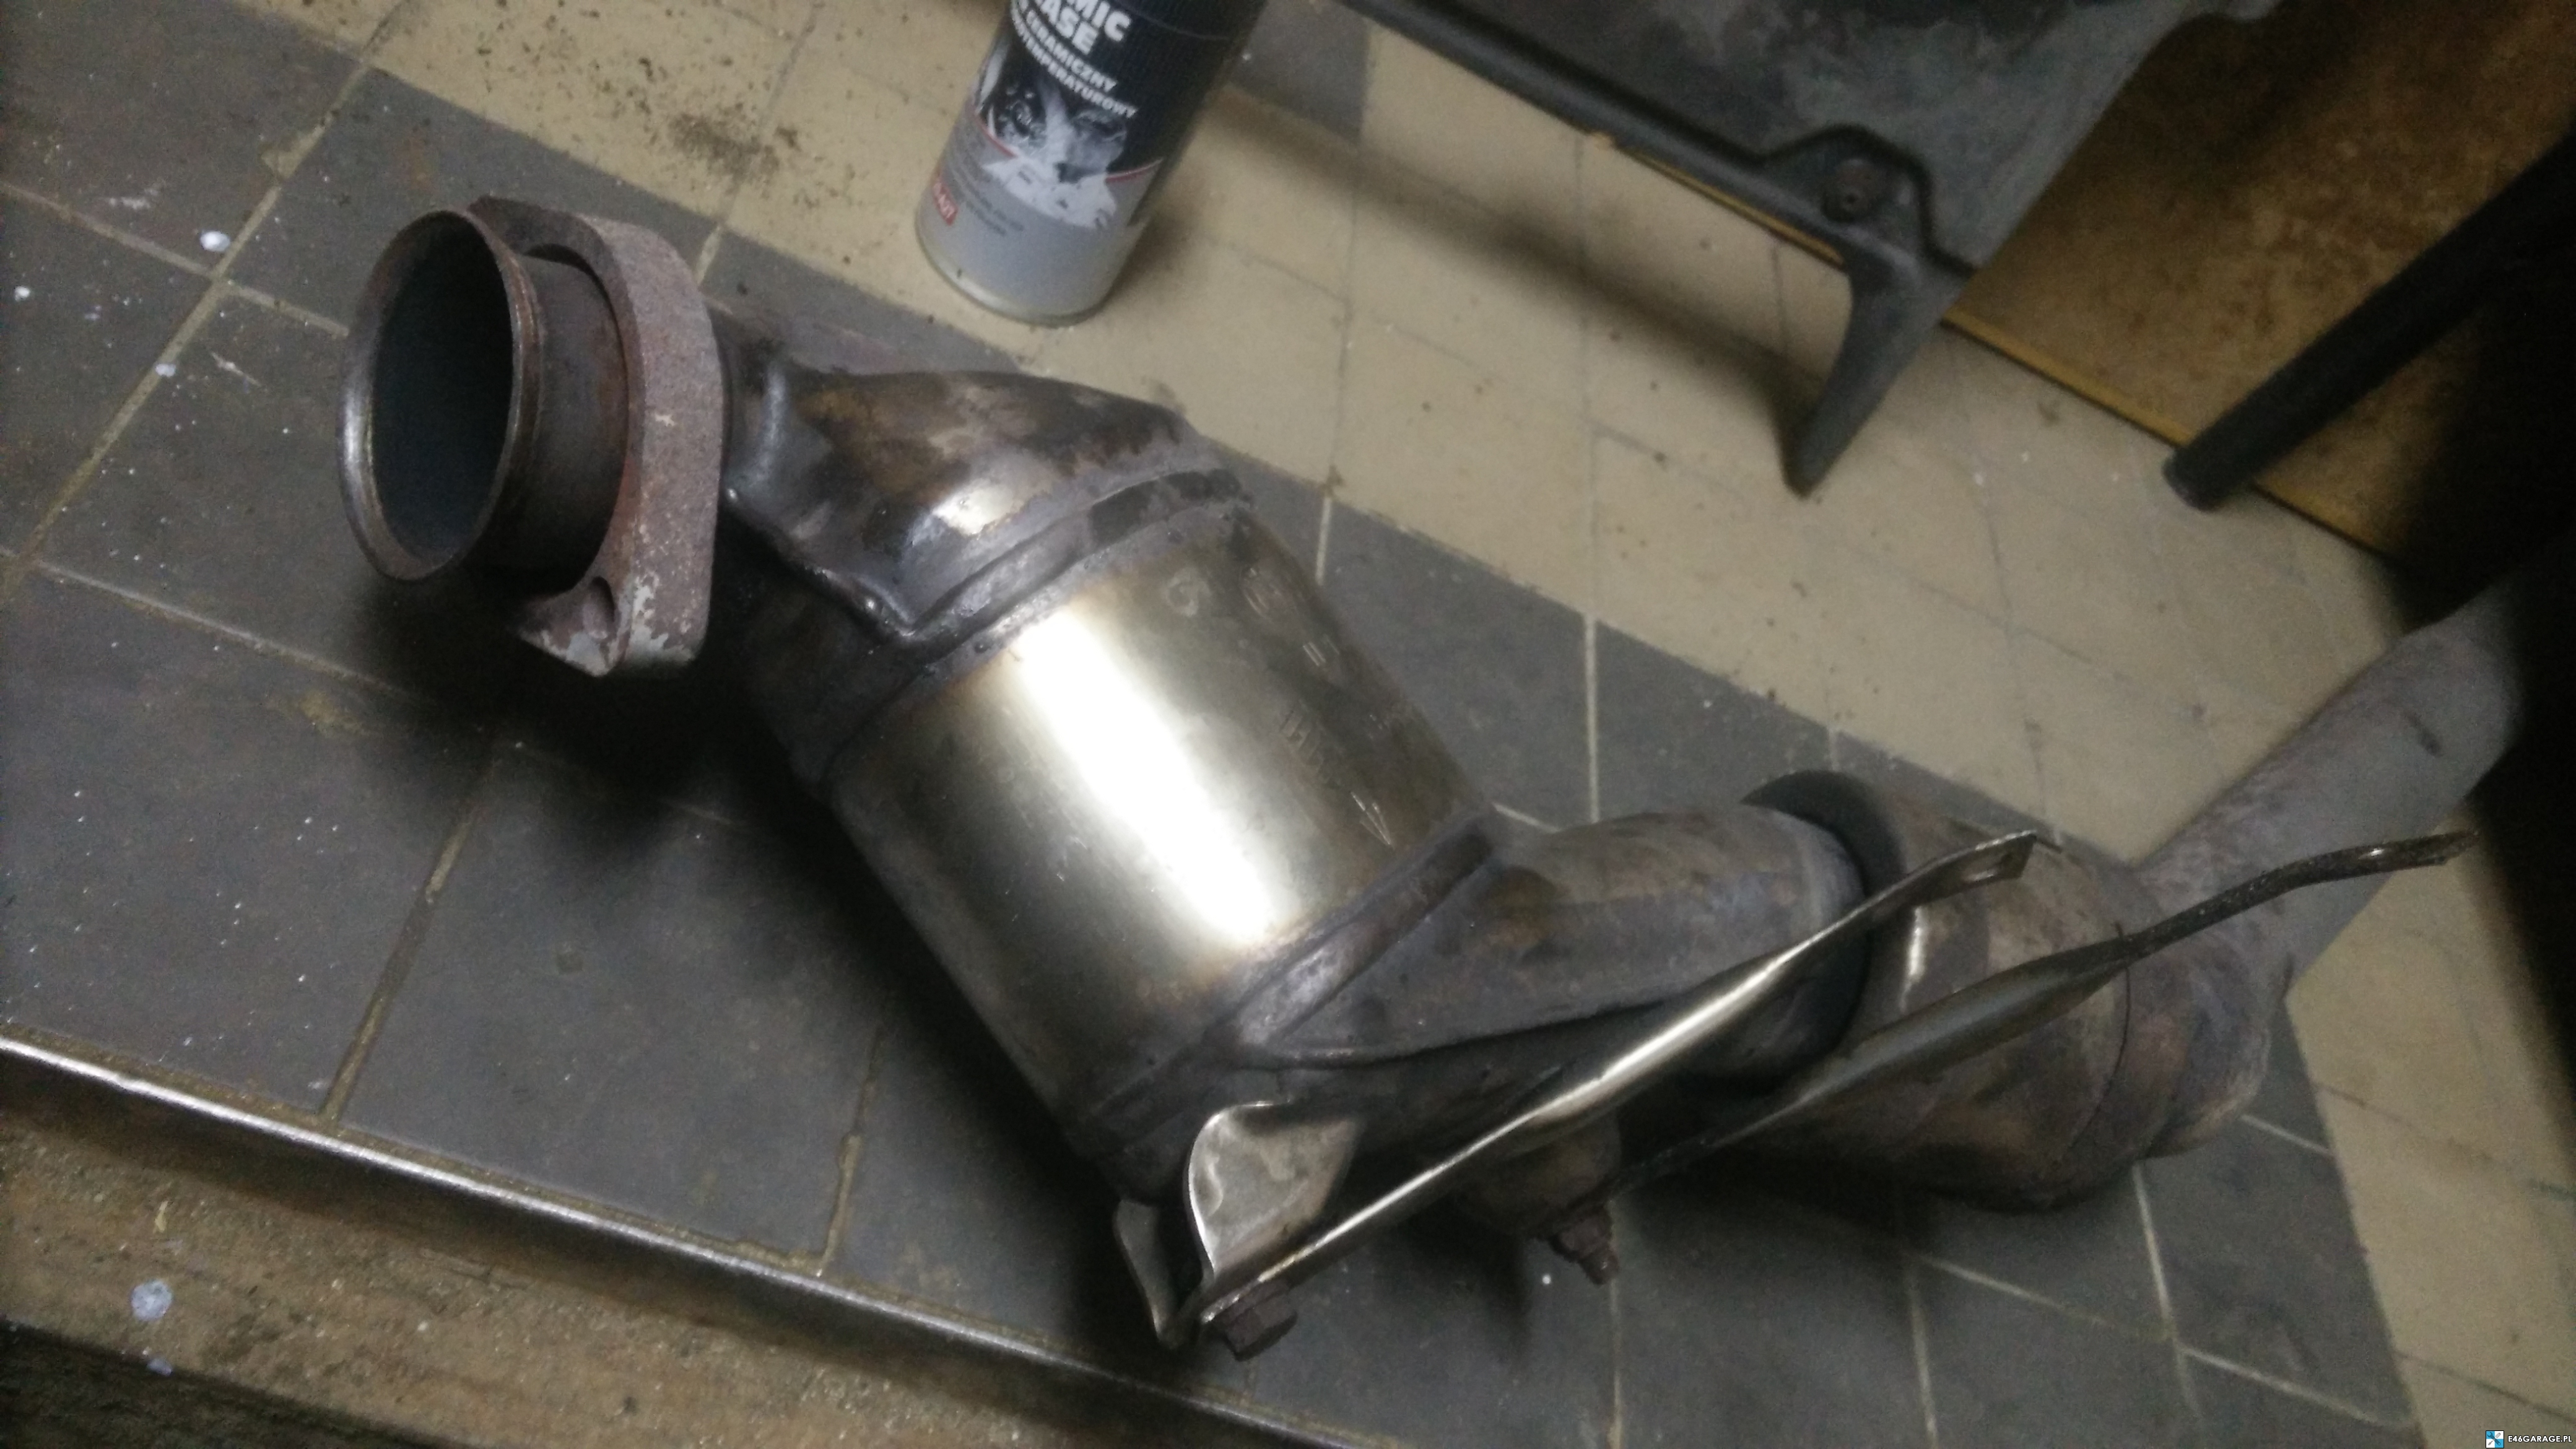 I did not mention it above, but the catalyst is still held with two paws, which can be seen above. They are extremely easy to unscrew. Cap 8 or 10 in two places and you can freely pull out the catalyst.
 Of course, we unscrew it from the far side of the exhaust.
 For the brave it is a good opportunity to perform such a mod, or insert a downpipe 🙂
We unscrew the turbine from the exhaust manifold
To start unscrewing the turbine, we need to remove the air filter and the hose going from the filter to the turbo (hose – number 3 in the diagram below).

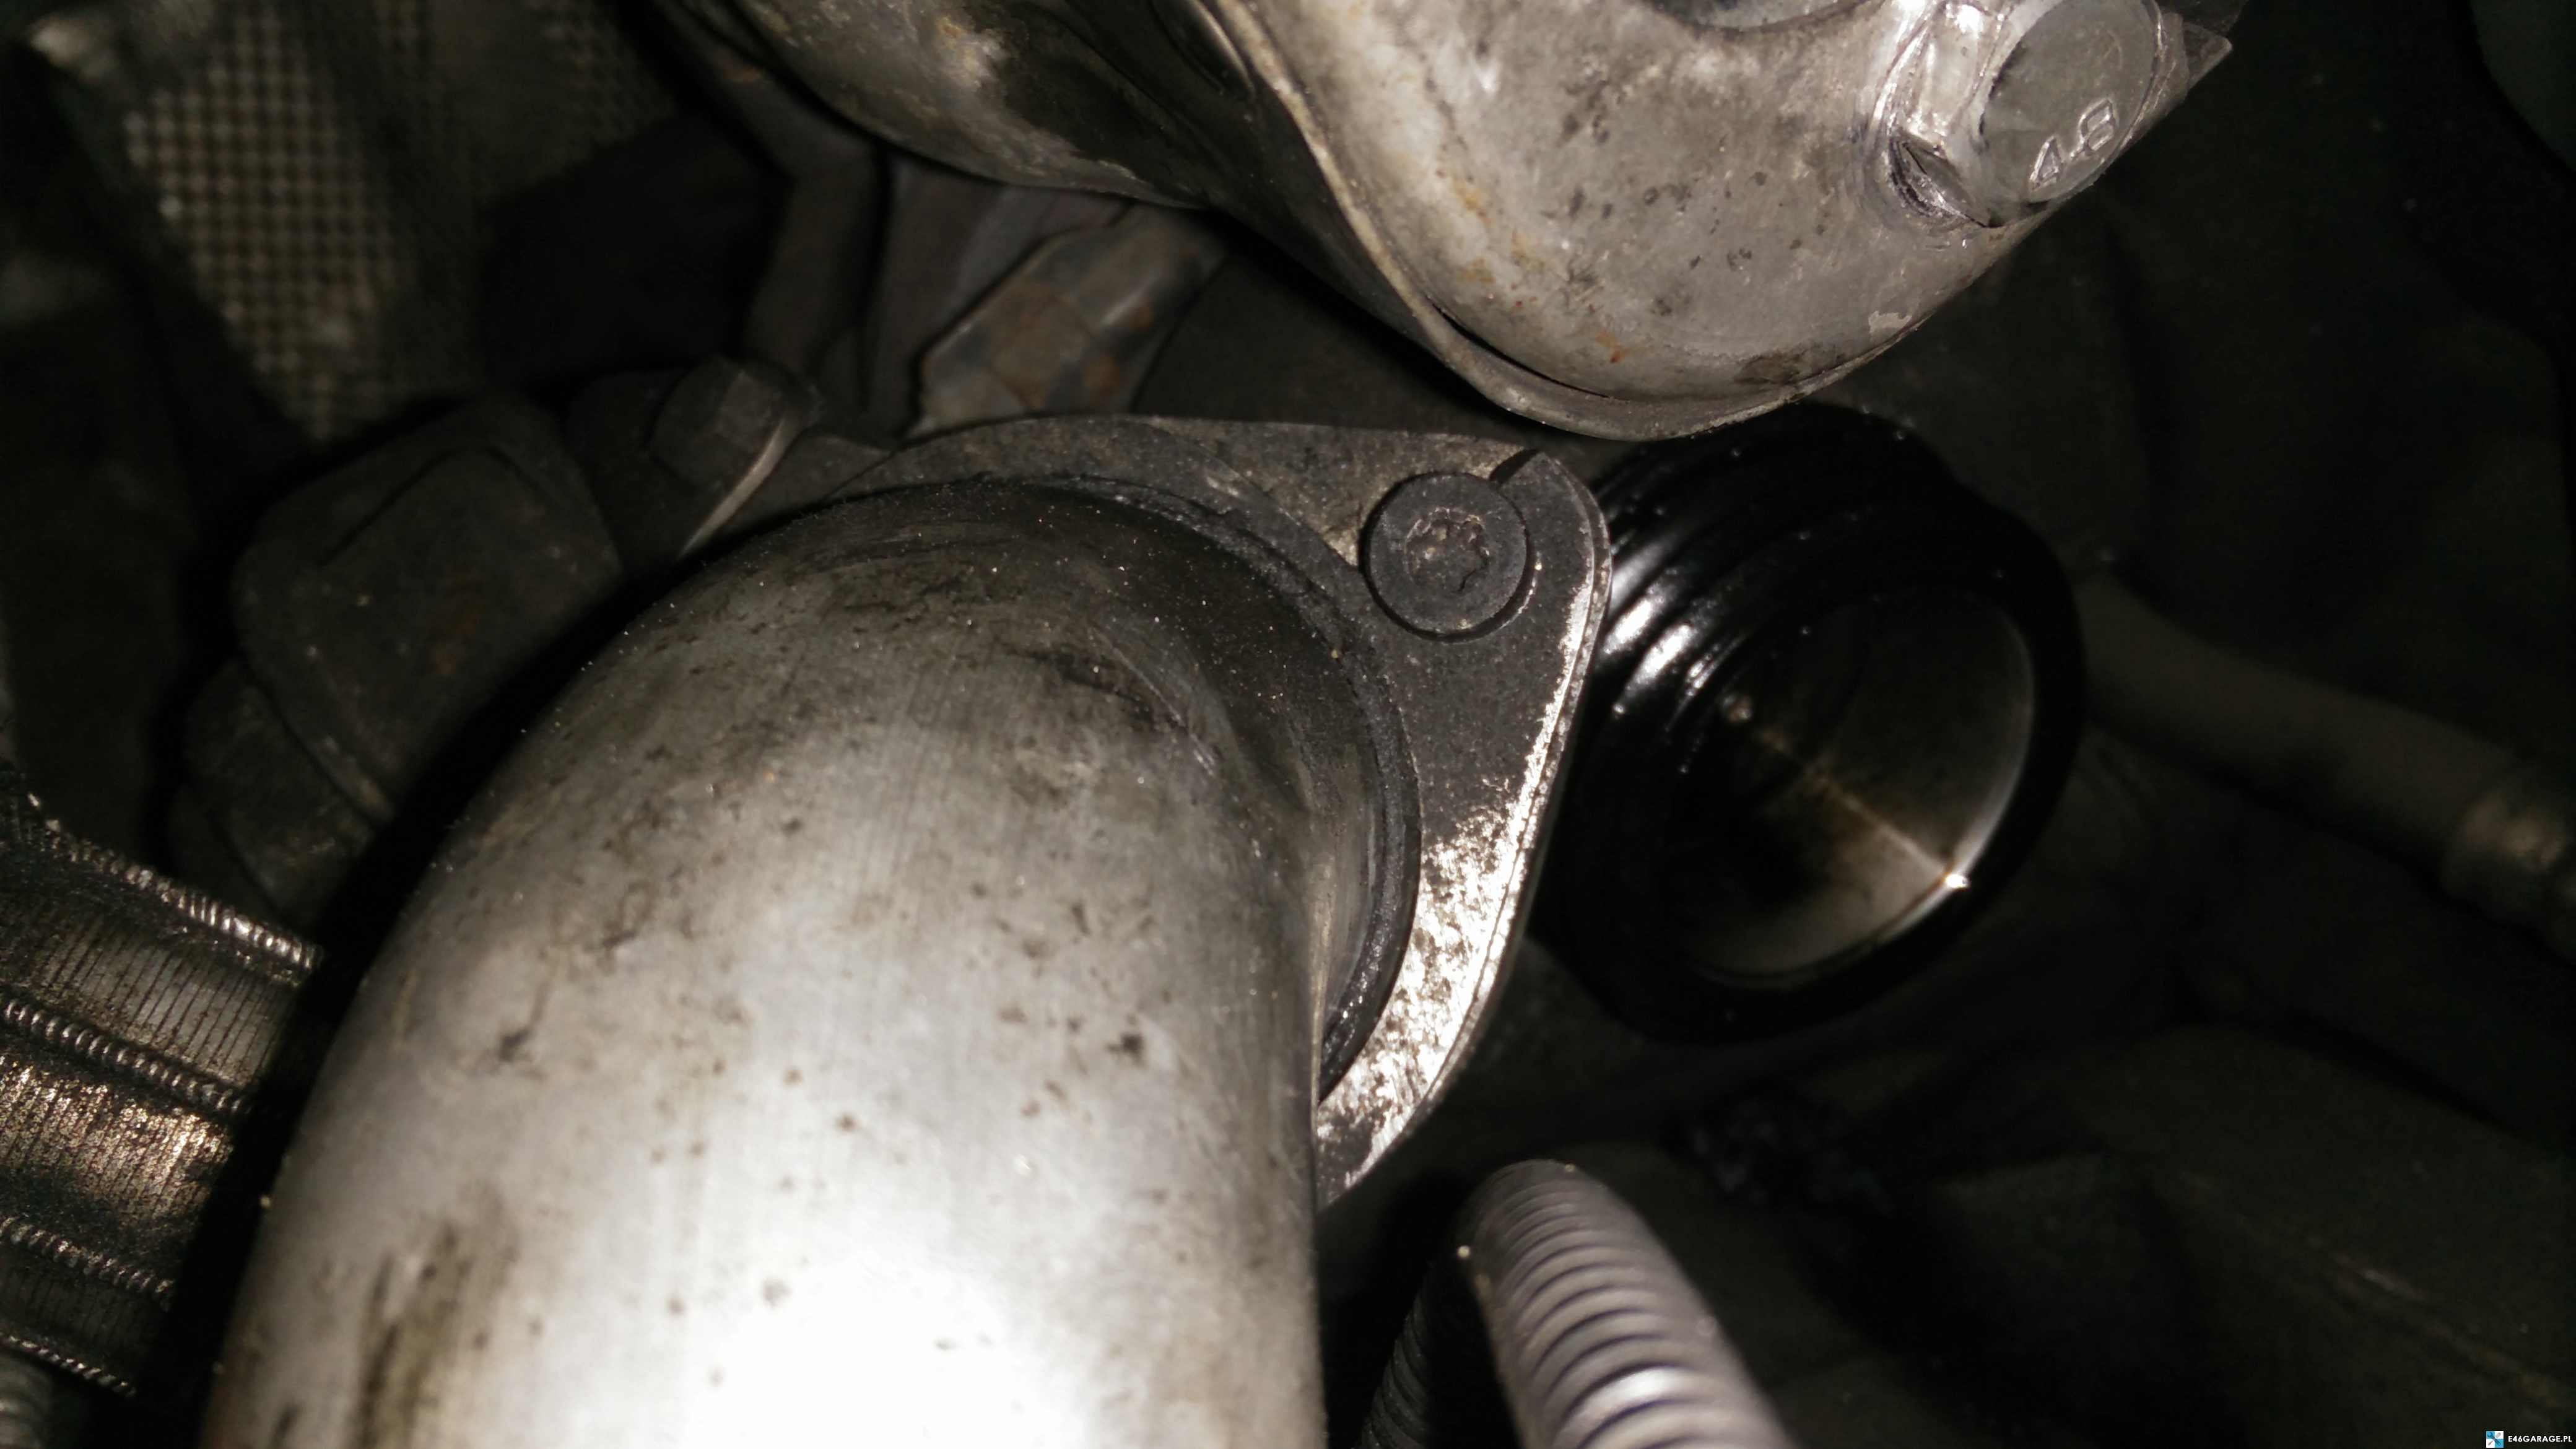
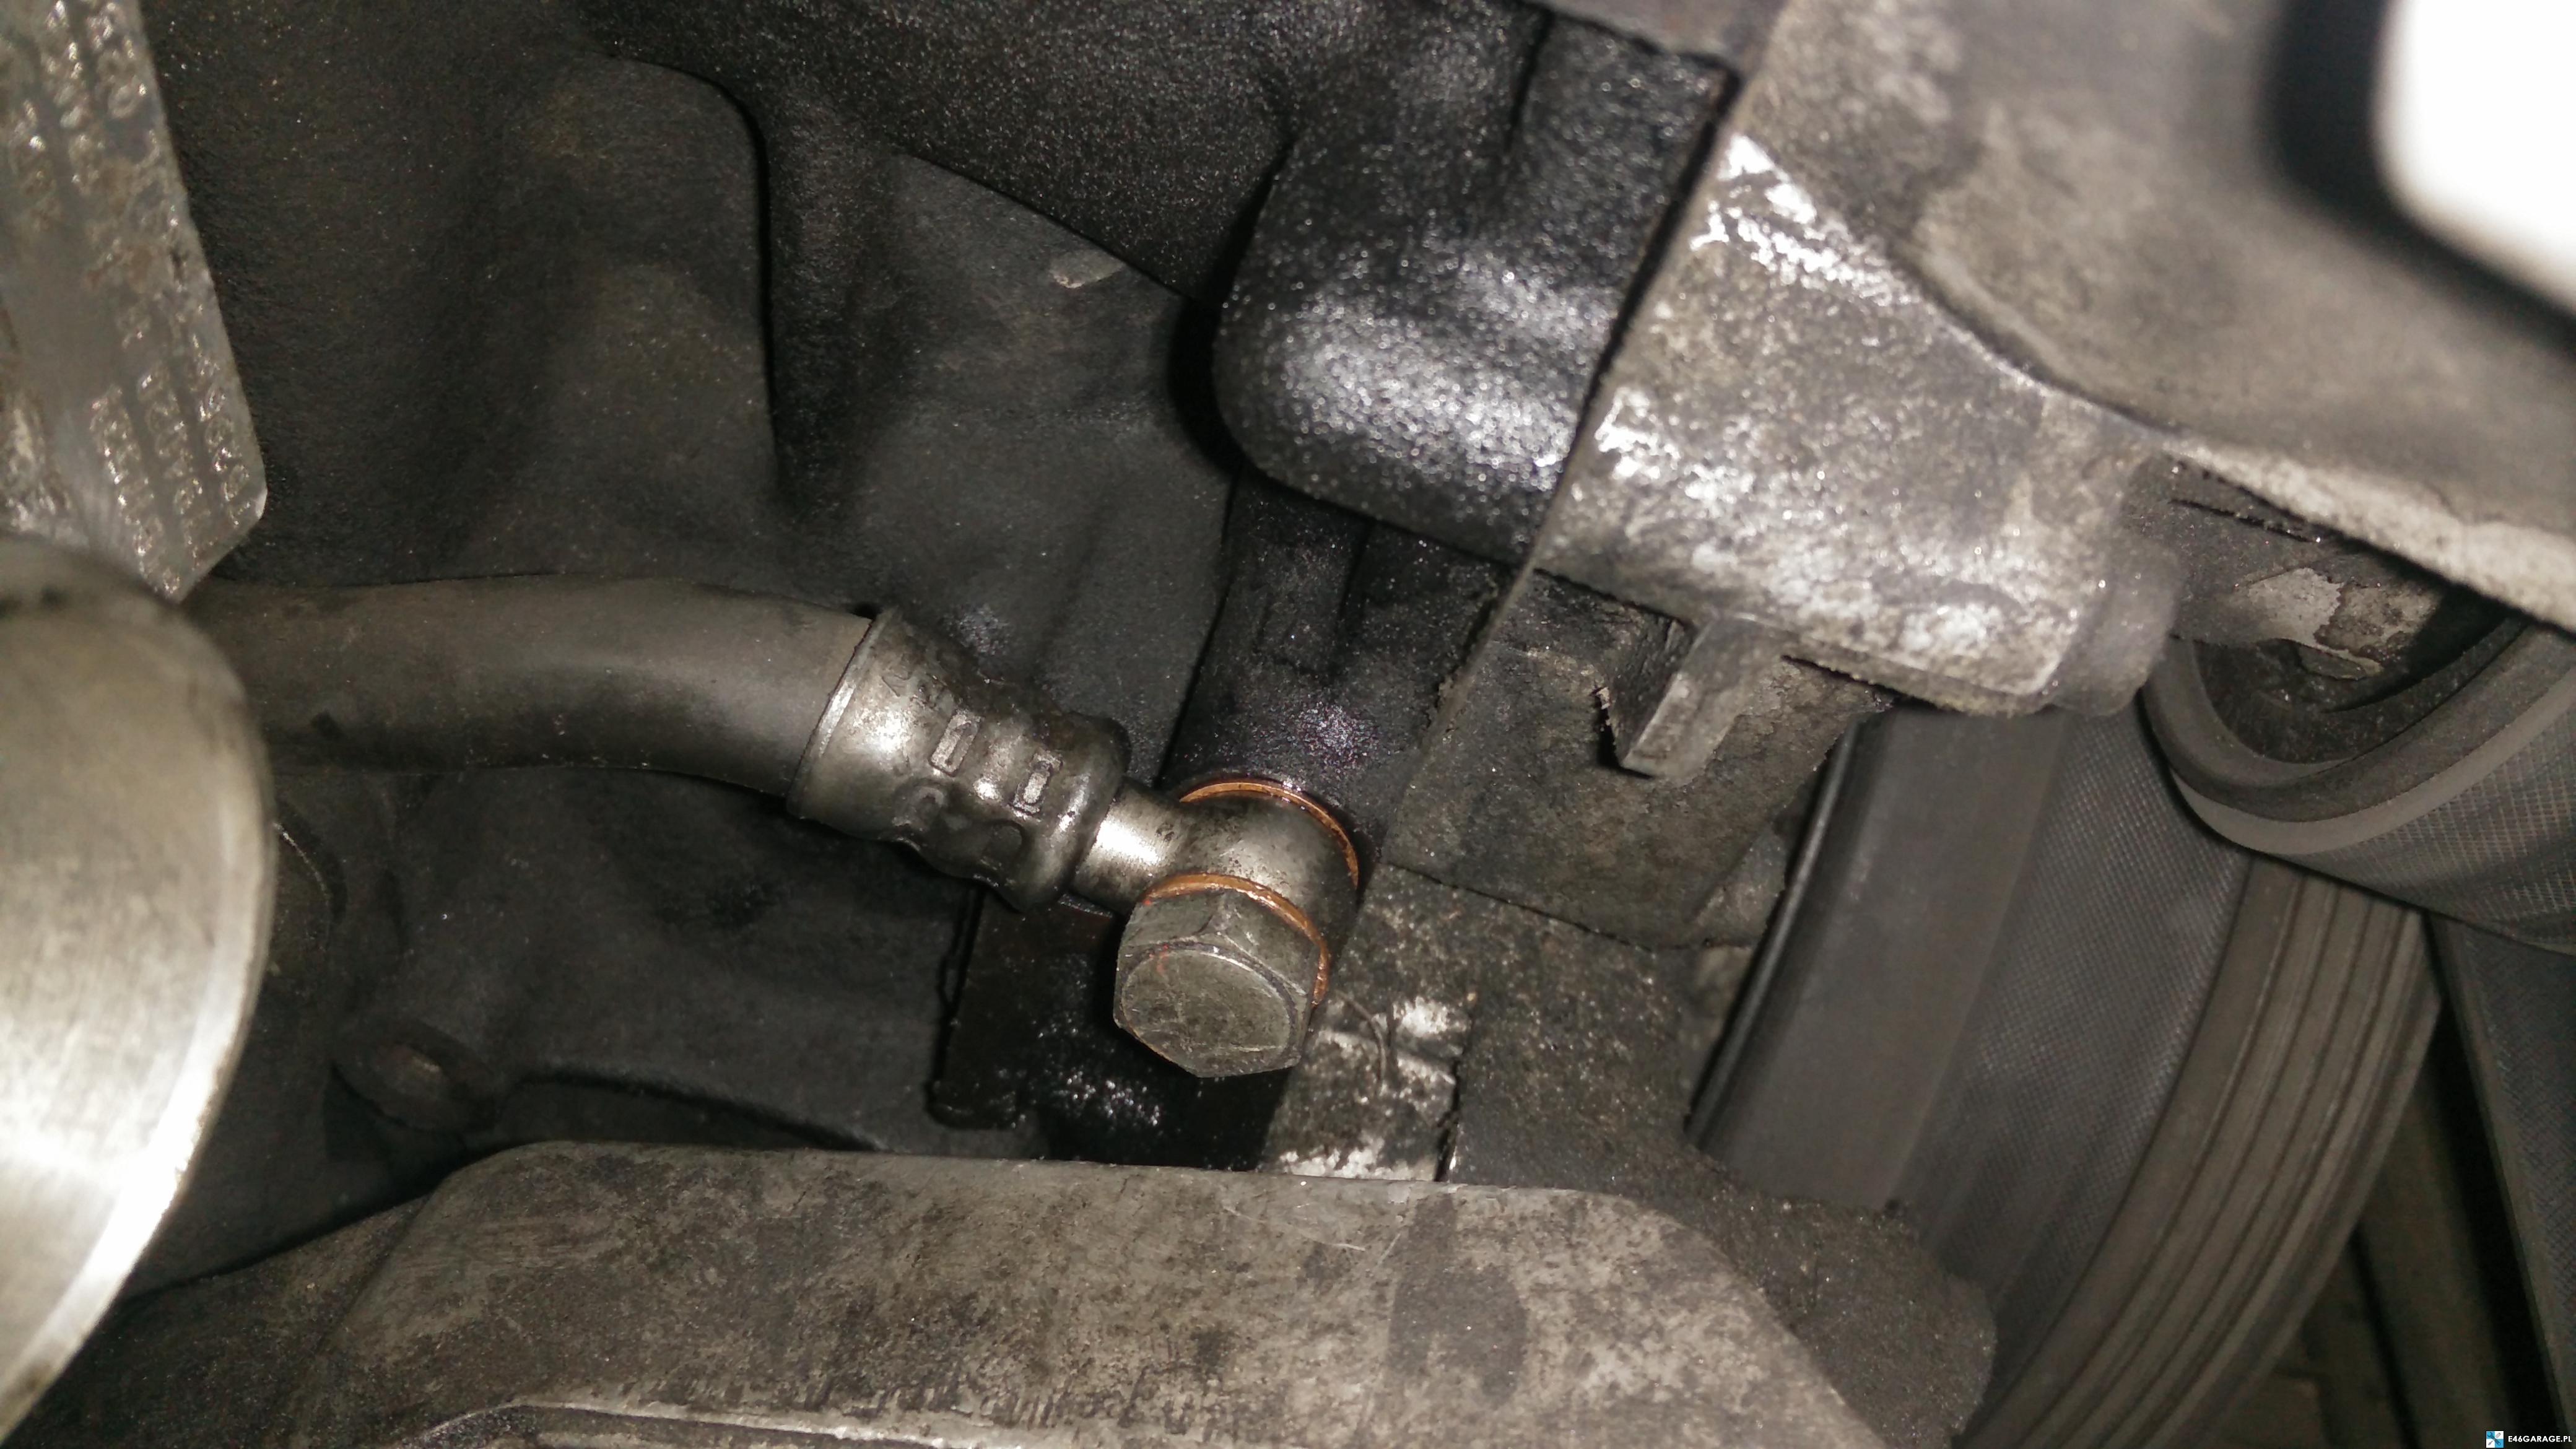
A pipe is still screwed into the turbo going to the intercooler. I do not know if there are two different screws everywhere, but that was the case with me:
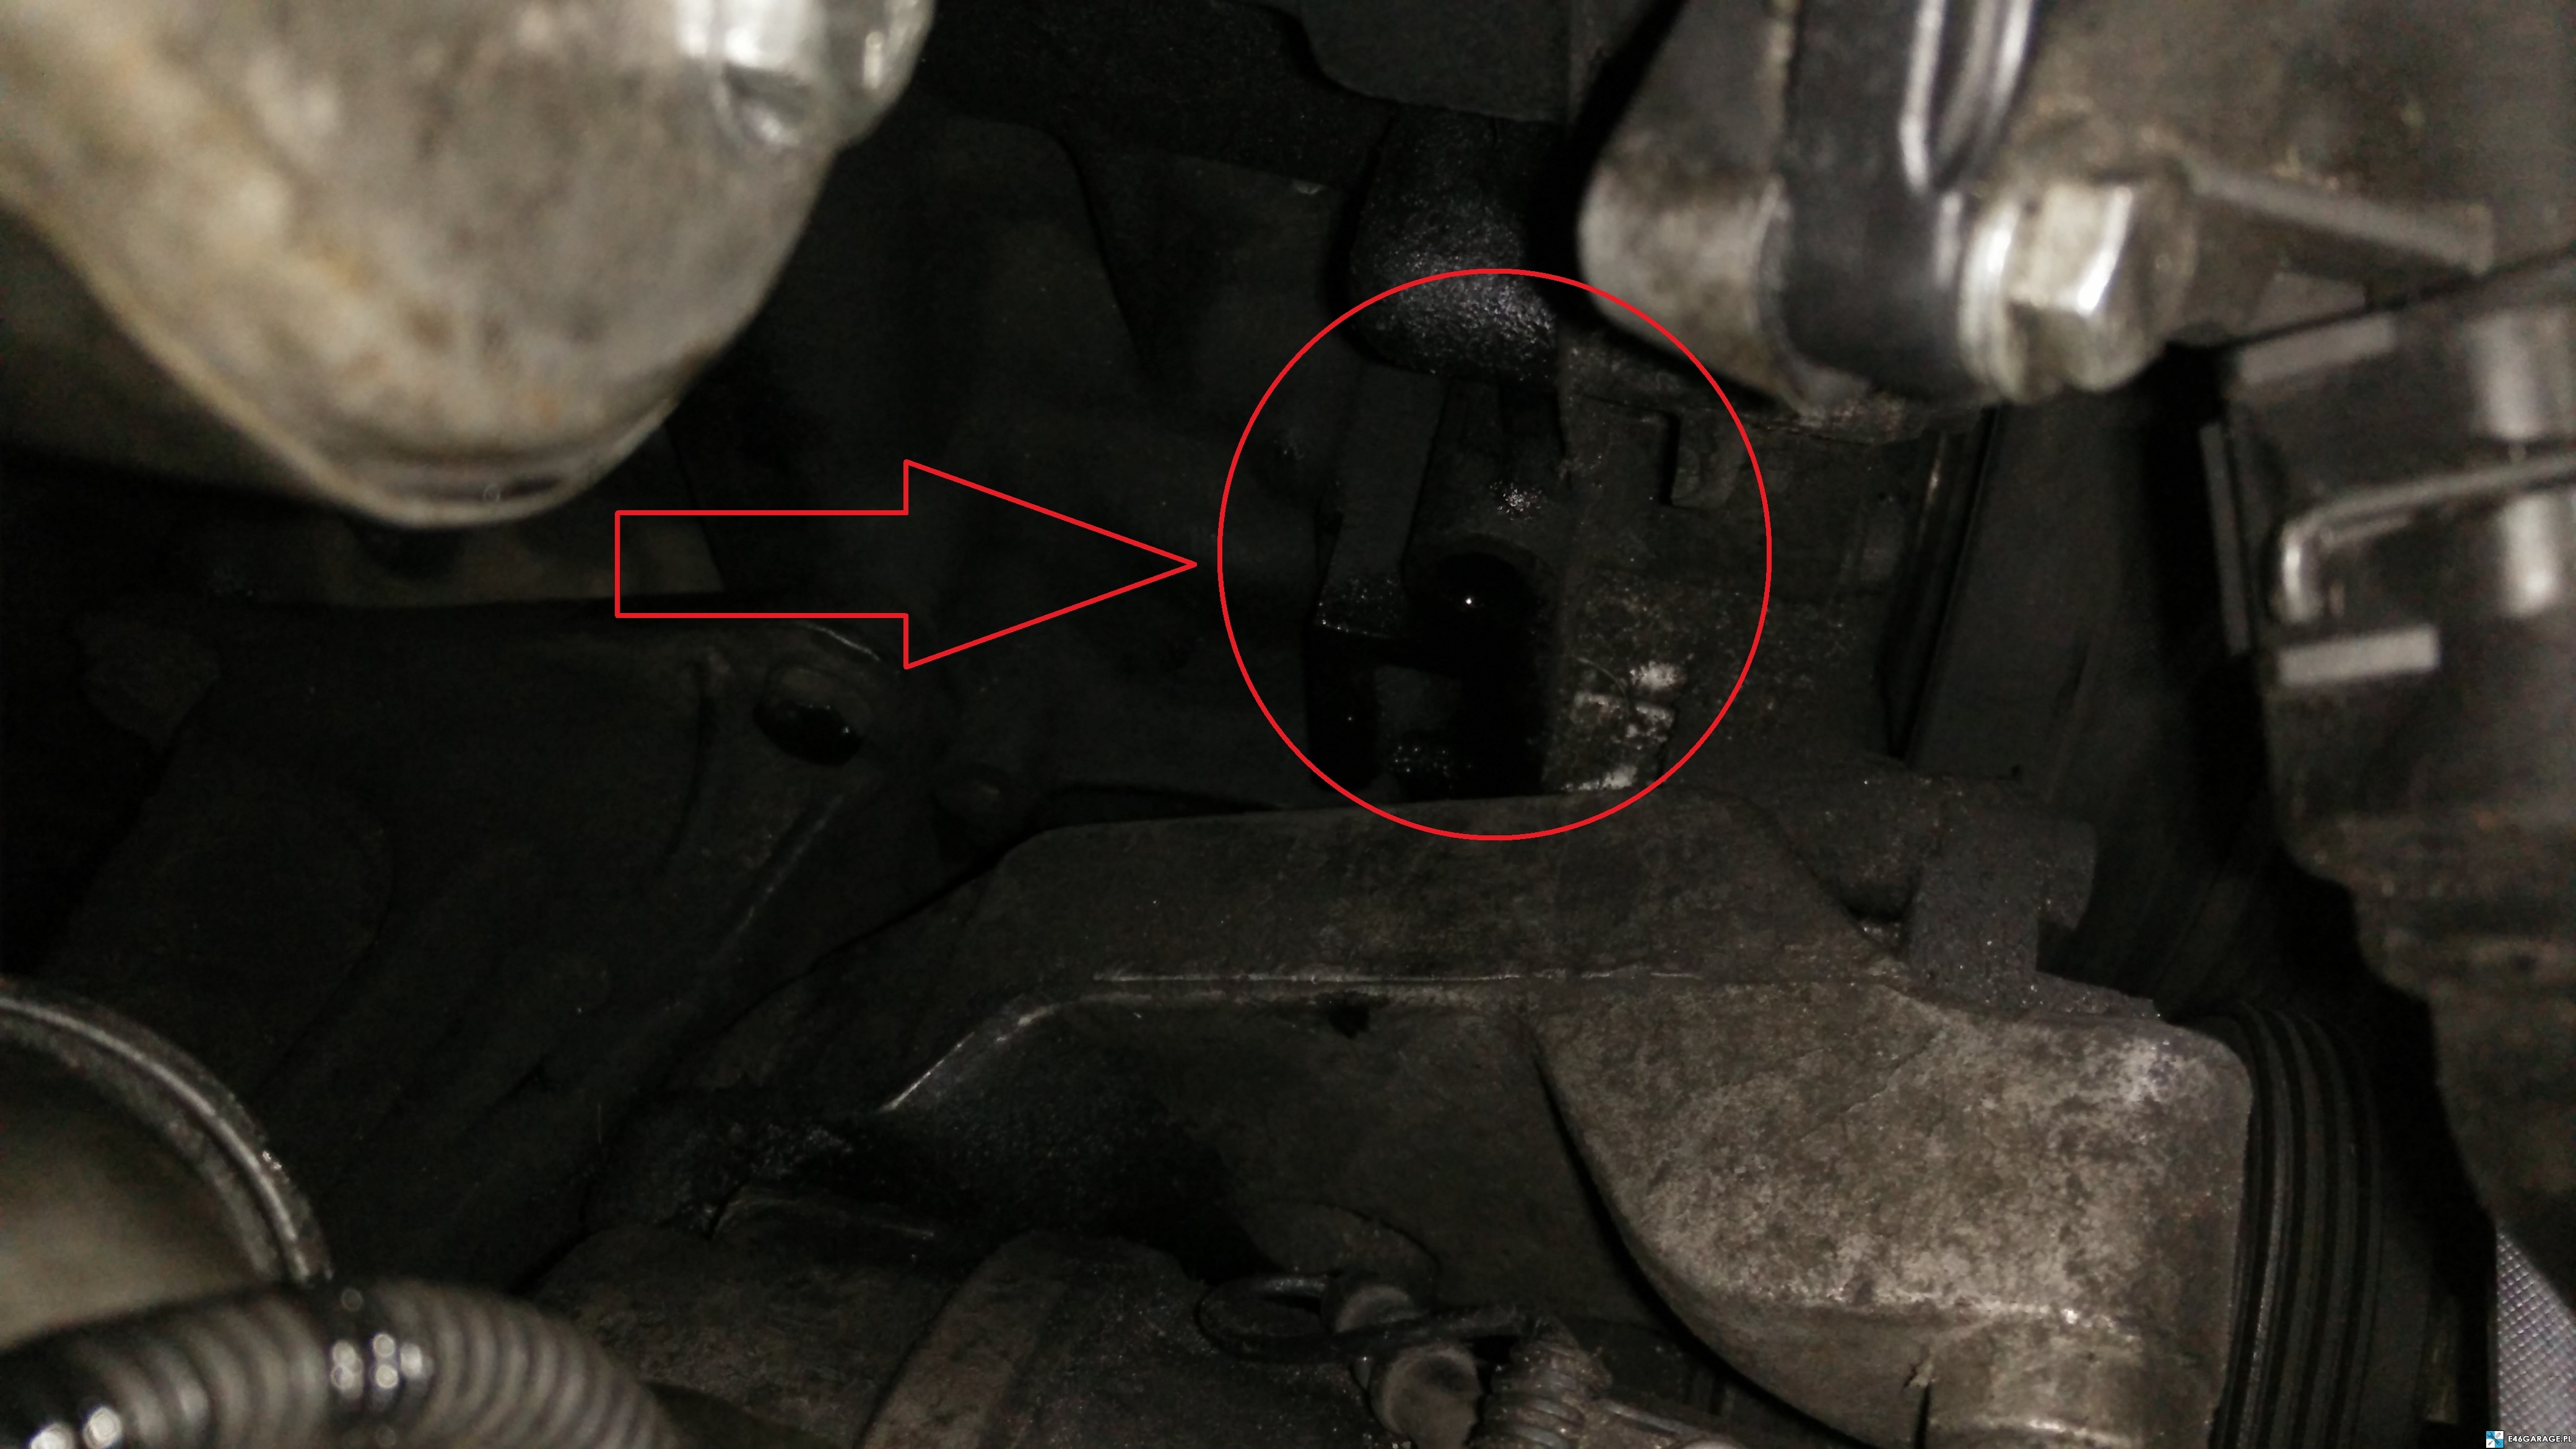
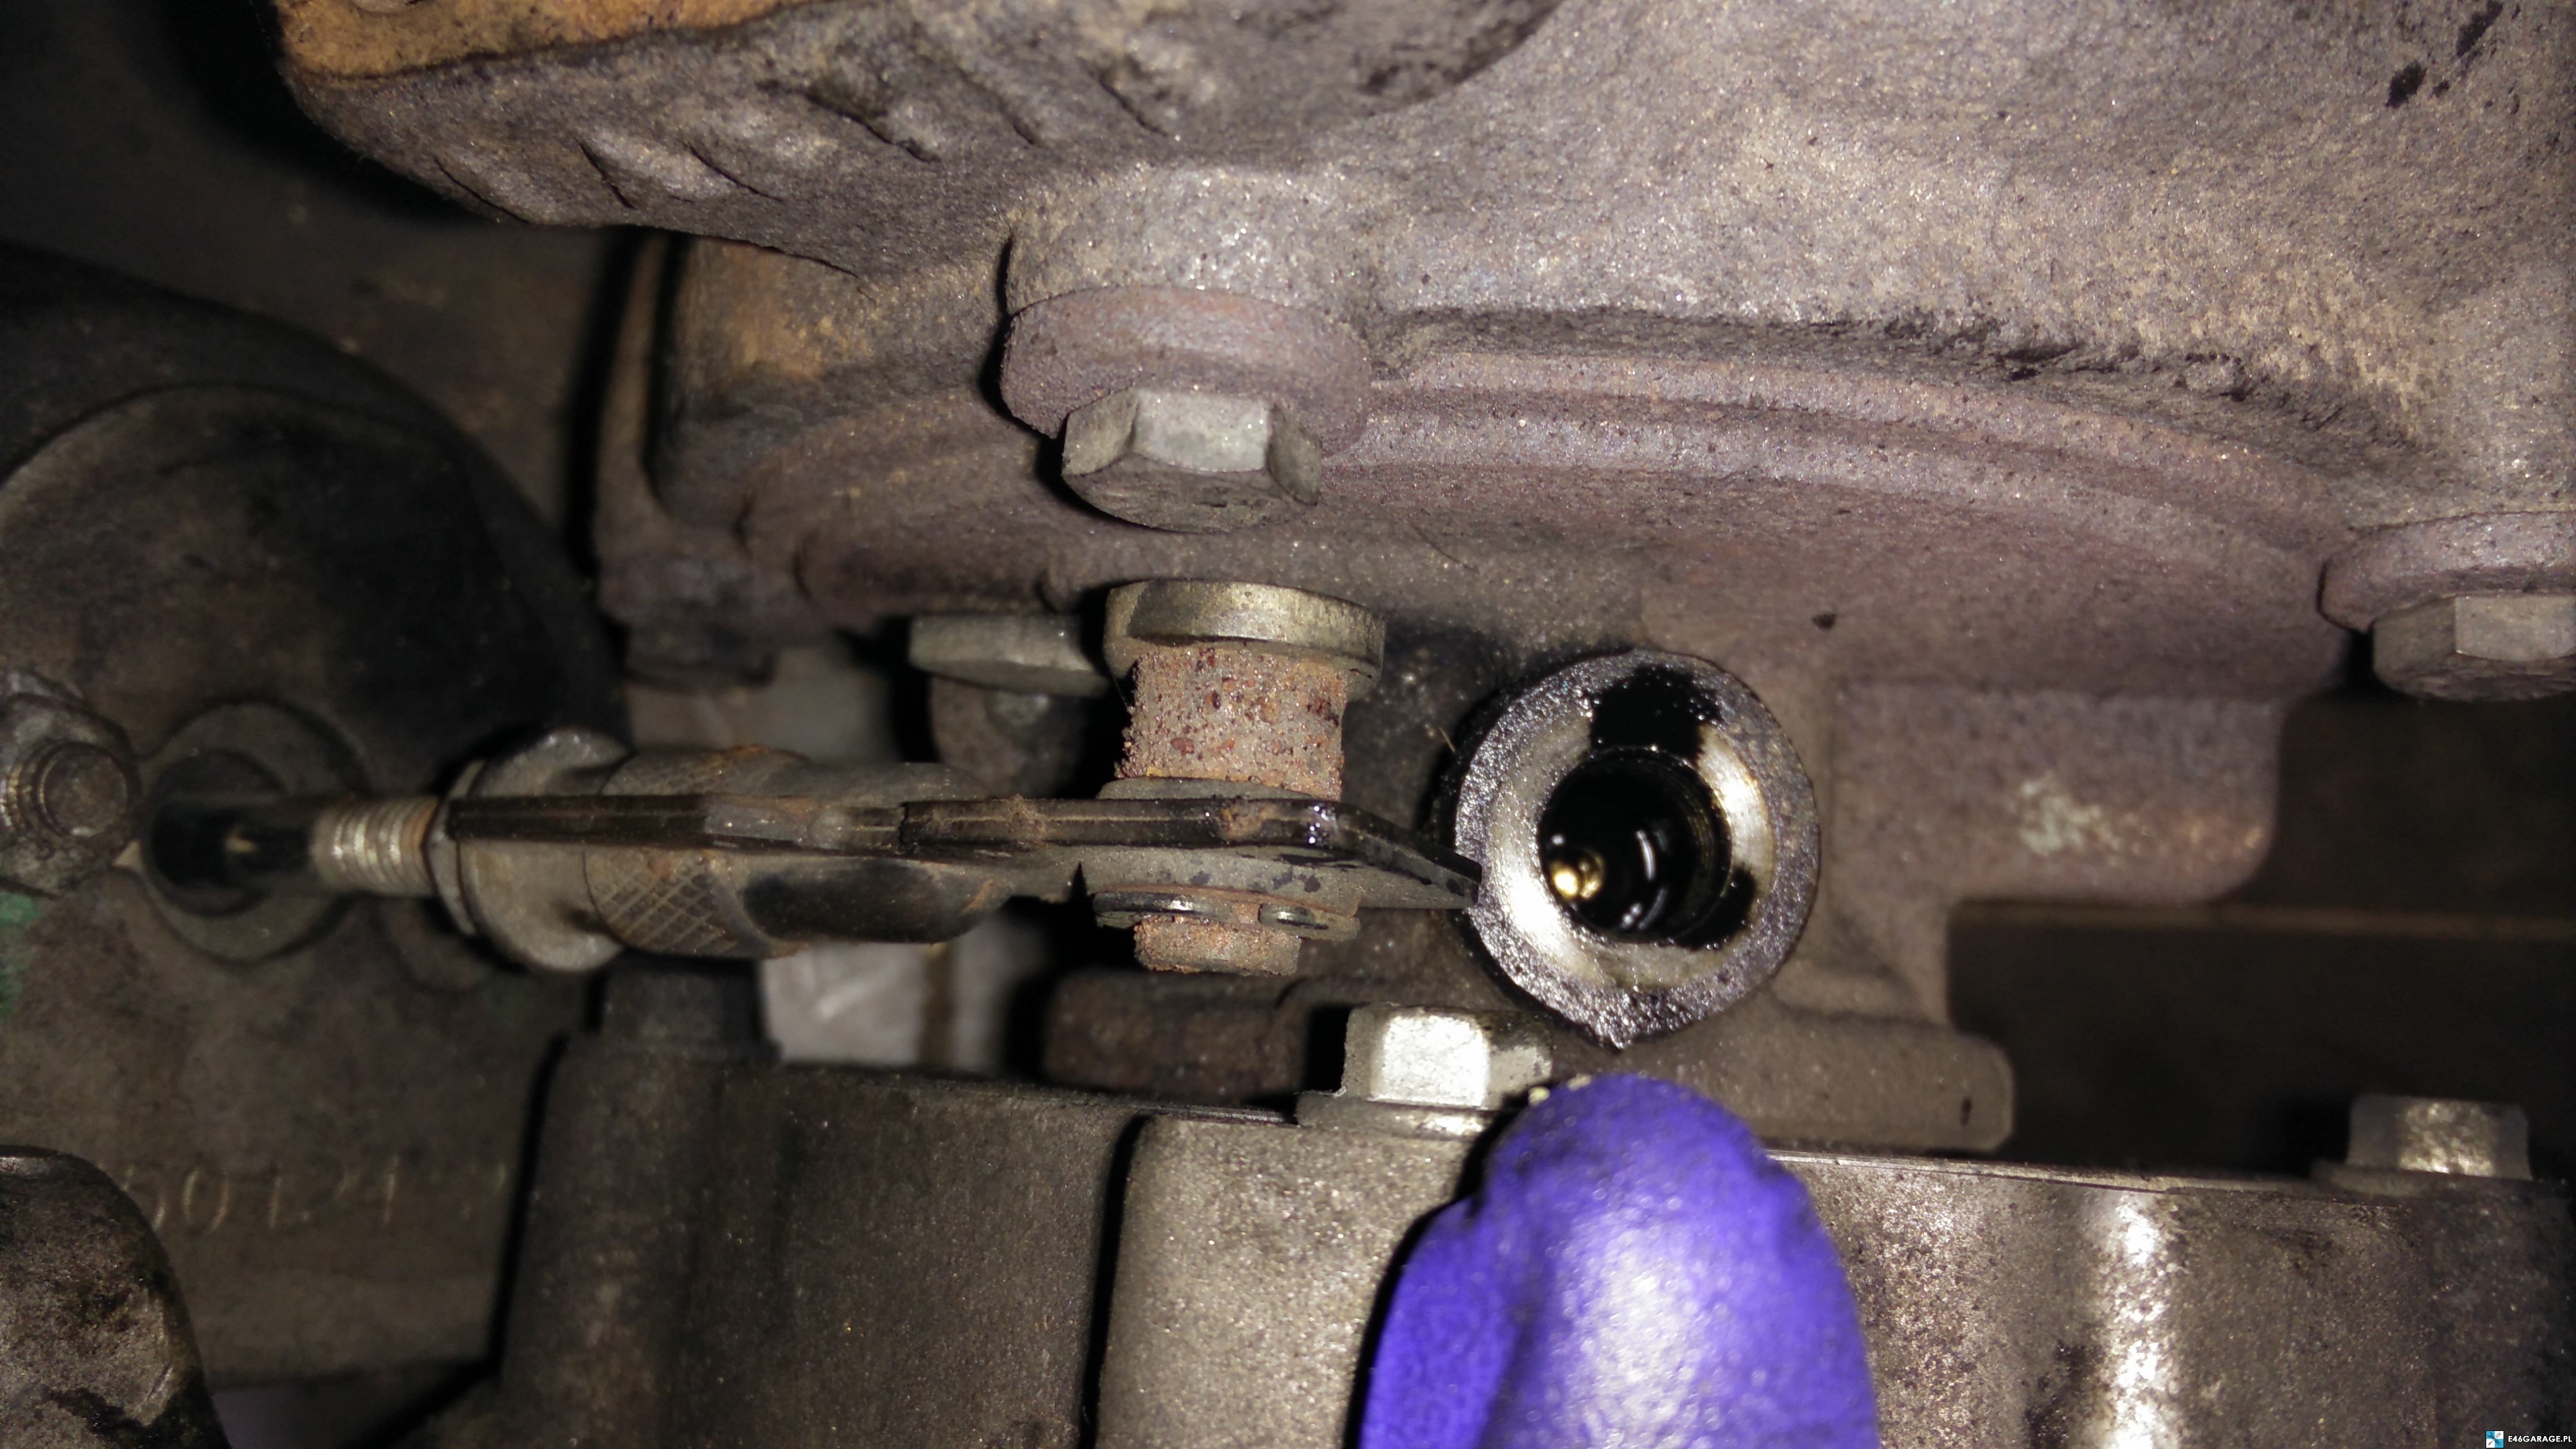
By unscrewing this cable going to the intercooler, we still need to unscrew the oil hose. We find it in the engine block, the easiest way to get to it is by tracking how the oil hose goes.
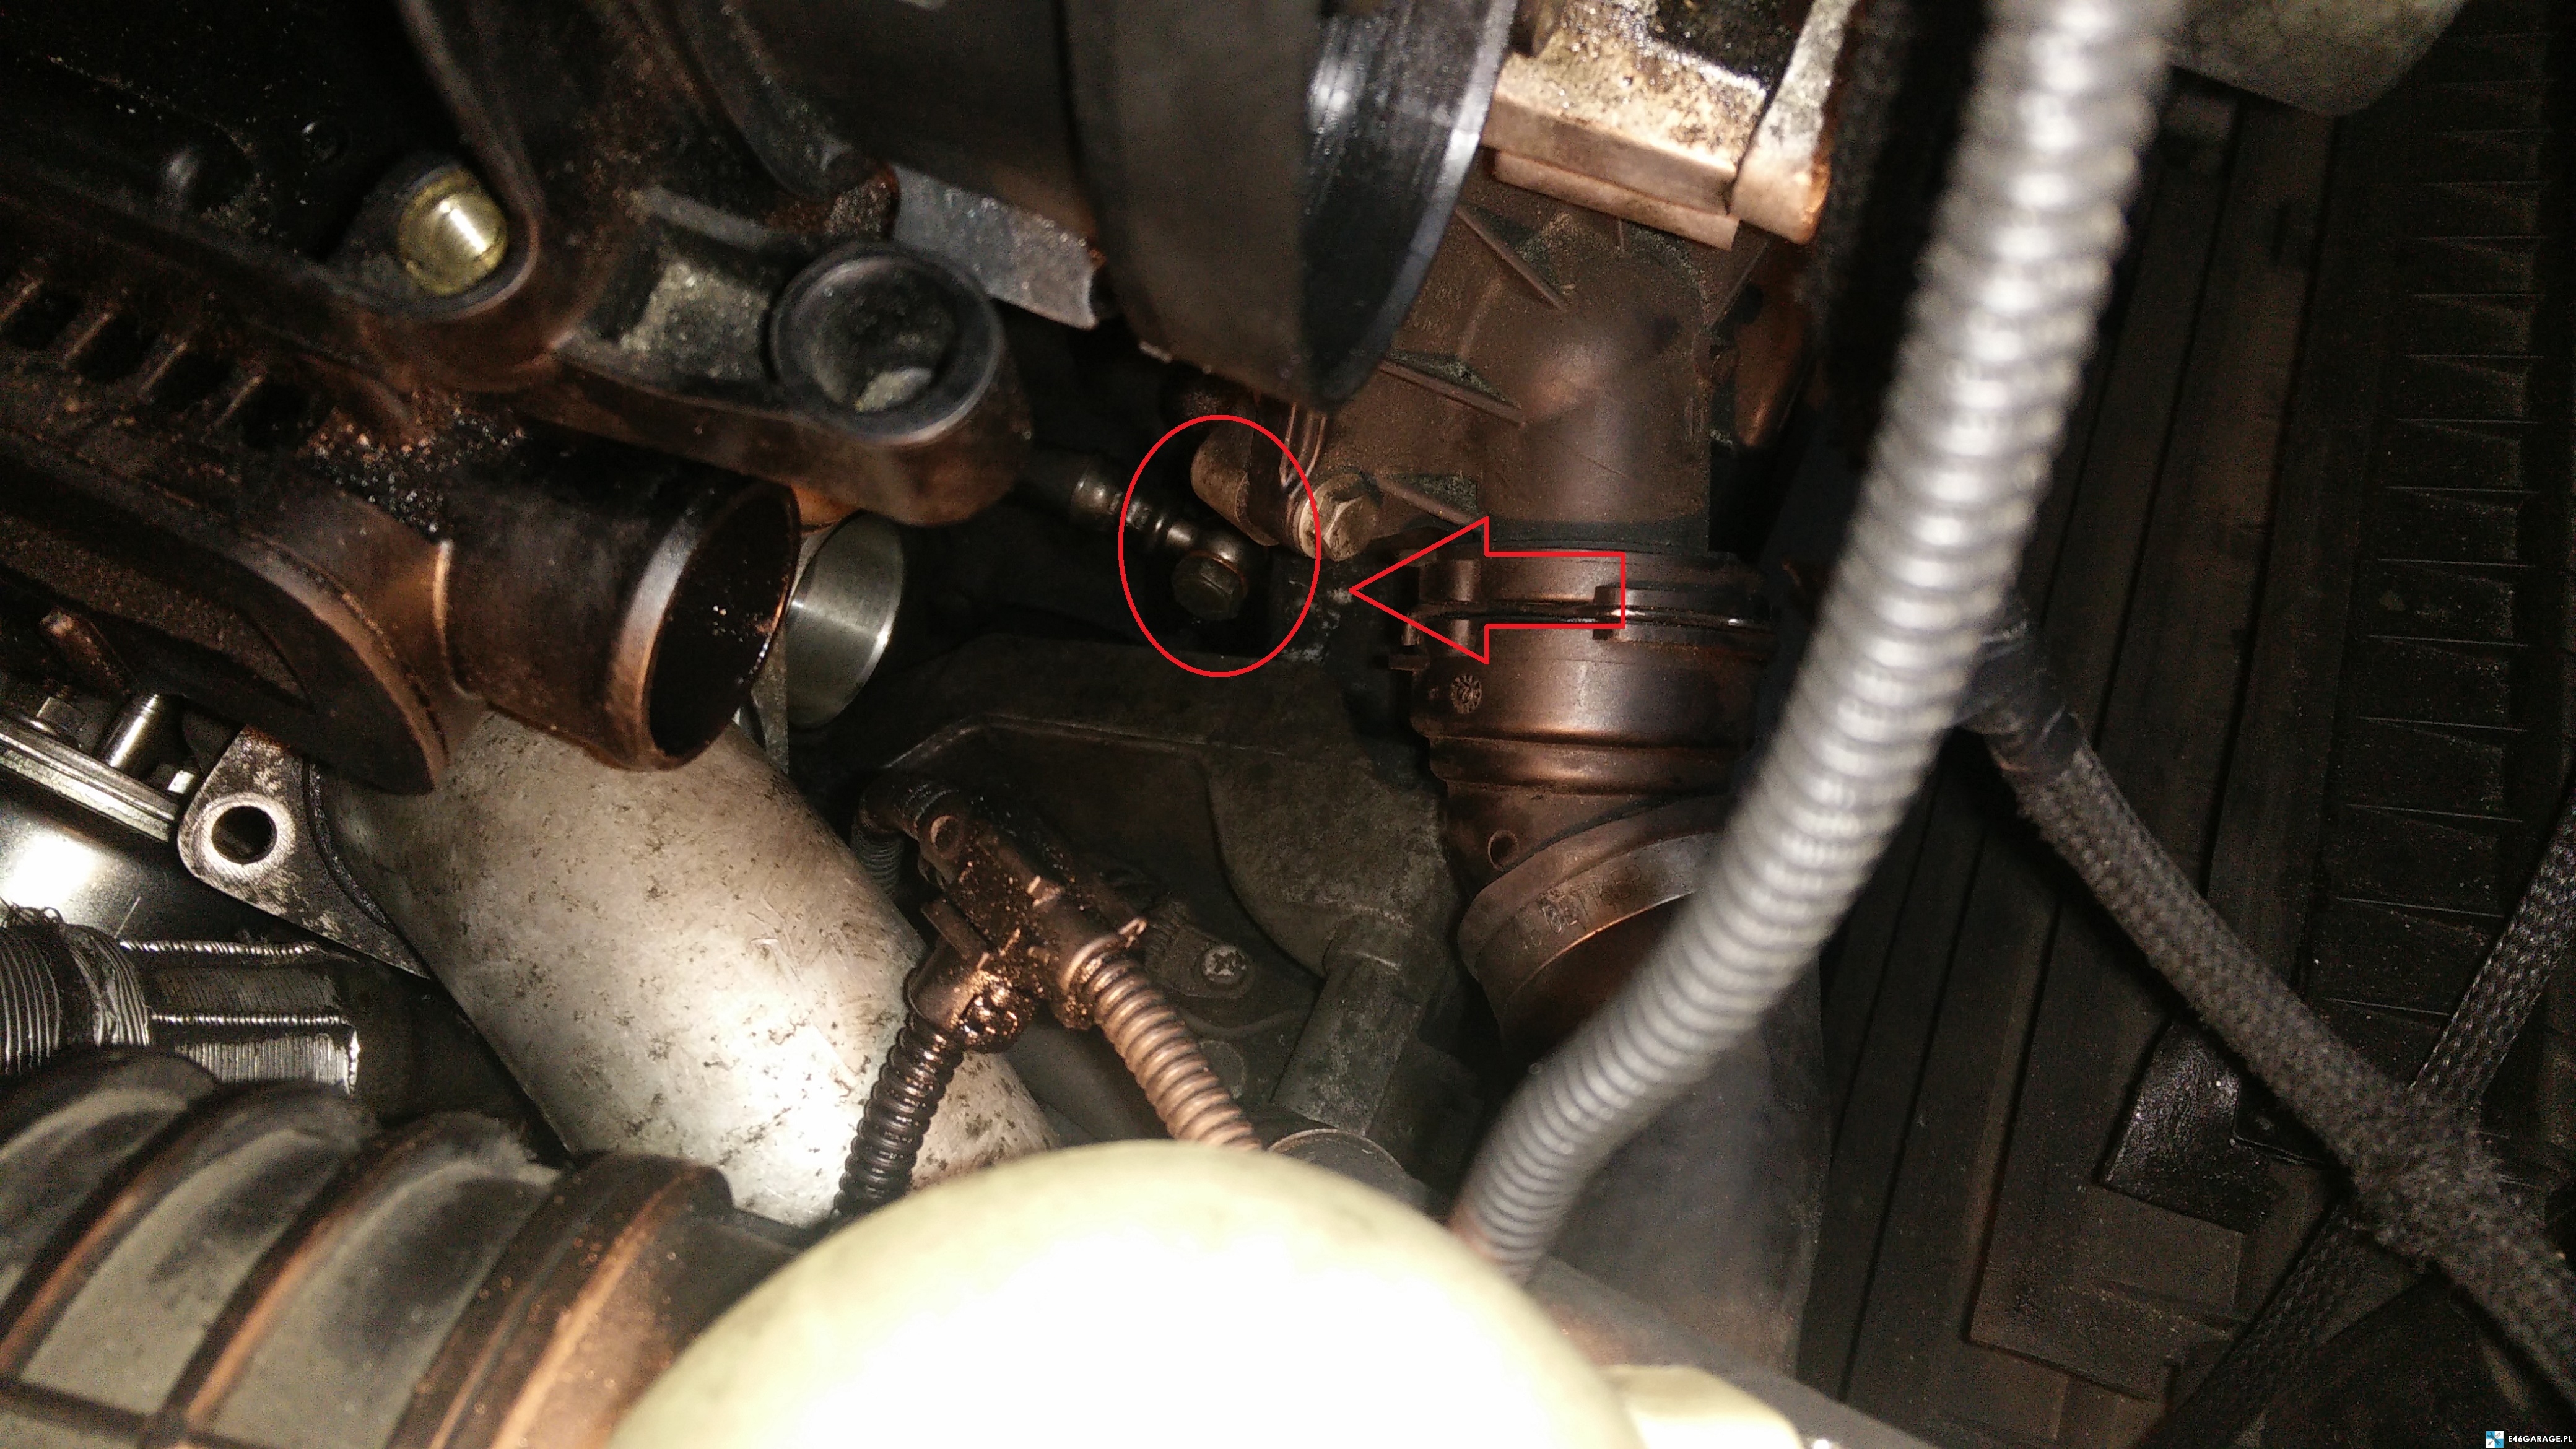
 Here carefully, there are two copper washers! It is required to replace them with new ones. As an interesting fact, I would add that they fit those from injectors. At least in my case they fit without any problem 🙂
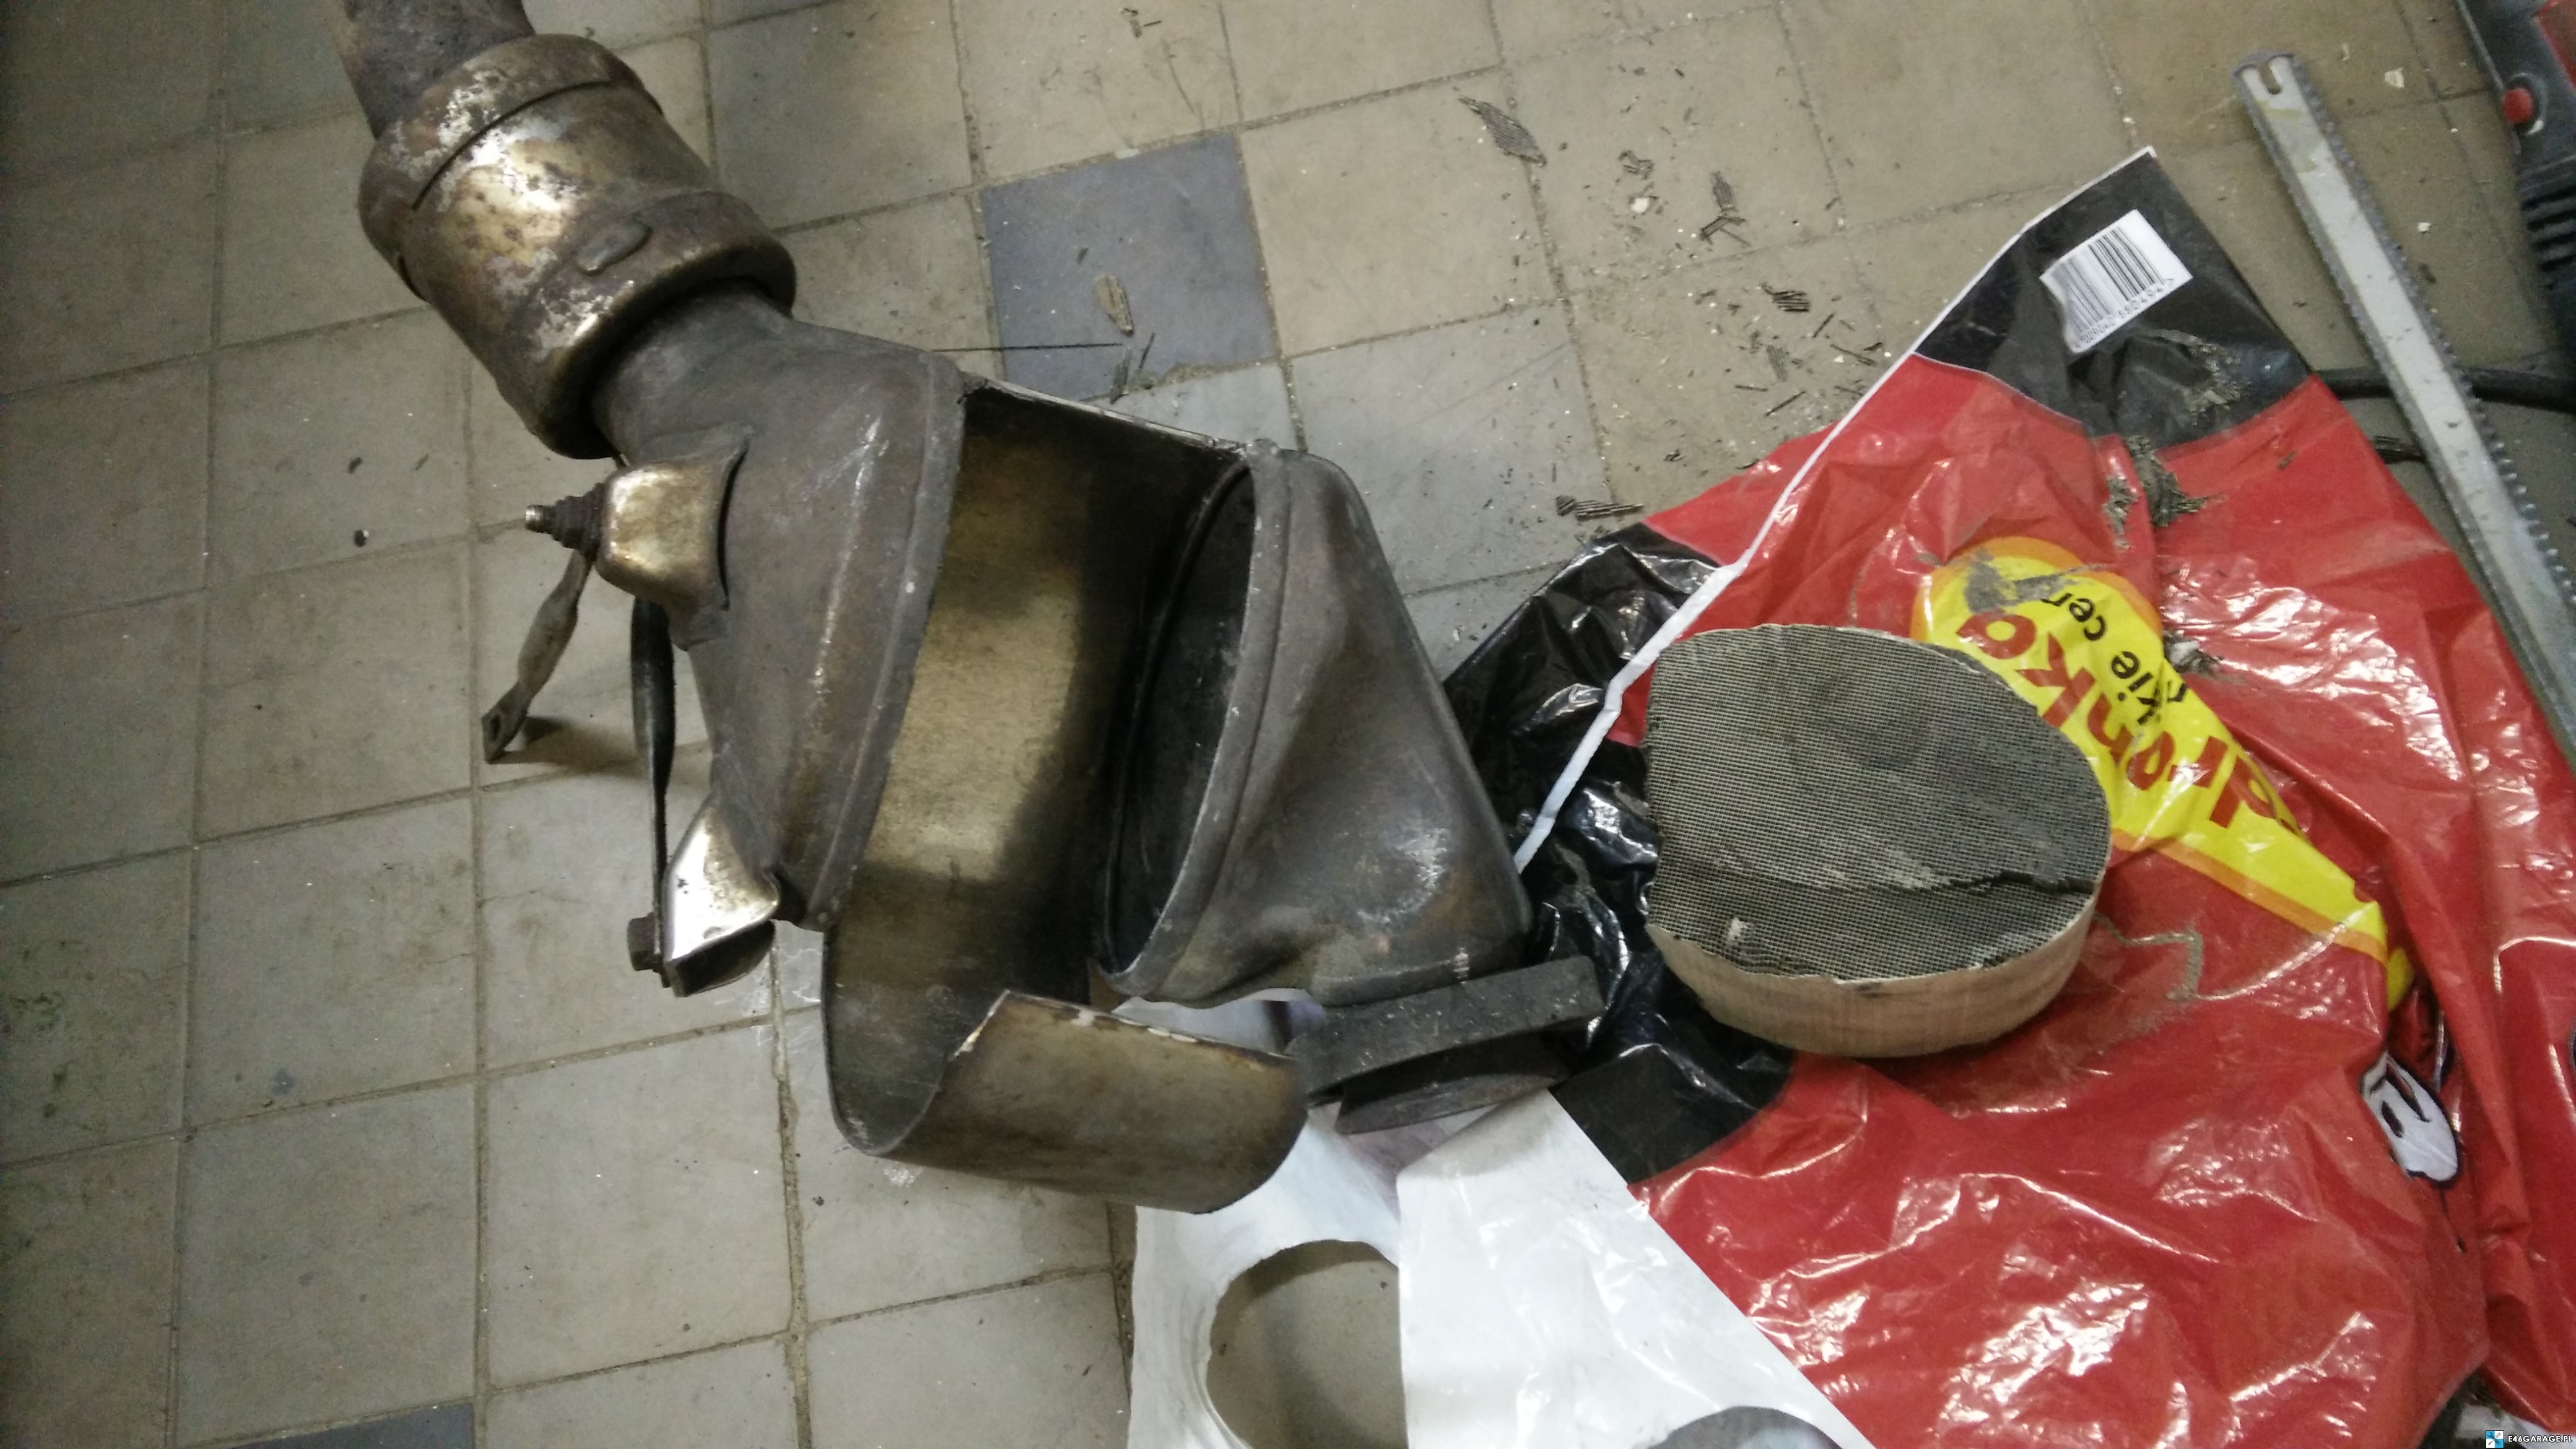
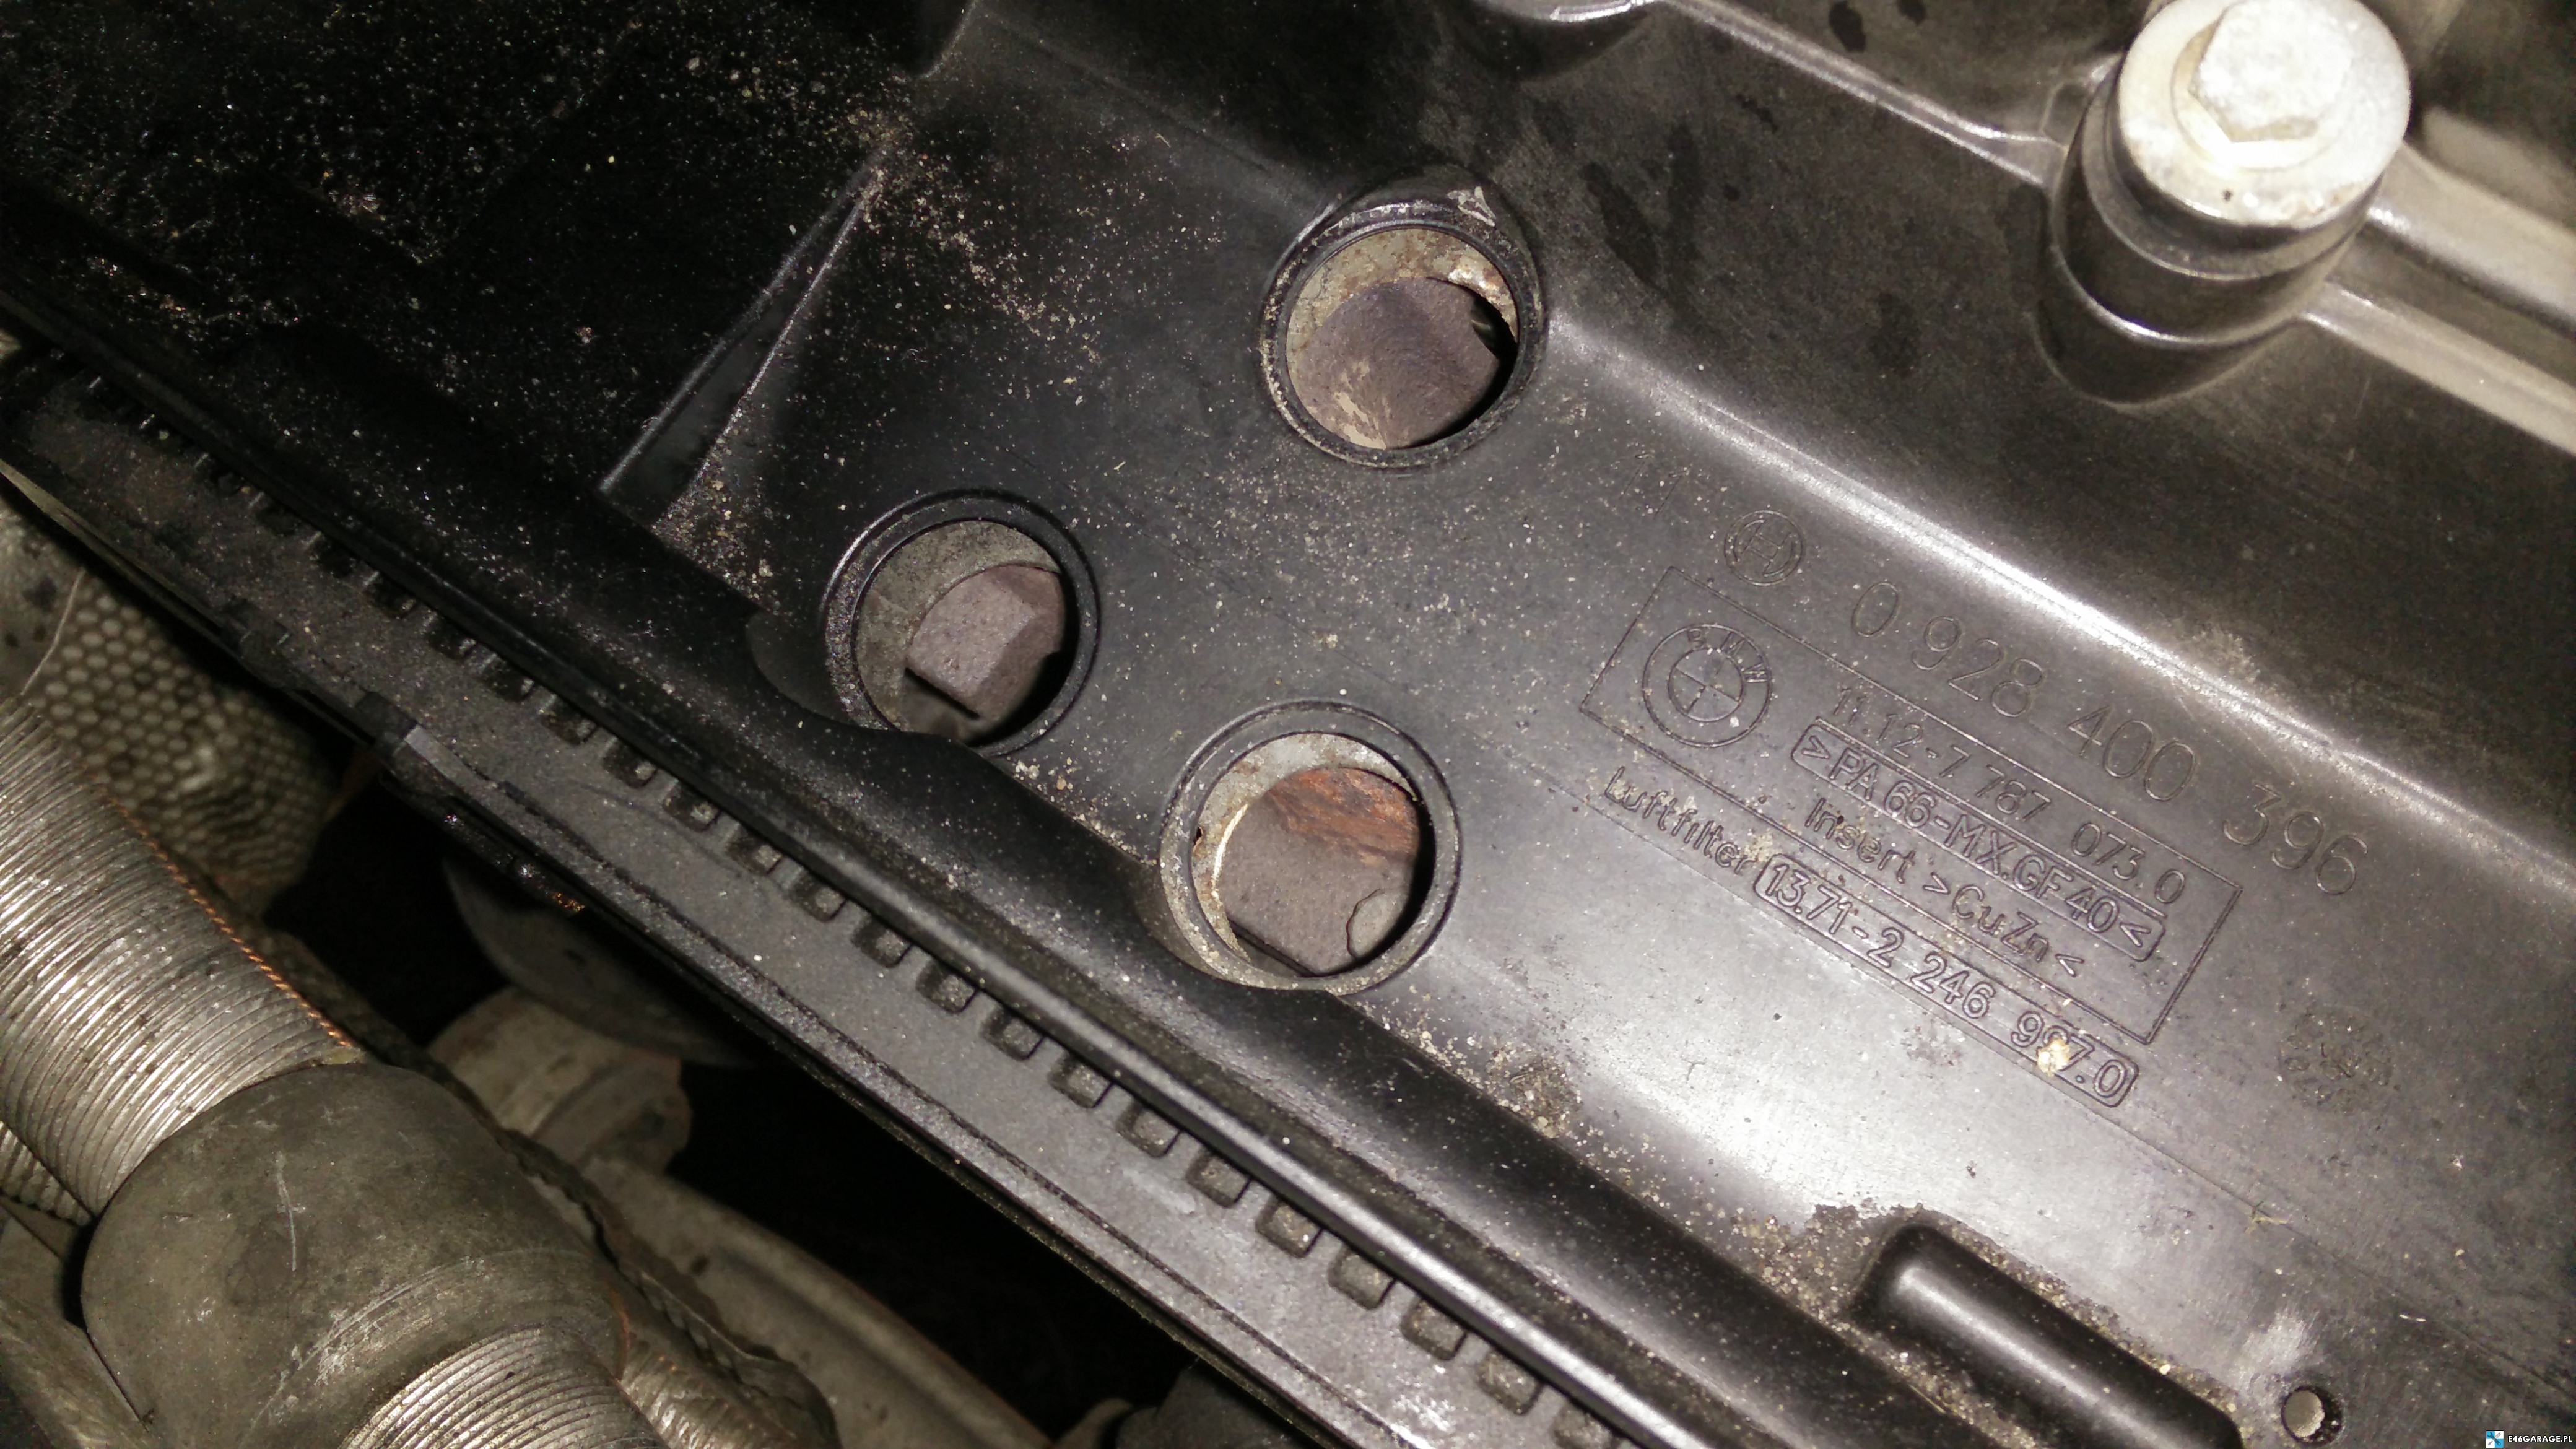
Now we take the air filter out, and then you need to push out the cap. If you've ever wondered what these meshes are in the air filter housing, you already know – thanks to them you can unscrew the turbine from the 🙂
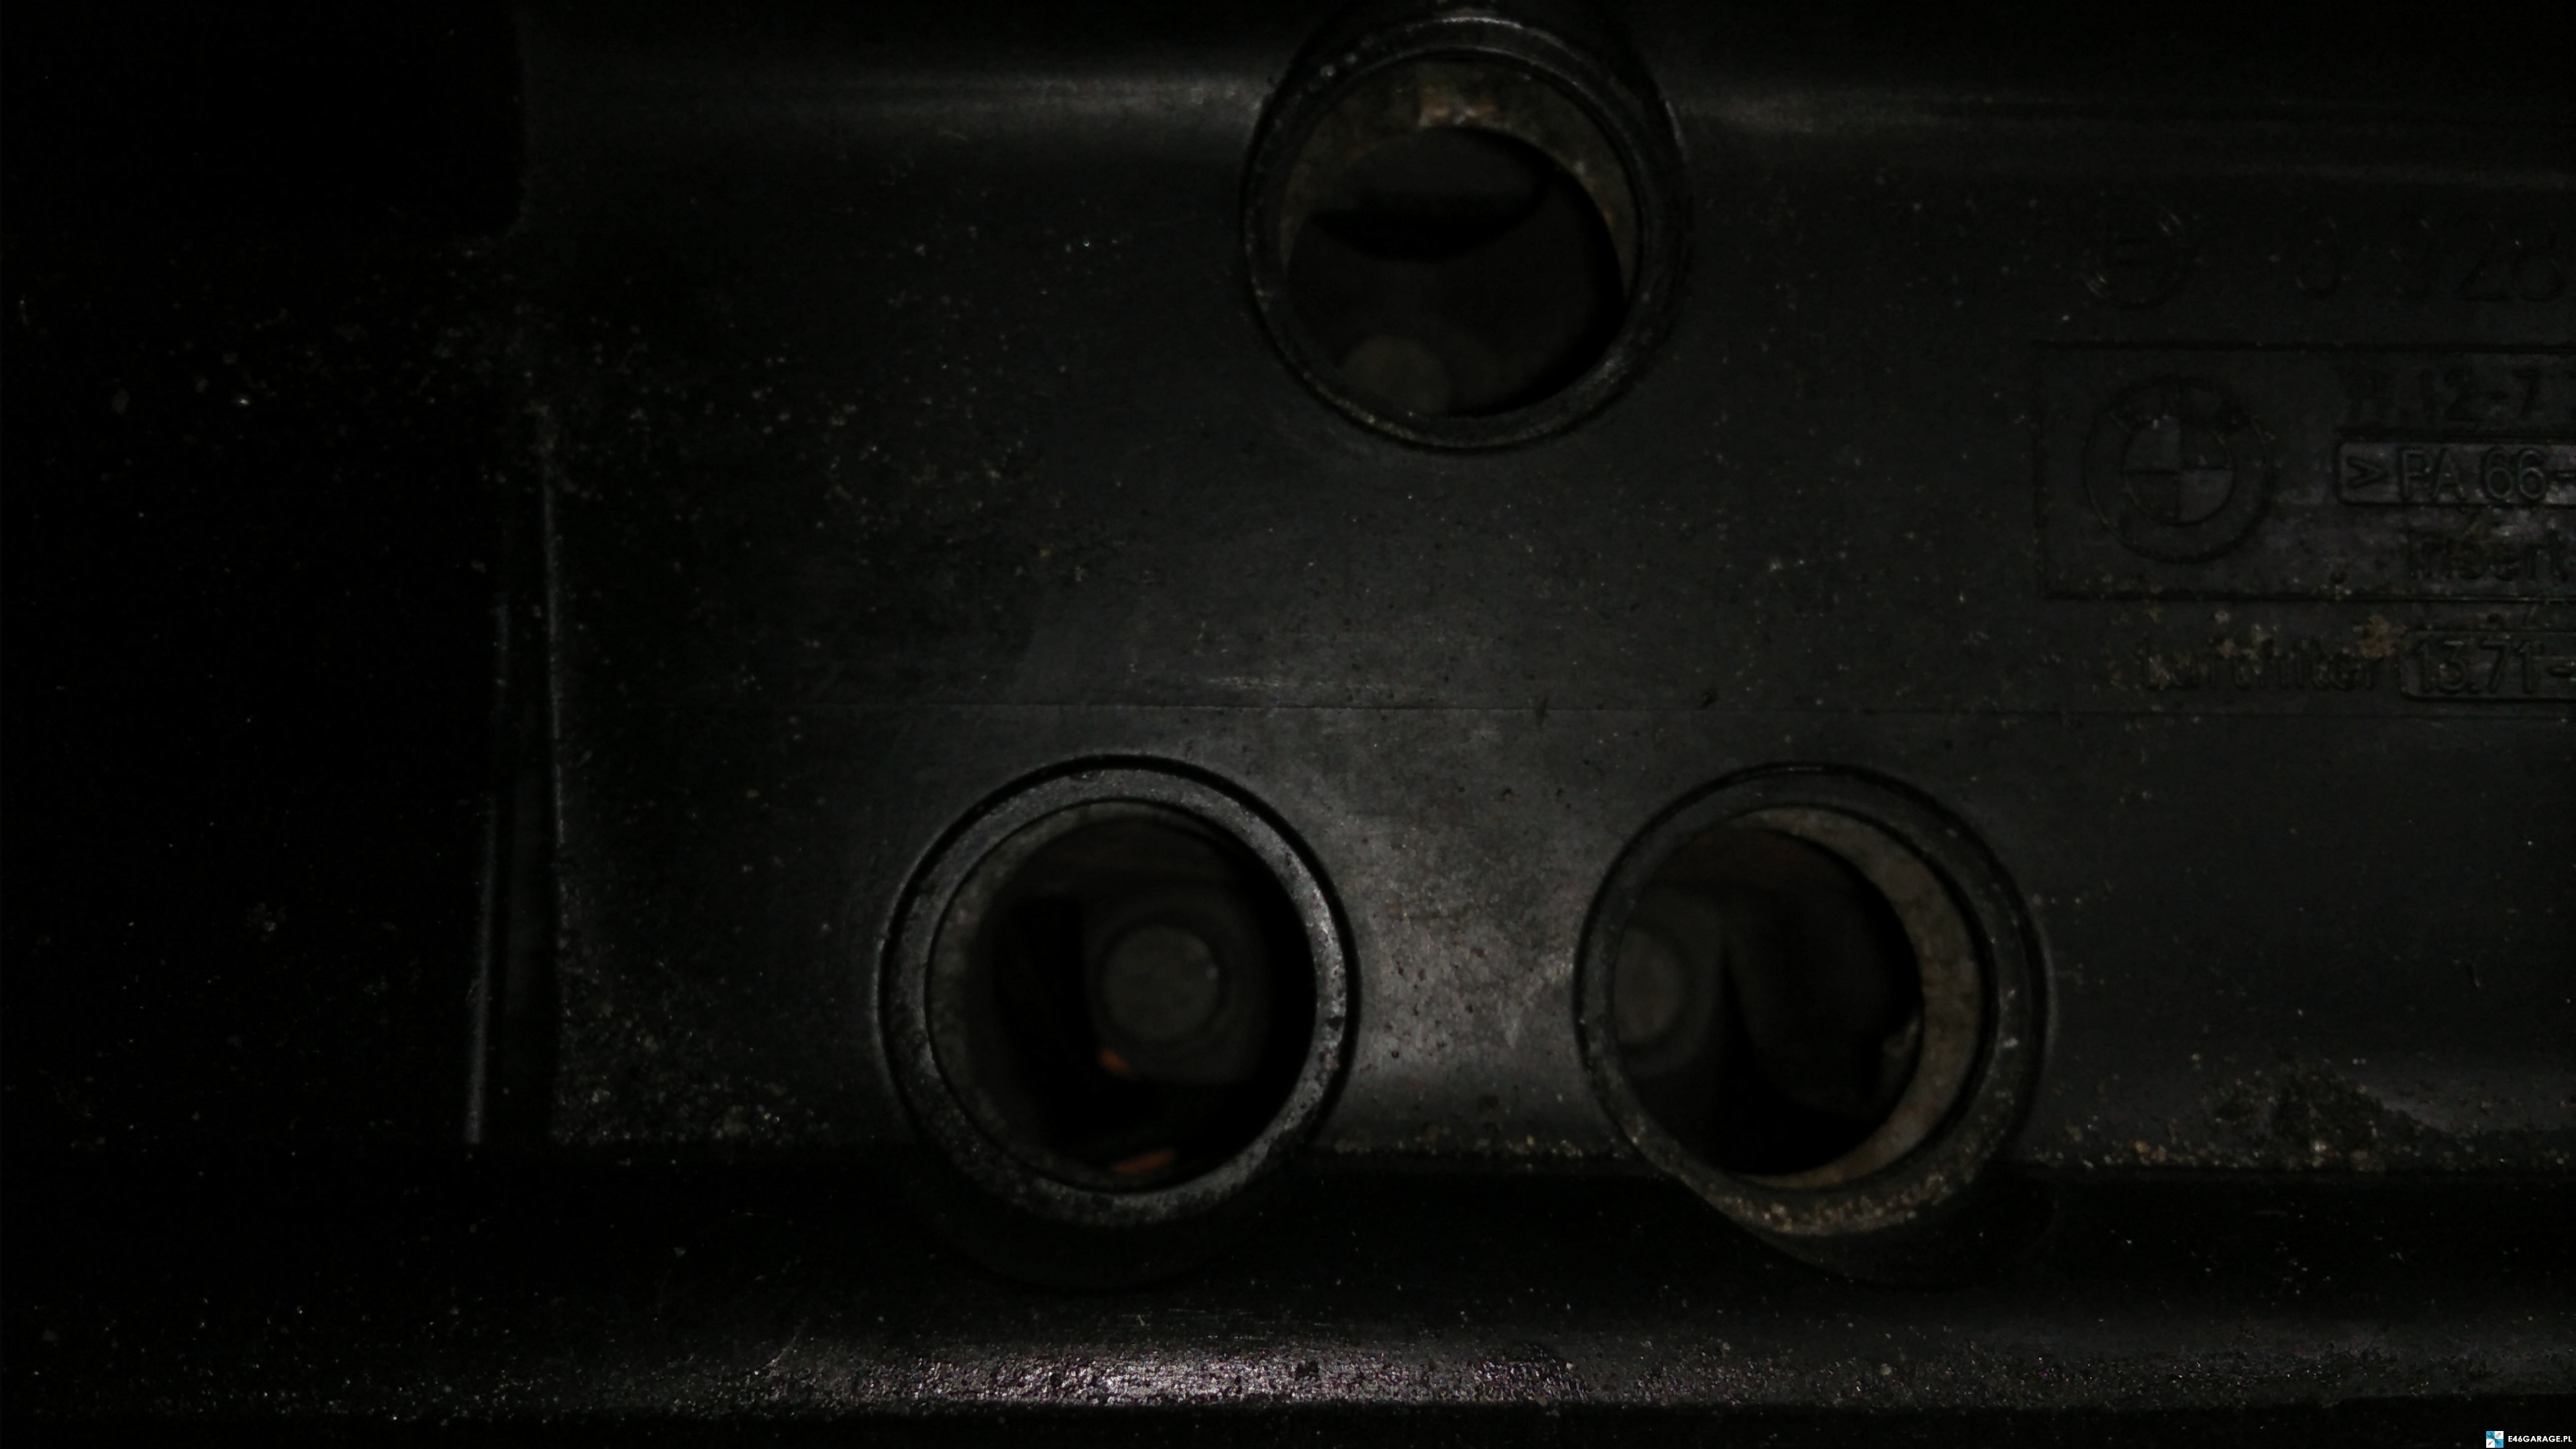
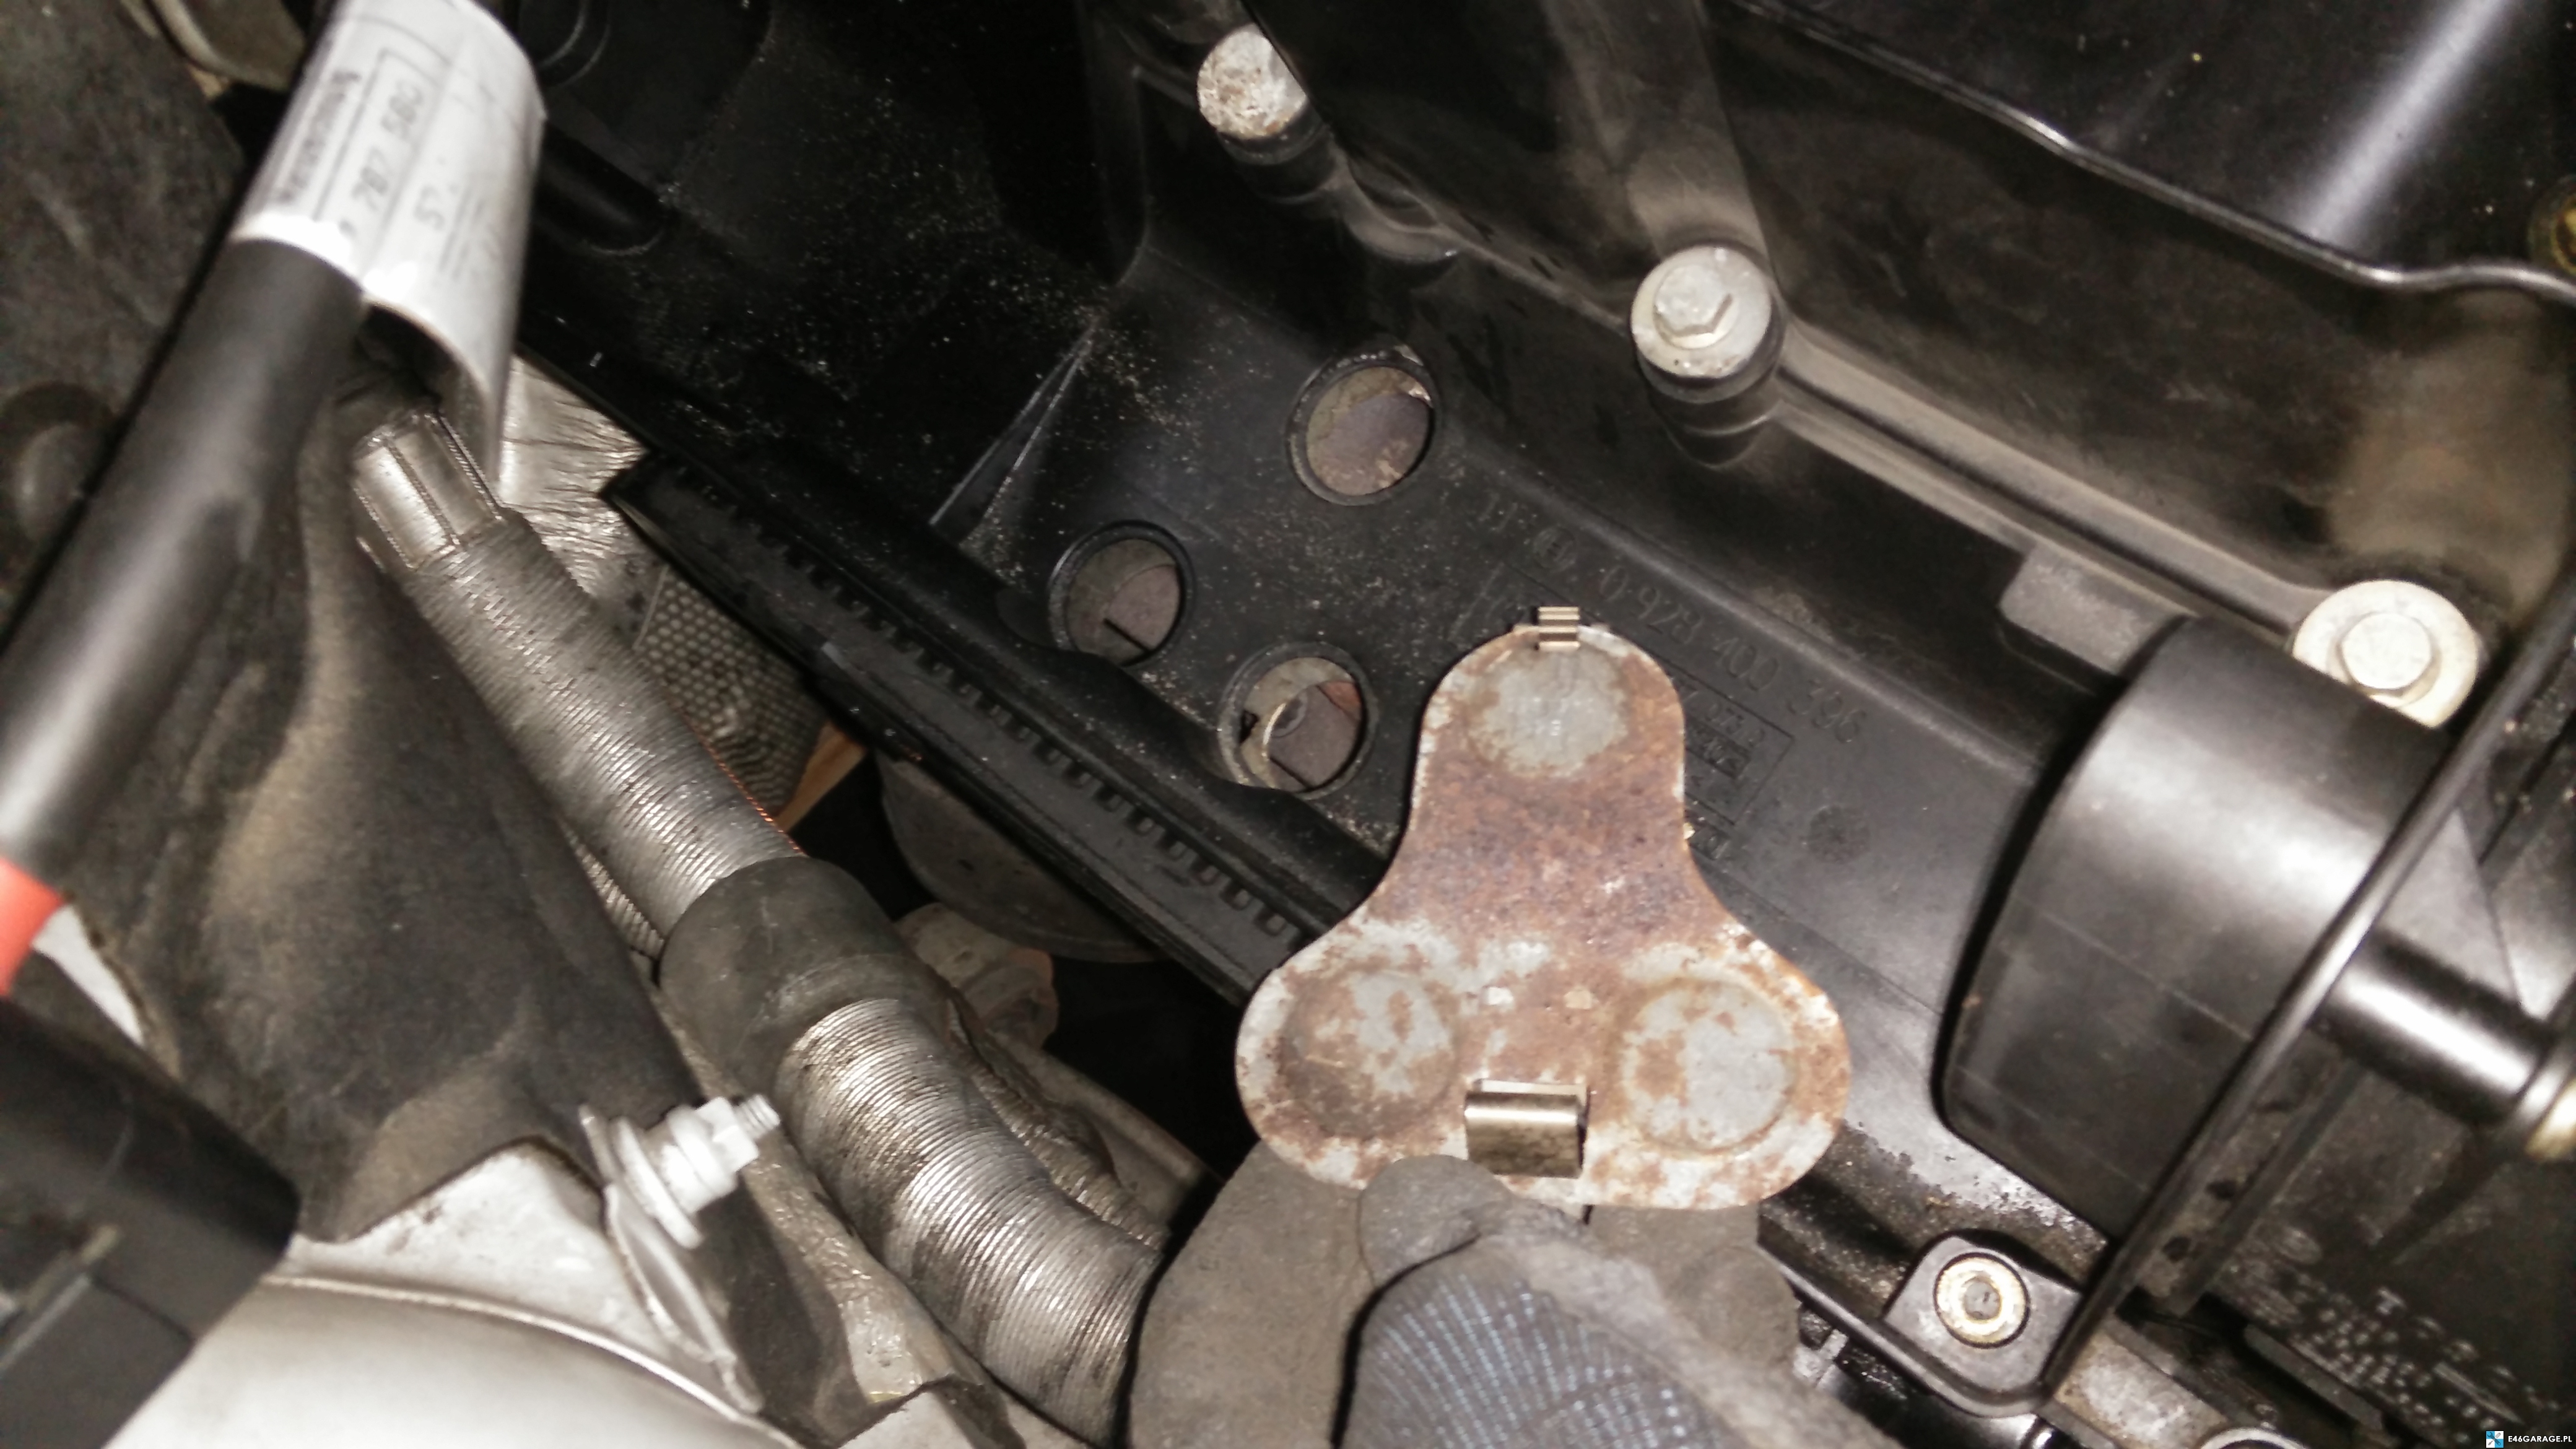 Now through these eyelets we unscrew the three screws holding the turbo
 Ideally, one person would unscrew the turbine from above and the other person would hold it from below. Otherwise, if we do this on the channel can fall to us and most likely pluck the hose from the vacuum from the pear, because I did not mention it above, to unpin it too. Turbo should go out without any problems.
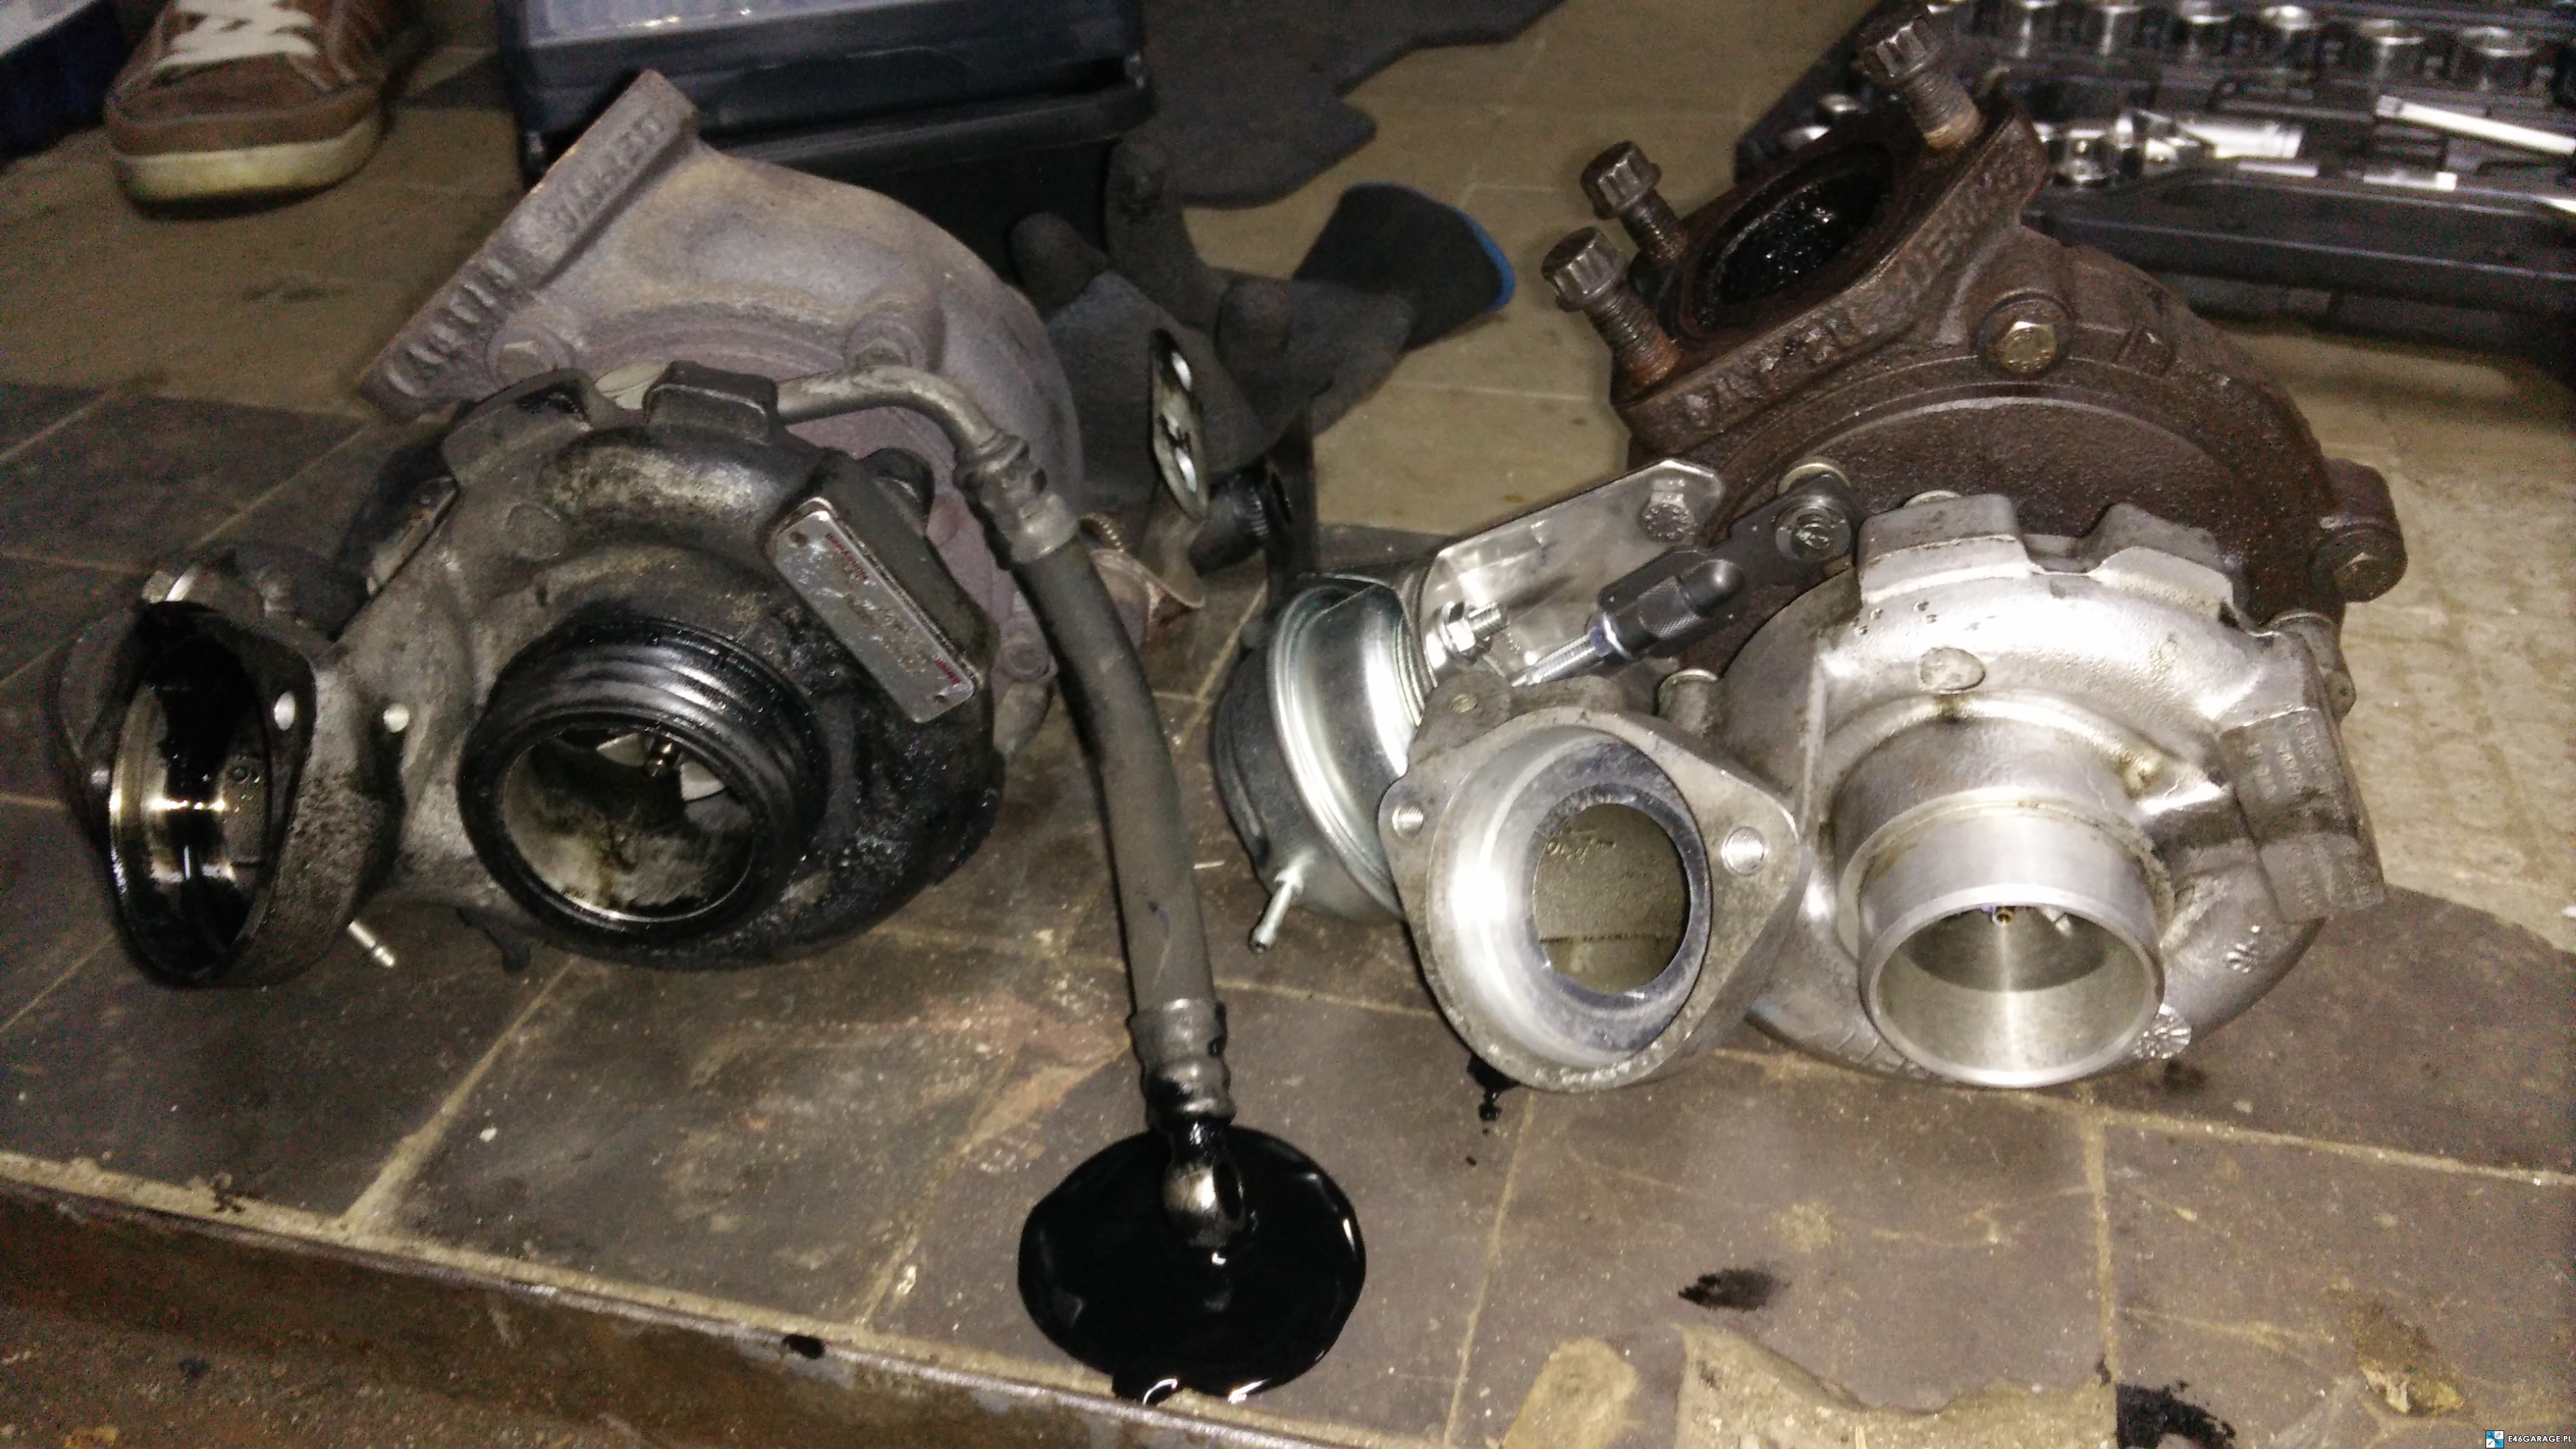 On the left is the old GT1749 turbo, and on the right the new GTB1752V
We mount Garrett GTB1752V EU3 to BMW E46 320D – Stage 2
Depending on what turbo we bought, whether new and bare, or maybe with accessories, we need to make some modifications:
In the case of the EU3 engine, the turbo is vacuum controlled, so we have to either postpone the heat from the old turbine (I do not recommend), or buy a new one and mount it (I recommend). A new grucha, or actuator, will definitely be better to hold the pressure, but it must have an assembly rack.
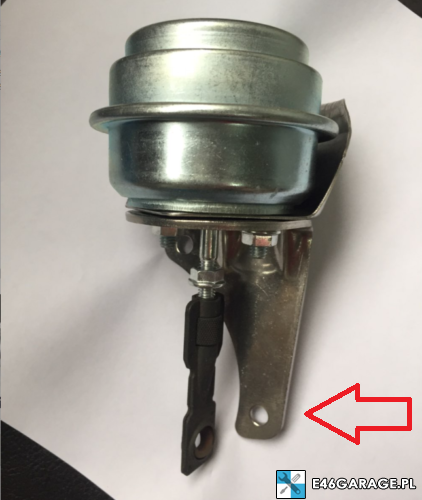 I screwed it to the turbine on this one eyelet, but so hard that it doesn't move. This will not fall off, because the barbell itself is locked in one equal position also thanks to the geometry. Note, I recommend installing the pear so that the vacuum hose spigot is facing the engine, which is the opposite of the old turbine. It will be easier to mount than it was originally.
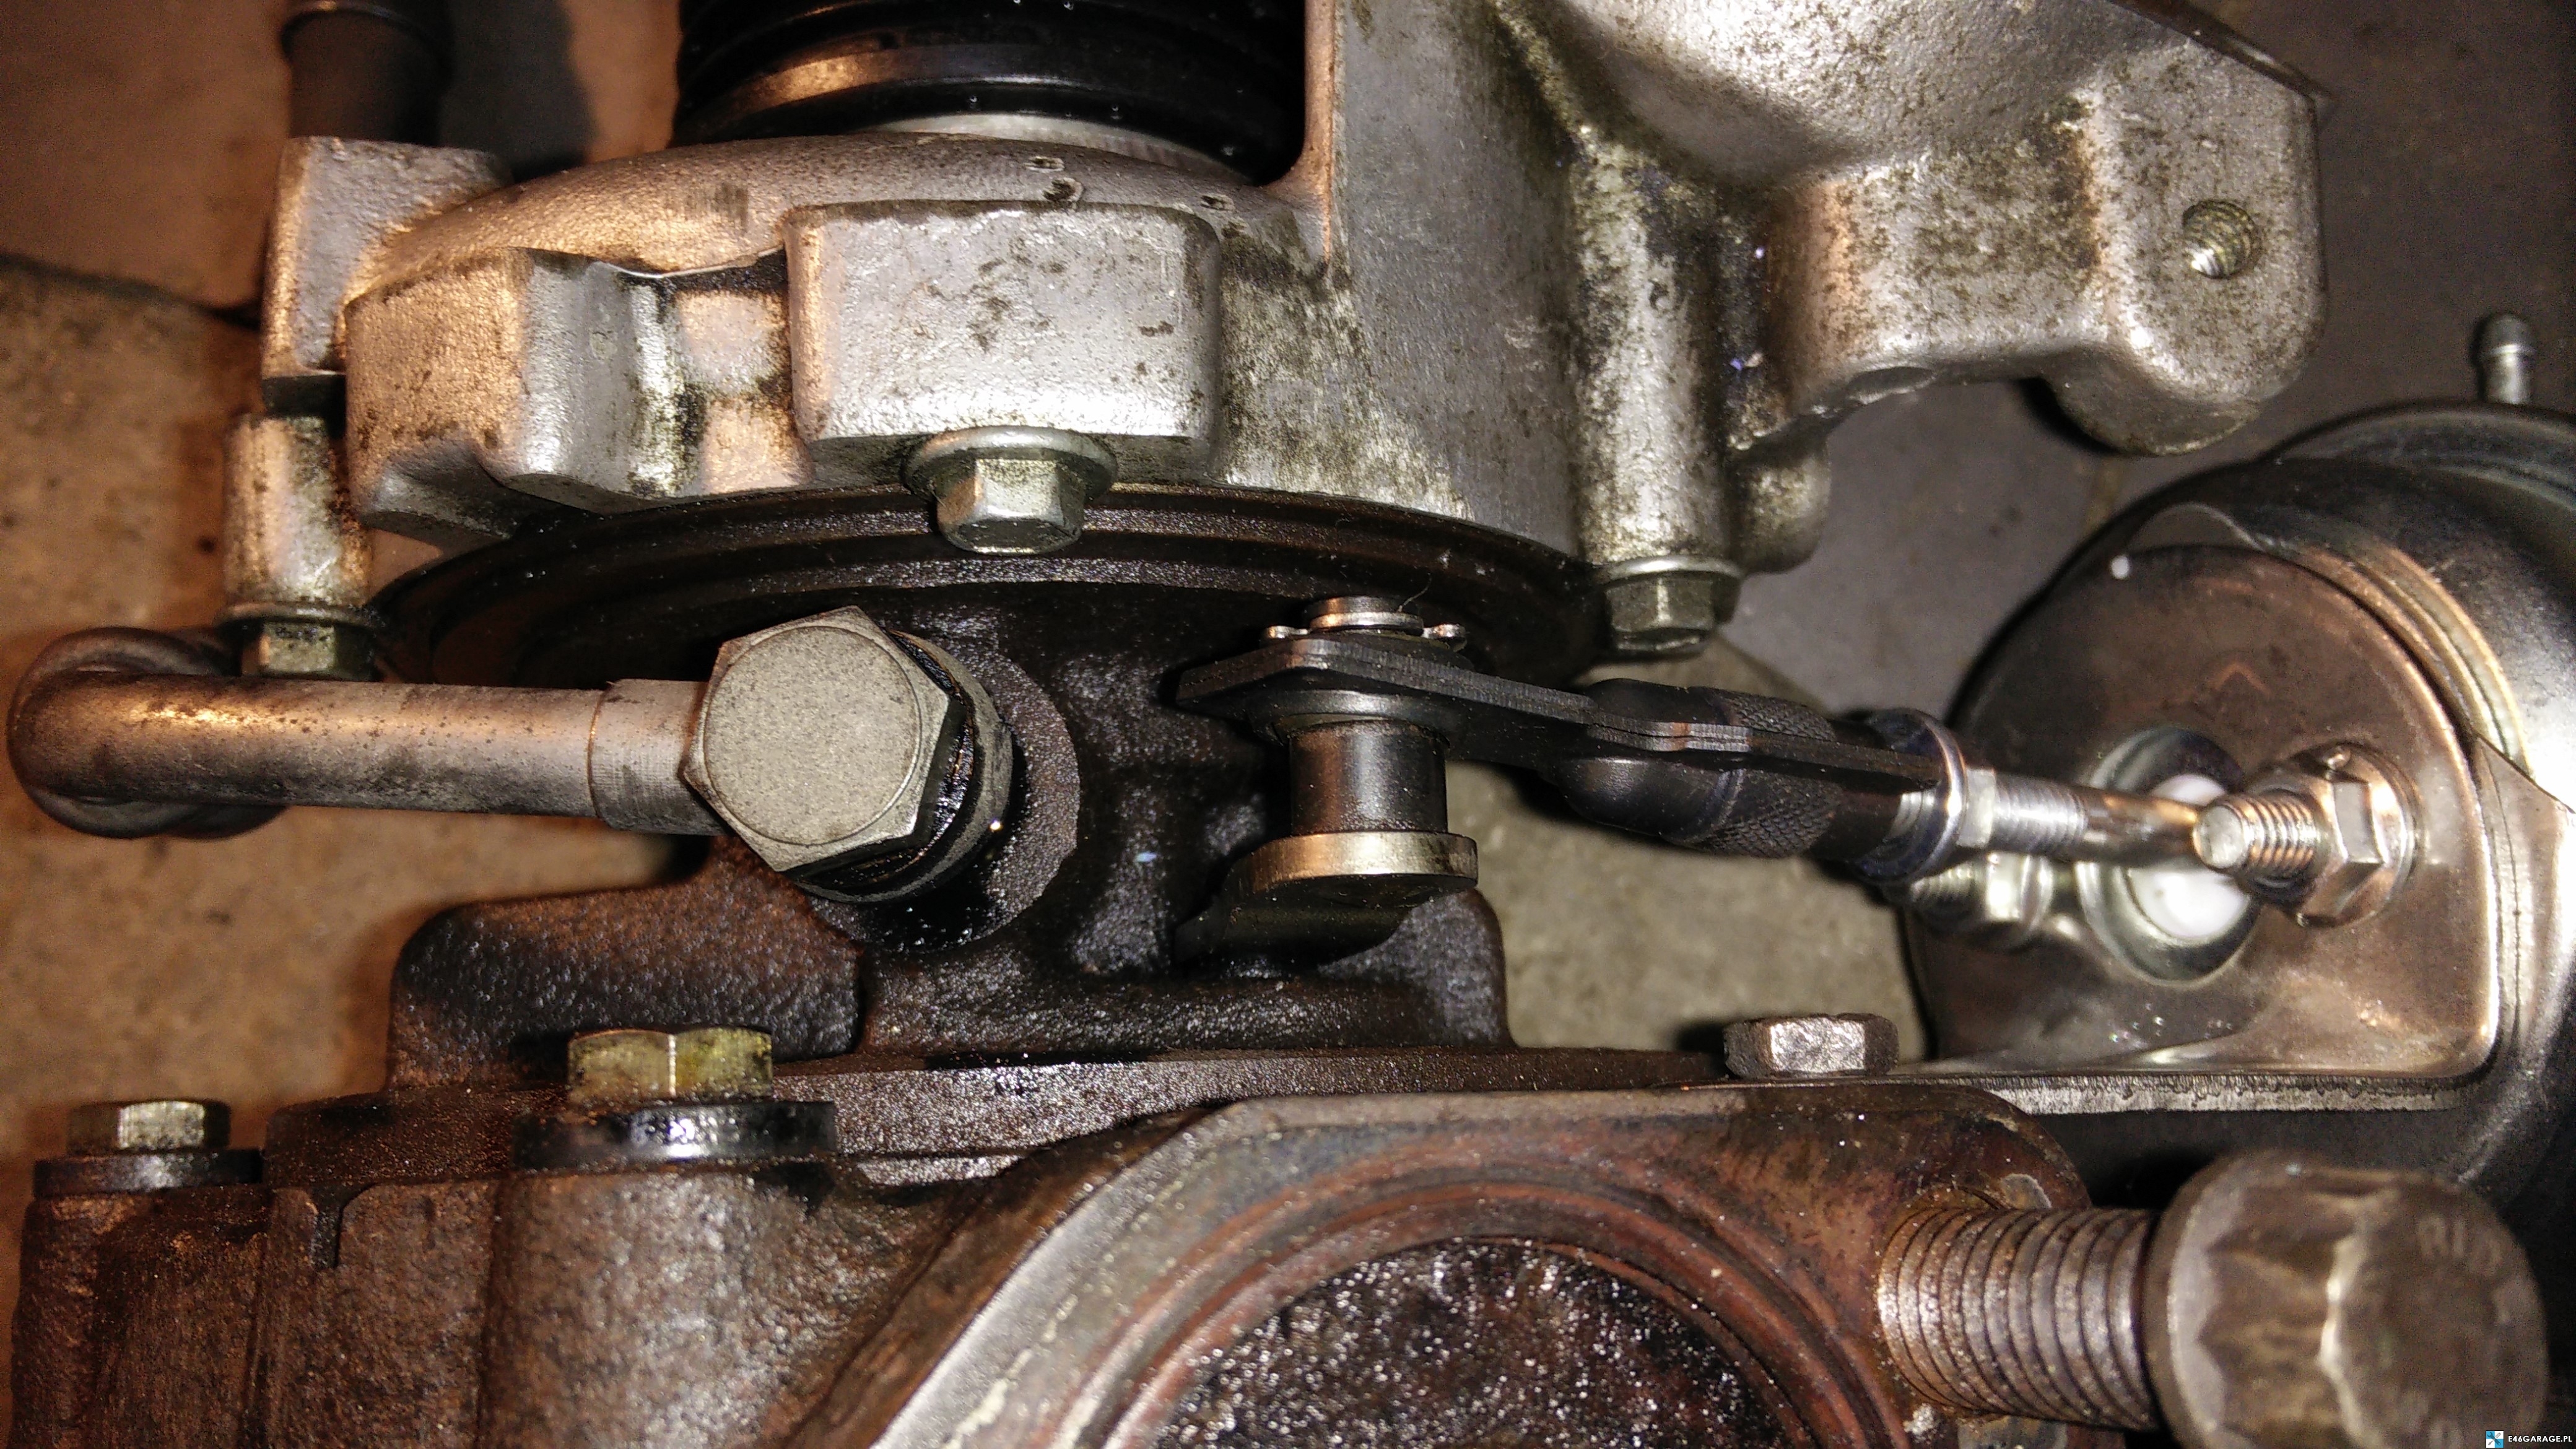 In the photo above you can also see the oil pipe, which is already screwed into the turbine. We translate it from the old turbine from the E46.
We also translate this oil element, here a new pad is required, but from experience I know that the old one also gives advice 🙂
 The fun of replacing the GTB1752V with the EU3 doesn't happen when the computer controls the geometry. Then the turbo spacer is a plug&play from what I know. I guess even the plugs fit in the turbine controller without processing.
The whole is mounted in reverse order to disassemble, check that everything is carefully tightened (I forgot to tighten the oil pipes and after firing the car oil flew with a turbo, as you can see in the photo above. ehh…)
We remember the new copper washers here:
 Once folded, we have to play around with the tedious adjustment of the barbells by making dynamic logs so that the expected values of the turbines coincide with the actual values. We will not be omine to remap. Finally we do Stage2!

Author: E46garage.pl
🤝 Wesprzyj rozwój kanału! 📍 Zrzutka: https://zrzutka.pl/huk2rj ☕ Postaw kawę: https://buycoffee.to/dkmotopl ⭐⭐ OC / AC TAŃSZE O 100PLN. ⭐⭐ Zamów polisę z bonusem z tego linku: https://mubi.pl/id-G570CJ

🤝 Wesprzyj rozwój kanału!
📍 Zrzutka: https://zrzutka.pl/huk2rj
☕ Postaw kawę: https://buycoffee.to/dkmotopl
⭐⭐ OC / AC TAŃSZE O 100PLN. ⭐⭐
Zamów polisę z bonusem z tego linku: https://mubi.pl/id-G570CJ


")

